ENGLISH
15
15
ENGLISH
14
14
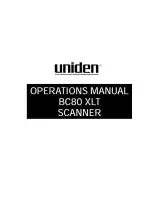
STEP 5 – Set Scan Preferences
Select Scan - Preference - Film Type - Scan Setting
Confi guring Scan Preferences
1.
Select Browse and choose the designated folder to save the scanned
image to
2. Enter the fi le name.
“Prescan Resolution“ - Default pre-scan resolution.
“Using default real scan resolution“ - Enables default scan
resolution setting.
“Color Depth“ – Default color depth while scanning.
“Scan Mode“ – Default scan mode while scanning.
3. Trailing Index after Base File Name Digits: Defi nes the length of the
fi le name and numbering sequence up to 6 digits Example image1 or
image000001.
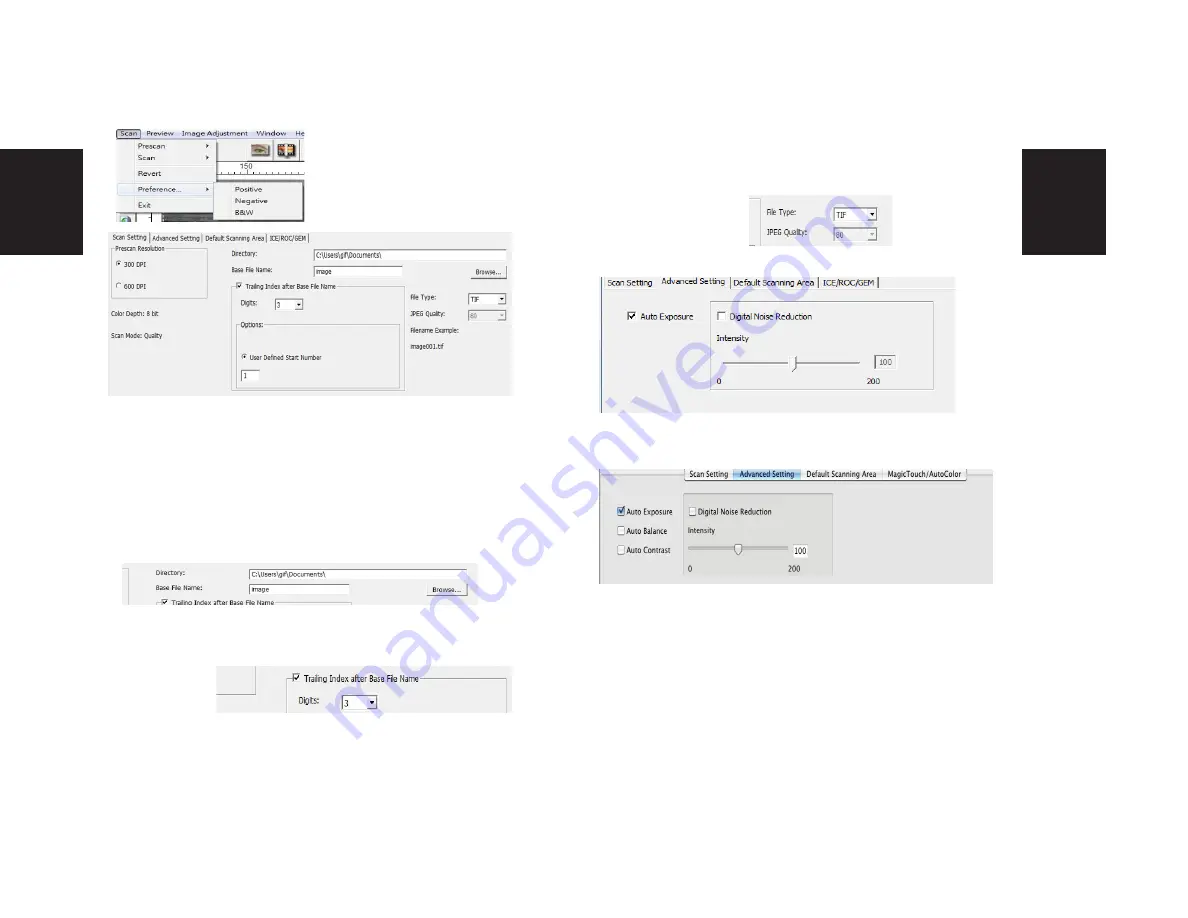
Advanced Setting - PC Users
”Auto Exposure” - Attempts to fi nd the correct exposure to get the wid-
est range of whites and blacks while putting the middle grays at around
the middle of the data range.
”Auto Balance” - Using the image histogram to balance RGB channels. It
estimates images’ color cast and adjust the images accordingly
“Auto Contrast” - The scanner software analyzes the data and automati-
cally adjusts the Setting for the White and Black Points.
”Digital Noise Reduction” – Applies a fi lter, Reducing the fi lm grain.
Set Scan Preferences
(Continued...)
5. Choose the fi le type , “TIF” or “JPG”. (TIF uncompressed or JPG Compressed-
Choose image quality for JPEG. (20-100) 100 off ers the least amount of compres-
sion
Advanced Setting - Intel Mac Users
4. Options - Use Film Index: Use the number assigned to the slide based on it’s
position in the cartridge.
User Defi ned Start Number: Enter a specifi c start number