background image

1

Safety Precautions

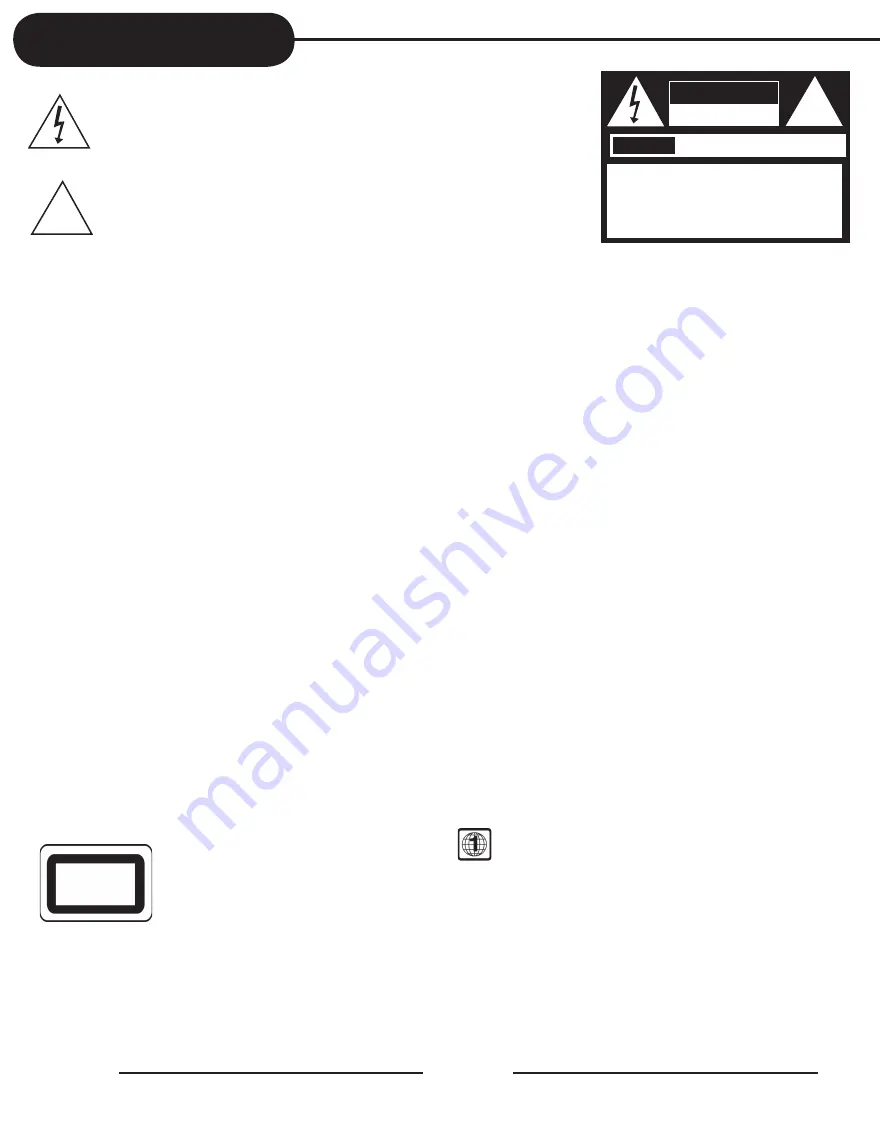
The lightning flash with an arrowhead symbol within an equilateral triangle is 

intended to alert the user to the presence of uninsulated "dangerous voltage" 

within the product's enclosure that may be of sufficient magnitude to constitute 

a risk of electric shock to persons.

The exclamation point within an equilateral triangle is intended to alert the user 

to the presence of important operating and maintenance (servicing) instructions 

in the literature accompanying the appliance.

WARNING:  

TO REDUCE THE RISK OF FIRE OR ELECTRIC, DO NOT EXPOSE THIS APPARATUS TO RAIN

OR MOISTURE.

THE APPARATUS SHALL NOT BE EXPOSED TO DRIPPING OR SPLASHING AND THAT NO 

OBJECTS FILLED WITH LIQUIDS, SUCH AS VASES, SHALL BE PLACED ON THE APPARATUS.


DO NOT OPEN THE CABINET, DANGEROUS HIGH VOLTAGES ARE PRESENT INSIDE THE  


ENCLOSURE. ONLY QUALIFIED SERVICE PERSONNEL SHOULD ATTEMPT THIS.

CAUTION: 

TO  PREVENT  ELECTRIC  SHOCK,  MATCH  WIDE  BLADE  OF  PLUG  TO  WIDE  SLOT, AND  


FULLY INSERT.

CAUTION: 


This player employs  a Laser System.  To prevent direct exposure to the laser beam, do not try to open the enclosure. 

                                                 Visible laser radiation when open and interlocks defeated.
 

Use of controls or adjustments or performance of procedures other than those specified herein may result in hazardous radiation exposure.


DO NOT STARE INTO BEAM.


To ensure proper use of this product, please read this operating instructions carefully and retain for future  reference.  Should the unit  require 


maintenance, contact an authorized service location, or contact local dealer. Only qualified service personnel should remove the cover.

FCC NOTICE: 


This equipment has been tested and found to comply with the limits for a Class B digital device.  Pursuant to the part 15 of FCC Rules. 

                                                 These limits are designed to provide reasonable protection against harmful interference in a residential installation.


This equipment generates,uses and can radiate radio frequency energy and,if not installed and used in accordance with the


instructions,may cause harmful interference to radio communication.However,there is no guarantee that interference will not occur


in a particular installation.If this equipment does cause harmful interference to radio or television reception,which can be determined


by turning the equipment off and on,the user is encouraged to try to correct the interference by one or more of the following  

                                           measures:


-  Reorient or relocate the receiving antenna.


- Increase the separation between the equipment and receiver.


- Connect the equipment into an outlet on a circuit different from that to which the receiver is connected.


- Consult the dealer or an experienced radio/TV technician for help.

                                               FCC Caution:To assure continued compliance,(example-use only shielded interface cables when connecting to computer or


peripheral devices).Any changes or modifications not expressly approved by the party responsible for compliance could    

                                        void the user’s authority to operate this equipment.

WARNING: 


Changes or modifications made to this equipment, not expressly approved by manufacturer or parties authorized by manufacturer 

                                             will void all the manufacture warranties.

           THE REGION CODE FOR THE UNIT IS 1.

Since it is very usual for DVD movies to be released at different times in different regions of the world, all players have region 

codes and discs can have an optional region code.  If you load a disc of a different region code to your player, you will see the 
region code


notice on the screen.  The disc will not play, and should be unloaded.

For Customer Use:

In spaces provided below, record the Model and Serial No. located on the rear panel of your player.

Model No.                                                                      Serial No.

Retain this information for future reference.

CLASS 1

LASER PRODUCT

!

CAUTION

RISK OF ELECTRIC SHOCK

DO NOT OPEN

AVIS

RISQUE DE CHOC ELECTRIQUE NE

PAS OUVRIR

CAUTION: TO REDUCE THE RISK OF ELECTRIC 

SHOCK, DO NOT REMOVE COVER (OR BACK).  

NO USER-SERVICEABLE PARTS INSIDE.  REFER 

SERVICING TO QUALIFIED SERVICE PERSONNEL.

CAUTION: (VISIBLE) LASER RADIATION WHEN OPEN.

DO NOT STARE INTO BEAM.

!

Содержание DVD7600

Страница 1: ...User Manual DVD7600 DVD VCR Combo Player...

Страница 2: ...dio frequency energy and if not installed and used in accordance with the instructions may cause harmful interference to radio communication However there is no guarantee that interference will not oc...

Страница 3: ...at plugs convenience receptacles and the point where they exit from the apparatus 11 Only use attachments accessories specified by the manufacturer 12 Use only with the cart stand tripod bracket or t...

Страница 4: ...the Player for a long time They will leave marks on the finish The top and rear panels of the Player may become warm after a long period of use This is not a malfunction When the Player is not in use...

Страница 5: ...scs vertically in a case Stacking or placing objects on discs outside of their case may cause warping PLAYABLE DISCS This Combo Player can playback the following discs Introduction Your new VCR DVD PL...

Страница 6: ...g in a Favorite order 20 MP3 Operation 20 WMA Operation 21 Playing Back Your Kodak Picture CD 21 Playing Your JPEG Files 22 Memo On Output Sounds 22 Setting the Parental Lock 23 Customizing the Functi...

Страница 7: ...EV 30 NEXT 31 SPEED 32 TV VCR 33 COUNTER CLOCK 34 INPUT SEL 35 CLEAR RESET Remote Control 1 POWER 2 STEP 3 SUBTITLE 4 SHUFFLE 5 REPEAT 6 AUDIO 7 A B REPEAT 8 DVD 9 VCR 10 SETUP 11 MENU 12 DIRECTION BU...

Страница 8: ...TERIES PREPARING THE REMOTE CONTROL To operate the Combo Player you must first place the batteries in the remote control INCORRECT USE OF BATTERIES MIGHT CAUSE THEM TO LEAK CORRODE OR EXPLODE Do not p...

Страница 9: ...8 Connecting With TV In connecting RF cable to TV set TV channel to CH3...

Страница 10: ......

Страница 11: ......

Страница 12: ...ENTER button 4 Index NUMBER setting method If your search is forward direction press up button to select desired Index Number If your search is reverse direction press down button to select desired In...

Страница 13: ...lect Start Date Move into Start Date with button and then select the desired number to record with up down button or number button 5 Select REC cycle Move into REC Cycle with button and then select th...

Страница 14: ...on the remote control 2 Press the button to highlight and select the Option and press ENTER button 3 Press ENTER button until the appropriate system is selected On or Off 4 Please press SETUP button t...

Страница 15: ......

Страница 16: ...OPEN CLOSE button Wait until the disc tray is completely open before removing any discs After removing the discs press the OPEN CLOSE button to close the disc tray At the completion of each movie a m...

Страница 17: ...ARE DIVIDED INTO TRACKS YOU CAN CONVENIENTLY LOCATE ANY SPECIFIC TITLE CHAPTER OR TRACK WITH THIS COMBO PLAYER TITLE 1 DVD Video Disc TITLE 2 Audio CD LOCATING A TITLE USING THE TITLE MENU You can loc...

Страница 18: ...ONAL STATUS AND DISC INFORMATION ON YOUR TV SCREEN CHECKING THE OPERATIONAL STATUS With this function you can view on your TV the following Current title Track number Total playing time Press DISPLAY...

Страница 19: ...A SPECIFIC SEGMENT 1 Press the A B RPT button at the beginning of the segment in which you want to repeat playback point A 2 Press the A B RPT button again at the end of the segment point B The Combo...

Страница 20: ...AL DIFFERENT ANGLES AND LANGUAGES HOW TO CHANGE THE CAMERA ANGLE Press the ANGLE button while playing back a scene recorded with multiple angles Each time you press the ANGLE button the angle will cha...

Страница 21: ...removed Depending on the disc the program playback may not function The program function supports to play normal CD s it is not available while playing MP3 CD s and WMA To clear the numbers that you h...

Страница 22: ...e The MENU key is used to display thumbnail pictures from the stop position After it is enabled up to twelve scaled down thumbnail pictures will be display on the screen The SKIP FORWARD REVERSE keys...

Страница 23: ...een slideshow transition modes are provided Use PROGRAM key to select IMAGE ROTATION ZOOM mode 9 EXTEND FROM CENTER H mode 10 EXTEND FROM CENTER V mode 11 COMPRESS TO CENTER H mode 12 COMPRESS TO CENT...

Страница 24: ...ay a DVD video disc can be controlled may vary from disc to disc For example if the disc allows you can edit out violent scenes unsuitable for children and replace them with more suitable scenes or lo...

Страница 25: ...up Dolby Digital Setup Video Setup and Preferences The selected category will provide you the setting details on screen General Setup Page TV Display PS Angle Mark On OSD Lang ENG SPDIF Output RAW Cap...

Страница 26: ...e by pressing the TRACKING button Cannot view a tape but the audio is OK Head cleaning may be necessary No or poor playback picture Select channel 3 or 4 on your TV Fine tune your TV TV programs canno...

Страница 27: ...alanced RCA JACK Audio input 8 8 dBm RCA JACK RF output 3 or 4 CH Video output 1 0 V p p 75 RCA JACK S video output Y 1 0 V p p 75 negative sync Mini DIN 4 pin x 1 C 0 286 V p p 75 Component video out...

Страница 28: ...is hereby expressly excluded Save as herein provided C I Service Dept Canada or C I Service Dept USA shall not be responsible for any damages to persons or property including the unit itself howsoever...

Страница 29: ...MANUEL DE L UTILISATEUR DVD7600 Combin lecteur DVD magn toscope...

Страница 30: ...ice Augmentez la distance de s paration entre l appareil et le r cepteur Brancher l appareil dans une prise sur un circuit diff rent de celui o est branch le r cepteur Demandez conseil votre fournisse...

Страница 31: ...ce cette ancienne prise murale 10 Veillez ce que les c bles lectriques ne soient pas foul s ni piqu s par quelque l ment proximit Prenez soin des c bles pr s des prises des douilles et au point de sor...

Страница 32: ...rement Instruction de poser Posez l appareil sur une surface horizontale N utilisez pas cet appareil sur une surface bougeante ou instable comme une table instable ou pencheante Sinon le tiroir l deda...

Страница 33: ...s de chaleur Ne pas stocker les disques dans des endroits expos s l humidit et la poussi re Stocker les disques verticalement dans une bo te Si vous les stockez les disques hors de leur bo te vous pou...

Страница 34: ...10 Copie 10 Fonction de recherche 10 Configuration de VCR 12 AFF fonction 14 Lecture d un disque 14 Rep rage d un titre d un chapitre ou d une piste sp c ifique 16 Utilisation de l affichage sur l cr...

Страница 35: ...6...

Страница 36: ...iles Fermez le couvercle REMARQUES SUR LES PILES PREPARATION DE LA TELECOMMANDE Pour faire fonctionner le lecteur vid o vous devez d abord ins rer des piles dans la t l commande L utilisation incorrec...

Страница 37: ...tr e AV IN sur le t l viseur avec la ligne RCA Pour une image et un effet audio plus claire connectez avec l entr es audio vid o Connexion d autres appareils en option 1 Connecter la sortie AV OUT du...

Страница 38: ...fonction de scanner ligne par ligne et a la c ble d entr e vid o vous pouvez lier DVD avec les jacks Y Pr Pb de la t l vision Appuyez sur le bouton de I P de la t l commande vous pouvez s l ctionner e...

Страница 39: ...ppuyant sur la touche SPEED SP ou SLP 5 Appuyez sur la touche REC 6 Appuyez sur la touche pour faire une pause et appuyez encore une fois pour retourner l enregistrement Si l tat de pause existe plus...

Страница 40: ...de num ro d index Pour une recherche en avant appuyer sur la touche pour s lectionner le num ro d index demand Pour une recherche en arri re appuyez sur la touche pour s lectionner le num ro d index d...

Страница 41: ...ouches haut bas La vitesse de cassette change selon l ordre ci dessous SP SLP Une fois fini appuyez sur la touche SETUP pour en retirer Appuyez sur la touche NEXT ou PREV pour r aliser 8 programmes Ap...

Страница 42: ...le bar Option avec la touche puis appuyez sur la touche ENTER 3 Appuyez sur la touche ENTER jusque le syst me appropri est s lectionn ouvrir ou fermer 4 Appuyez sur la touche SETUP pour abandonner Con...

Страница 43: ...sez la source d entr e vid o qui est connect e au lecteur combo 1 Appuyez sur la touche POWER Appuyez sur la touche DVD sur la t l commande pour changer au mode de DVD 2 Appuyez sur le bouton OPEN CLO...

Страница 44: ...s appuyez sur le bouton OPEN CLOSE pour fermer le plateau A la fin de chaque film un menu d affichera sur l cran Faites attention parce que le menu de configuration affich sur l cran peut ab mer votre...

Страница 45: ...RE CHAPITRE OU PISTE AVEC CE LECTEUR COMBO CD audio REPERAGE D UN TITRE EN UTILISANT LE MENU DE TITRE TITLE MENU You can locate a Vous Vous pouvez rep rer un titre sp cifique en utilisant la fonction...

Страница 46: ...UE VERIFICATION DE LA SITUATION DES OPERATIONS Gr ce cette fonction vous pouvez visionner sur l cran de votre TV les coordonn es suivantes Titre actuel Num ro de piste Temps de lecture totale Appuyez...

Страница 47: ...outon REPEAT le mode de r p tition change COMMENT REPETER UN SEGMENT SPECIFIQUE 1 Appuyez sur le bouton A B PRT au commencement du segment que vous d sirez r p ter point A 2 Appuyez sur le bouton A B...

Страница 48: ...COMBO VOUS PERMET DE CHOISIR PARMI DE DIFFERENTS ANGLES DE PRISE DE VUE ET DE DIFFERENTES LANGUES COMMENT CHANGER L ANGLE DE PRISE DE VUE Appuyez sur le bouton ANGLE lorsque vous visionnez une sc ne...

Страница 49: ...APITRES OU DES PISTES DANS L ORDRE DE VOTRE CHOIX Si vous teignez le lecteur ou retirez le disque de l appareil ce que vous avez programm s effacera Sur certains disques il se peut que la fonction d l...

Страница 50: ...ualiser les photos abr g es Apr s l ouverture de cette fonction 12 photos abr g es seront visualis es sur l cran Les touches SKIP et SKIP peuvent tre utilis es pour visualiser les 12 photos NEXT suiva...

Страница 51: ...er la plus grande partie de votre cran de t l viseur Vous disposez de 15 modes de transition pour la diaporama Utilisez la touche PROGRAM pour faire votre choix ROTATION DE L IMAGE ZOOM mode 9 DEPUIS...

Страница 52: ...euvent varier d un disque l autre Par exemple si le disque le permet vous pouvez supprimer les sc nes de violence qui ne sont pas convenables pour les enfant et les remplacer par des sc nes plus conve...

Страница 53: ...PCM On ouvrir Off fermer General setup page configuration g n rale TV Display PS affichage TV PS Angle Mark On marque d angle On OSD Lang ENG OSD langue ENG SPDIF Output SPDIF sortie Captions Off Sous...

Страница 54: ...G pour contr ler et obtenir une meilleure image Avec de son mais impossible de voir Il est possible de nettoyer le point magn tique Pas d image ou l image pas claire S lectionner canal 3 ou 4 sur le t...

Страница 55: ...60 Hz 25W 5 7kg 430x 91x 365 mm W H D NTSC 5 C 35 C Horizontal Humidit relative moins de 80 VHF 2 13 canaux UHF 14 69 canaux C ble 1 125 U V composite 75 non quilibre 1 0V p p 75 non quilibre RCA JAC...

Страница 56: ...me la l gislation express ment sont exclues par la pr sente Comme en ceci fourni le D partement de Service Canada ou le D partement de Service C I USA ne sera pas responsable des dommages aux personne...

Страница 57: ......

Отзывы: