8
ASSEMBLY INSTRUCTIONS
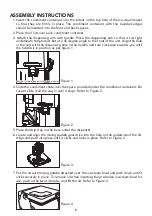
1. Insert the condiment containers into the indent on the top side of the ice-cream maker
so that they are firmly in place. The condiment containers with the rounded edges
should be inserted into the front and back spaces.
2. Place the 3 lids over each condiment container.
3. Attach the dispensing arm with handle. Place the dispensing arm so that it sits right
underneath the product but at a 45 degree angle to the front of the unit. Align the hole
in the unit with the dispensing hole in the handle and turn clockwise towards you until
the handle is in position as per figure 1.
4. Slide the condiment chute into the space provided under the condiment containers. Be
sure to slide it all the way in until it stops. Refer to Figure 2.
5. Place the drip tray on the base under the dispenser.
6. Locate and align the mixing paddle gear drive into the hole on the underside of the lid.
Align and push into place until it clicks and locks in place. Refer to Figure 3.
7. Put the lid with mixing paddle attached over the ice-cream bowl and push down until it
clicks securely in place. To remove lid when inserting the pre-freeze ice-cream bowl for
use, push in the two side tabs, and lift the lid. Refer to Figure 4.
Figure 1
Figure 2
Figure 3
Figure 4
Place lever at 45 degree angle and then turn clockwise into place.
Place lever at 45 degree angle and then turn clockwise into place.
Содержание ICE-48XA
Страница 4: ...4 ...
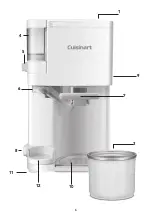
Страница 6: ...6 12 7 1 3 4 5 10 8 9 6 11 ...


