background image


Cubix Corporation 

 2800 Lockheed Way 

 Carson City, NV 89706-0719 

 Page 3 

Sales 800.829.0550 


http://www.cubix.com


 [email protected] 

 Xpander-desktop-elite-g3 20190201 


Quick Start without Detail 

This quick start is for users who have installed GPUs in Cubix Xpander products. If you have not 
installed Xpander before, proceed to the Start-up / Test Procedure with Detail below. 
 
Install a GPU in a host system PCIe x16 slot and install device drivers. Once you have verified 
operation, repeat the process for other PCIe cards. After verifying operation for each type of 
PCIe card, move the cards to Xpander, install the HIC in the same slot in the host computer and 
connect Xpander to the HIC using the cable provided. Connect power to Xpander and power on 
the host computer. Boot the host computer. If it is plug-n-play, the operating system (OS) will 
detect the new hardware configuration and install device drivers. 


Start-up / Test Procedure with Detail 

Check your host computer motherboard vendor’s Website for device driver and firmware 
updates, especially those that may affect multiple GPUs. During this procedure, place the 
Xpander Desktop Elite on a stable surface. Use a Philips #2 screwdriver. Do not install graphics 
or other controllers until instructed to do so. 
1.  Remove AC power to the host computer and to Xpander. 
2.  Install the x16 HIC in a PCIe x16 slot within the host computer. In Apple® Mac Pro, install 

the x16 HIC in PCIe slot 2. 

3.  Remove the screws holding


the top cover, 

remove it and set it aside. 

4. 

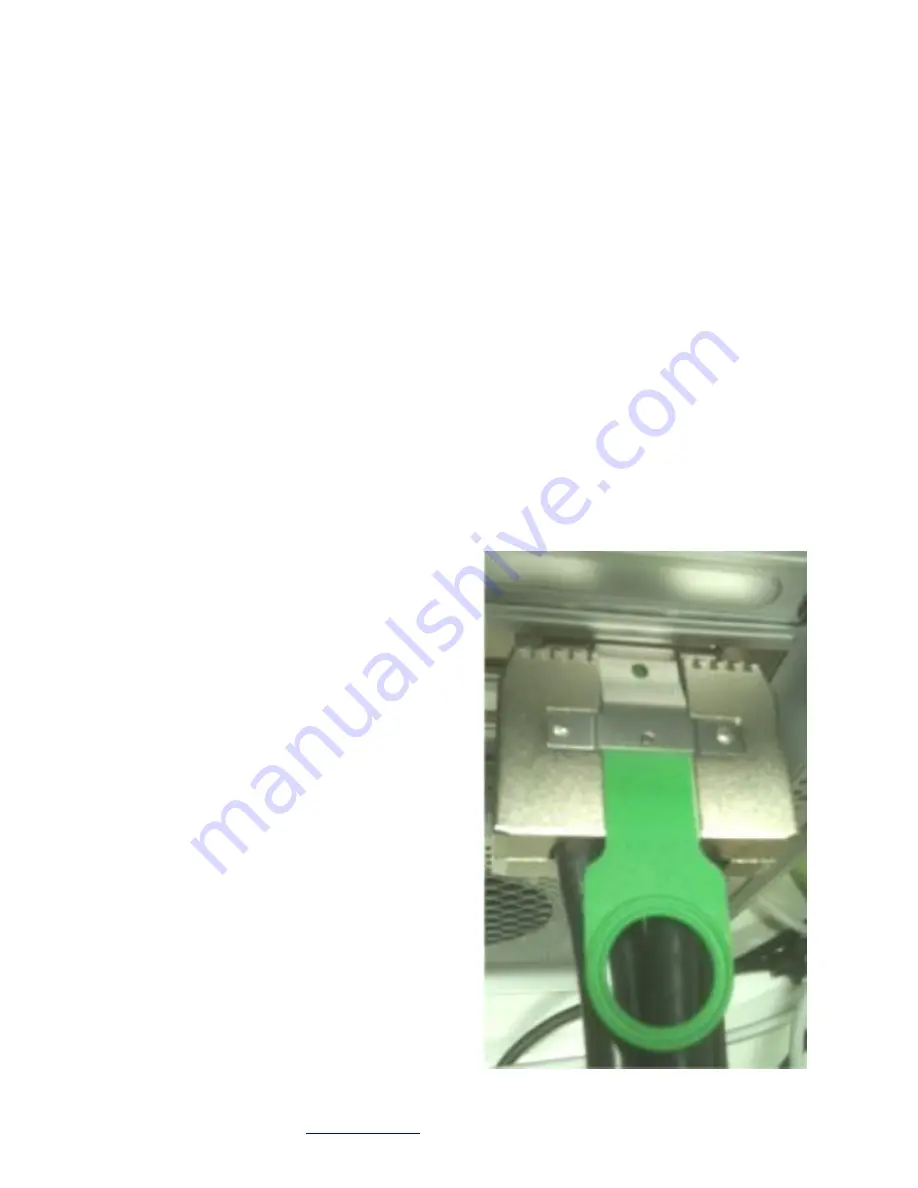
Connect the external PCIe cable coming from 
the Xpander Desktop Elite into the HIC in the 
host computer. Make sure the cable 
connector seats firmly in the HIC port. You 
will feel the cable connector click into place. 
See the image of a properly-seated 
connector in an Apple Mac Pro at the right. 


5.  Connect a power cord to the receptacle at 

the enclosure rear. 


6.  Check the connection LED near the HIC 

L-bracket in the host. If you have properly 
seated the HIC in the host PCIe slot, you will 
see the LED near the HIC L-bracket light 
steady green. 

7.  Power on the host computer. Xpander 

Desktop Elite also powers on.  


Содержание Xpander Desktop Elite

Страница 1: ...P 6P auxiliary power connectors and a fan that cools 4 x double wide actively cooled GPUs or other PCIe cards Adjustable fan settings see page 8 allow quieter operation if fewer GPUs or single wide GPUs or other PCIe cards are installed Xpander Desktop Elite Technical Specifications Expansion slots x16 std PCI Express x16 mechanical electrical on 1 Main Interface Boards MIB Number of slots MIB 4 s...

Страница 2: ...put power is not to exceed 1 200Watts Standard aux power 4 sets of connectors each with 8pins 8pins Optional aux power 4 sets of connectors each with 8pins 6pins Operating environment 0 to 30 Celsius 32 to 86 Fahrenheit temperature 5 to 80 non condensing humidity Dimensions no handle 10 85 H x 8 50 W x 16 17 D 27 56cm H x 21 59cm W x 41 07cm D Dimensions with handle 12 60 H x 8 50 W x 16 17 D 32 0...

Страница 3: ...computer motherboard vendor s Website for device driver and firmware updates especially those that may affect multiple GPUs During this procedure place the Xpander Desktop Elite on a stable surface Use a Philips 2 screwdriver Do not install graphics or other controllers until instructed to do so 1 Remove AC power to the host computer and to Xpander 2 Install the x16 HIC in a PCIe x16 slot within t...

Страница 4: ...the Cable P0 LED lights green 9 Switch off AC power to the host computer and disconnect power to Desktop Elite Leave the external PCIe cable to the host computer port connected 10 Remove as many screws as necessary to install GPUs or other PCIe devices For example if you have 2 x double wide GPUs remove 4 x screws After installation these screws will hold down end brackets of GPUs or other PCIe de...

Страница 5: ... the scanpci tool discussed in Step 14 13 Connect power to Desktop Elite and power up the computer to confirm that the appropriate slot link LEDs P1 P5 P7 and P9 in the image above are lit green which confirms that you have installed the controller s correctly in each slot 14 For instance in a PC running Microsoft Windows check Windows Device Manager Within Windows you can also run GPU Z a utility...

Страница 6: ...pander Desktop Elite front panel LCD provides enclosure details and status Beneath the LCD are two buttons left button scrolls through main menu items and right button scrolls through sub menu items When you first connect power Xpander comes up in standby mode The LCD displays Cubix on the top line and Corporation on the bottom line This is the Start menu Access all other main menu items by pressi...

Страница 7: ... Status PWR Standby Main power is off system is in standby PWR ON Good Main power is on 3 3V 5V 12 12V are within spec PWR ON FAULT Main power is on 3 3V 5V 12V or 12V is out of spec Temperature Status Menu Sub menu Menu Temperature Status Sub Menu Display the temperature of the 3 temperature sensors in degrees Celsius Note If a temperature sensor fails FLT fault appears under the failed sensor Fa...

Страница 8: ... not successfully link or Xpander is in standby power Sub Menu Link speed and link width for slots 1 4 Speed 2 5Gb s 5 0Gb s or 8 0Gb s Slot 1 4 width x1 x2 x4 x8 and NO Link when the slot is empty unsuccessful link or Xpander is in standby power LCD Backlight Control Press right button to toggle the LCD backlight On Off Fan Speed Control Shunts JP7 and JP8 are used to change the fan profile to re...

Страница 9: ...ash Resolution Reset the LCD s MCU by pressing and holding the left button for 3 seconds while Xpander is running Issue The HB LED inside Xpander flashes green Resolution This is normal it indicates that the on board MCU is running properly Issue Cable LED inside Xpander does not light green Resolution Check the following Confirm that the HIC is firmly seated in a PCIe slot within the host compute...

Страница 10: ...e fault Issue After acknowledging a fault the front panel LCD screen backlight continues flashing on off which indicates two or more faults If multiple faults have occurred when you acknowledge the first fault the LCD will jump to the next fault and the LCD backlight will once again flash on off This continues until you clear all faults Resolution Acknowledge the fault by pressing the Menu button ...

Отзывы: