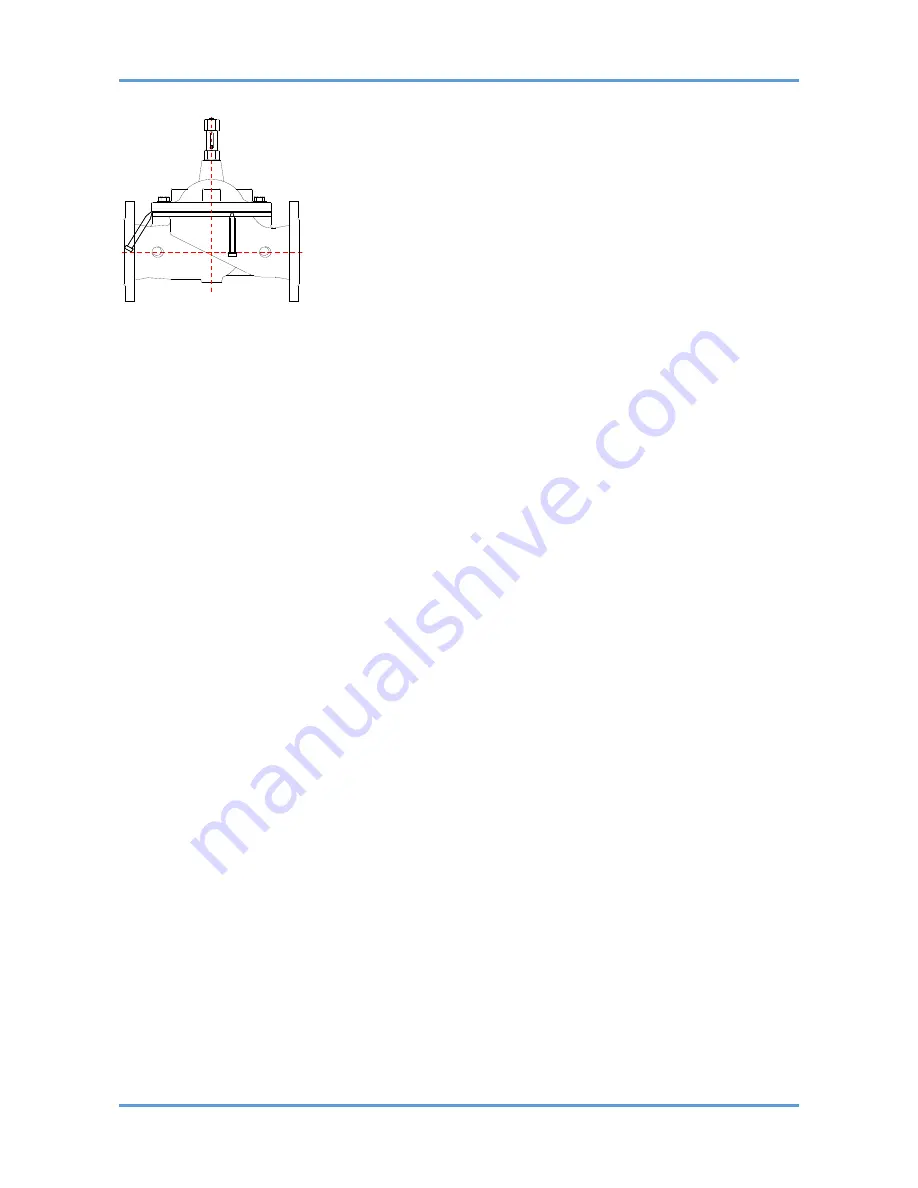
XLC 420
17
Disassembly
As mentioned before make sure that the gate valves upstream and downstream of the valves have
been properly closed and set tight.
Relieve the pressure of the main chamber simply by closing the isolation valves of the circuit and
opening one of its fittings. Proceed with the removal of the circuitry, in order to facilitate the
intervention on the cover, only after having noted down the layout
Remove the nuts (4) and the washers (5). If the valve has been working for a long time you may
notice that all the parts in contact with the diaphragm will tend to get stuck, in this case simply hit
the lower part of the cover to loosen it by means of a plastic hammer and a chisel driving it
upwards. After that, hoisting the valve vertically using eyebolts. Remove the internal mobile block
and put it into a grip with
clamps in soft material such as brass or aluminum
, be extremely
careful doing that because the upper and lower main shaft surface responsible of the valve-s
guiding mechanism , if worn or etched, may cause the blocking of the valve due to its bind in the
bearings.
Remove the nut and the washer (10) take off the upper flat (11) the O-rings (21) check the
diaphragm looking for damage and, after having pulled out the plane gasket (13)by means of a
screw driver ( please make sure not to wear the gasket itself or its housing) examine it carefully.
Check the driving bush on the cover (7).
Examine the sealing seat (15) looking for scratches that may affect the proper water tightness and
for possible sign of cavitation.
The sealing seat is made in stainless steel and it usually doesn’t require particular
maintenance, a very important thing though is to guarantee proper cleaning by means of sand
paper.
Up to DN 150 the sealing seat is screwed into the body while for the remaining DN it is set tight by
several screws. To carry out a further inspection and removal of the sealing seat, and in case of
cavitation, please contact our technical support for immediate assistance.
Inspection
After all the components have been dismantled we need to look for any damage caused by wear of
the surface, deposits, corrosion or something else.
It is strongly advised to replace every 4 years all the components made in rubber, responsible for
the water tightness of the valve, such as O-Rings, the diaphragm, the plane gasket.


