background image

Direct acting PRV Mod. VRCD 


For further information please consult us at: www.comeval.es 

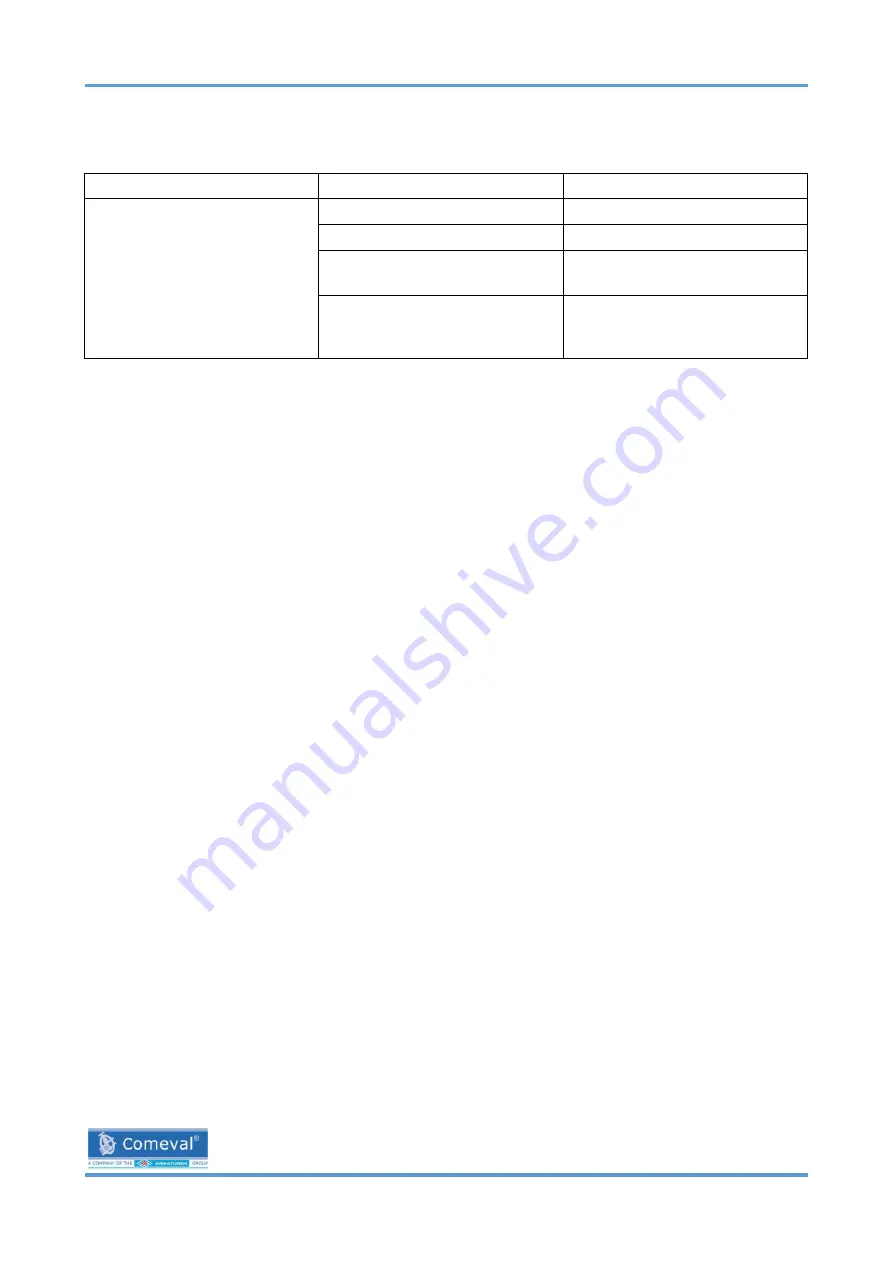
Troubleshooting 


Condition


Possible Cause


Corrective Action


Valve leaks at flange joint.


Loose flange bolting.


Tighten flange bolting.


Blown flange gasket.


Replace flange gasket.


Miss-alignment or damage 
to field piping and supports.


Adjust miss-alignment or 
repair piping or supports.


Damaged flange face/s or 
improper flange 
connections.


Repair flange, replace 
valve body or adjust flange 
connections.


Содержание VRCD

Страница 1: ...CSA waterworks line Direct acting downstream pressure reducer stabilizer Mod VRCD Rev 1 9 2014 ...

Страница 2: ...ng by CSA qualified or authorized personnel Safety All safety messages in the instruction manual are flagged with the following symbol meaning danger caution and warning This means and makes reference to procedures that may lead to equipment and system damage and to severe injury or death for the personnel involved Inspection Your valve VRCD has been packaged to provide protection during shipment ...

Страница 3: ...r information please consult us at www comeval es Contents Description 4 Handling and storage 4 Fusion Powder coated valves 4 Installation 5 Maintenance 6 Set up 6 Drawings 7 Troubleshooting 9 Problem solving 10 Disassembly 11 Reassembly 12 ...

Страница 4: ...e the water supply to maintain a pressure downstream regardless of upstream pressure fluctuations The special design of CSA with built in self cleaning piston technology guarantees long lasting performances with a dramatic reduction of the maintenance time minimizing the risk of friction and malfunctioning Handling and Storage Lifting the valve improperly may damage it Lift the valve with slings c...

Страница 5: ...dirt from the pipeline Prepare pipe ends and install valves in accordance with the pipe manufacture s instructions for the joint used Tighten the flange bolts or studs in a crisscross pattern and minimum of four stages Place the valve in the right direction following the arrow moulded on the body If not included in the order install a pressure gauge upstream to check the maximum static pressure re...

Страница 6: ...essive variation of the downstream pressure Set up Before the start up of the valve make sure the instructions provided on the maintenance section Installation on page 5 were properly followed and understood Operate very slowly on the following procedure to avoid stresses on the valve and unexpected pressure surges The valve is initially isolated from the main line by means of the sectioning devic...

Страница 7: ...Direct acting PRV Mod VRCD 7 For further information please consult us at www comeval es Drawings Picture 1 9 8 7 4 5 21 10 14 11 12 25 29 1 24 15 20 28 23 19 22 27 18 3 26 13 17 16 6 2 ...

Страница 8: ... 10 Tap for pressure gauges Brass 11 Guiding screw S S AISI 303 12 Spacer Brass S S AISI304 13 Sliding ring Ptfe 14 Lower piston Brass S S AISI304 16 Studs S S AISI 304 15 Driving tap Brass S S AISI304 17 Nuts S S AISI 304 18 Lower ring Bronze 19 Obturator sealing seat S S AISI 304 20 Obturator guide S S AISI 304 21 Gasket NBR 22 Gasket NBR 23 O ring NBR 24 O ring NBR 25 O ring pair NBR 26 O ring ...

Страница 9: ... Action Valve leaks at flange joint Loose flange bolting Tighten flange bolting Blown flange gasket Replace flange gasket Miss alignment or damage to field piping and supports Adjust miss alignment or repair piping or supports Damaged flange face s or improper flange connections Repair flange replace valve body or adjust flange connections ...

Страница 10: ... obturator seat and body is damaged due cavitation and the valve can t assure a watertight sealing any more Check the difference in pressure operating cycles of the valve flow rate Make sure they don t exceed the advised values from our technical literature The valve doesn t open The spring is corroded and filled with water causing the loss of force Check if the VRCD has been submerged by water ch...

Страница 11: ...lower piston 14 during this phase make sure not to damage the o ring 25 check the latter and replace it if necessary 11 check the lip gasket 21 for possible dirt or sign of wear clean and replace it if necessary 12 check the guiding ring 5 and the upper piston surface making sure no sign of ear scratches are present 13 pull out the lower piston 14 and check for the lip gasket 22 making sure there ...

Страница 12: ...oper movement of the mobile block 2 Once the mobile block composed of the obturator block upper and lower pistons spacer is assembled check for the proper movement making sure there are not sign of friction or any other element affecting it Contact us for further assistance We reserve the right to incorporate our latest design and material changes without notice or obligation Design features mater...

Отзывы: