6 - 9
Hot Tank Removal and Replacement
Note: Begin with the unit unplugged, the water drained and the left side panel removed.
Tip: Use a small flathead screwdriver to pry wire connectors off.
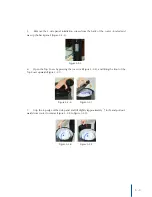
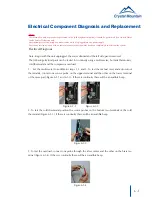
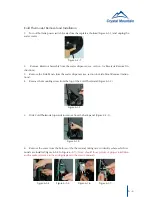
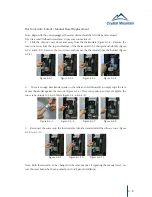
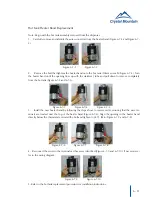
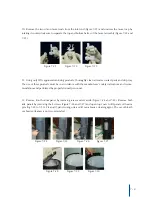
1. Remove the two spring clips that secure the silicone hoses to the inlet and outlet pipes. Re-
move the hoses from the hot tank and identify (Figure 6-6-1 to 6-6-4).
Note: Hoses may be difficult to remove. If necessary, use a flathead screwdriver to slide up be-
tween the tube and pipe to release the hoses. Be careful not to damage hoses.
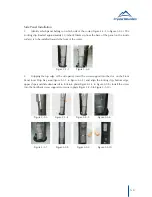
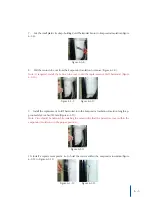
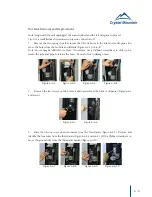
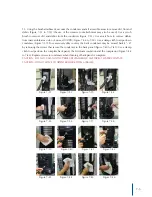
2. Remove the two screws on the hot tank drain assembly at the back of dispenser (Figure 6-6-5
and 6-6-6).
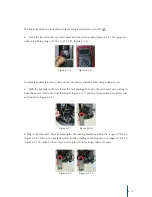
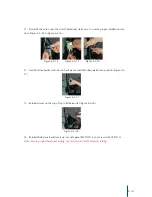
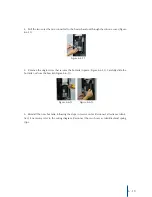
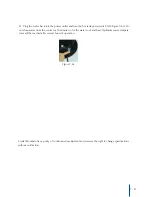
3. Slide the silicone cover down and away from the thermostats (Figure 6-6-7). Remove and
identify the four wires from the thermostats (Figure 6-6-8 and 6-6-9). With a Philips screwdriver re-
move the ground wire from the thermostat bracket (Figure 6-6-10).
Figure 6-6-1 Figure 6-6-2 Figure 6-6-3 Figure 6-6-4
Figure 6-6-5 Figure 6-6-6
Figure 6-6-7 Figure 6-6-8 Figure 6-6-9 Figure 6-6-10


