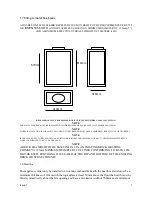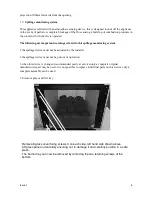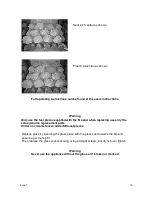
Section 2 installation of the fire
2.1 installing the firebox
Check that the chimney / flue conforms to the required specifications as previously stated.
If this is so continue with the installation
2.2 Gas supply
It is recommended a concealed connection is made using semi rigid tubing on the rear left side of
the appliance taking into account the requirements of B.S 6891 1988 dealing with enclosed pipes
An isolating valve is built in to the appliance as part of the pressure test point elbow
2.3secure to fireplace
The preferred method of fixing is cable fixing which is described in the following section
Proceed as follows :
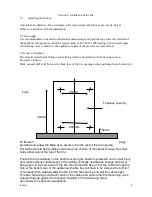
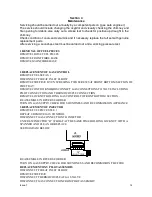
Mark out and drill 4 off holes in the back face of the fire opening in the positions shown below fig 2
Fit the wall
plugs
provided and screw the fixing eyes securely into the rear of the fire opening
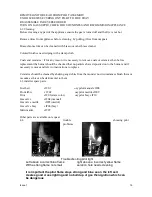
Uncoil the two fire fixing cables and thread one of each of the cables through the small
holes either side of the top of the fire
Position the fire carefully on the hearth ensuring the hearth is protected not to scratch any
decorative surfaces ,thread each of the cables vertically downwards through the pair of
fixing eyes on the same side of the fire ,then thread the free end of the cable through the
hole at the bottom rear of the appliance (the fire tray will have to be removed to do this if
not already) then carefully slide the fire into the fire opening and pull the cables tight
Thread a tensioning screw over each of the cables and ensure that the tensioning nut is
screwed fully up against the hexagon shoulder of the tensioning screw
(this allows for maximum adjustment)
Issue 1
!
9
Fireplace opening
Fig 2
250mm
250 mm
30mm
500mm

