PMS 711
2 cyan
85 magenta
76 yellow
10.25.12
CRU Mark
Page 10
R2) or by clicking on
Computer
in the navigation pane of
a File Explorer window (Windows 8, Server 2012).
Unmount the RTX enclosure before powering it down
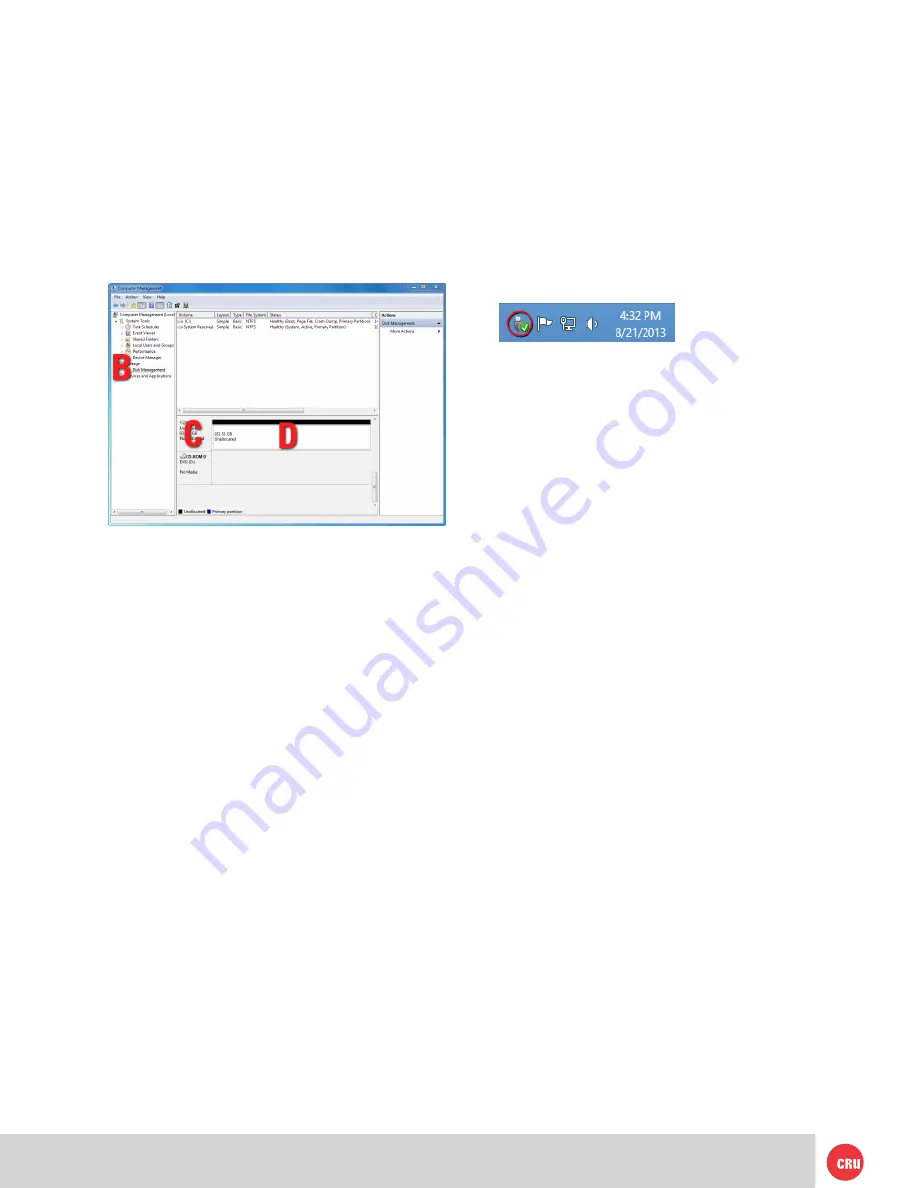
by left-clicking the
USB plug icon
with the green
checkmark on the Desktop task bar and then selecting
Eject ATTO cru00 SCSI Disk Device
from the menu
that pops up. You may have to click on the
Show Hidden
Icons
arrow on the task bar to find the correct icon.
Windows will indicate when it is safe to disconnect the
RTX enclosure. Disconnecting the enclosure without first
ejecting its RAID group volume can result in data loss.
10 RAID Is Not A Backup
Because your RTX enclosure features redundant RAID modes
which protect against a hard drive mechanical failure, it is
an excellent part of any backup strategy. However, a RAID is
not in itself a complete backup strategy. Many things besides
hard drive failure can damage or erase your data:
•
Corruption caused by unexpected disconnection
during data access (e.g. a cable is unplugged during
a data transfer, or the computer crashes or loses power
while writing to the drives)
•
Corruption or destruction caused by viruses or other
malware
•
Sabotage by a disgruntled employee or acquaintance
•
Theft of your RTX enclosure
• Natural disasters such as fire, flooding, etc.
Considering these possibilities, any single copy of your
important data must always be considered at risk. That’s why
backing up is so important. Follow the 3-2-1 backup rule. Data
should exist in three different places on two different storage
media and at least one of those copies should be maintained
offsite.
Without an effective backup strategy, recovering data may
be impossible, or the cost of data recovery may be quite
expensive. The CRU warranty does not cover costs associated
with data loss (nor do the warranties of other data storage
manufacturers).
Plan accordingly and backup data to minimize downtime!
Box (labeled ‘C’ in the picture below) says “Not
Initialized”, you’ll need to initialize the volume before
formatting it.
Right click on the
Device Properties Box
and
select
Initialize Disk
. If you are prompted to select
a partition type, select GPT.
c. To format the volume, right click the
Drive
Properties Box
(labeled ‘D’ in the picture below)
and select
New Simple Volume...
d. Unless you wish to customize the settings in these
dialog prompts, click
Next
on the Specify Volume/
Partition Size, and Assign Drive Letter or Path dialog
prompts, leaving the default settings.
e. You will now see a window that allows selection of a
file system. Choose
NTFS
and enter a name for the
new volume. Be sure to check the box labeled
Quick
Format
, which will ensure that the formatting
process takes less than a minute.
f. Click
Next
and then
Finish
to start the format
process. When the format is complete, the Drive
Properties Box will update to show the new volume
name. The new volume can now be found by clicking
on the
Computer
button in the Start Menu (Windows
7, Server 2008 R2) or by clicking on
Computer
in the
navigation pane of a File Explorer window (Windows
8, Server 2012).
9.2.2 Mounting and Unmounting Volumes
If the RAID group for the RTX enclosure is already
formatted, you can begin using the volume right away.
When the RTX enclosure is properly connected and
turned on, a window may open to allow you access to the
volume. If no window appears, find the volume clicking
the
Computer
button in the Start Menu (7, Server 2008


