RTX220 QR - Manual
Plug in the data cable from your computer to RTX. Next, plug in the power cord from
the RTX unit into a grounded electrical outlet. With hard drives in the unit, turn it on.
As soon as your drives are formatted, RTX is ready to use!
3. Usage
The drives in RTX will spin up automatically as soon as the unit is powered on. If your
drives are already formatted, you can begin using them right away. New hard drives
will need to be formatted before they can be used. See the “Usage with Mac and
Windows Operating Systems” section of the complete User Manual for formatting
instructions.
Initially, each drive is seen as a separate drive by the computer. If you wish, you may
format each drive into a separate volume and use them individually.
If you have software for creating a RAID (Redundant Array of Independent Disks),
you may combine the drives into a single volume for faster performance and/or data
redundancy. Some operating systems, such as Mac OS X, have this software built in.
2. Hardware Setup
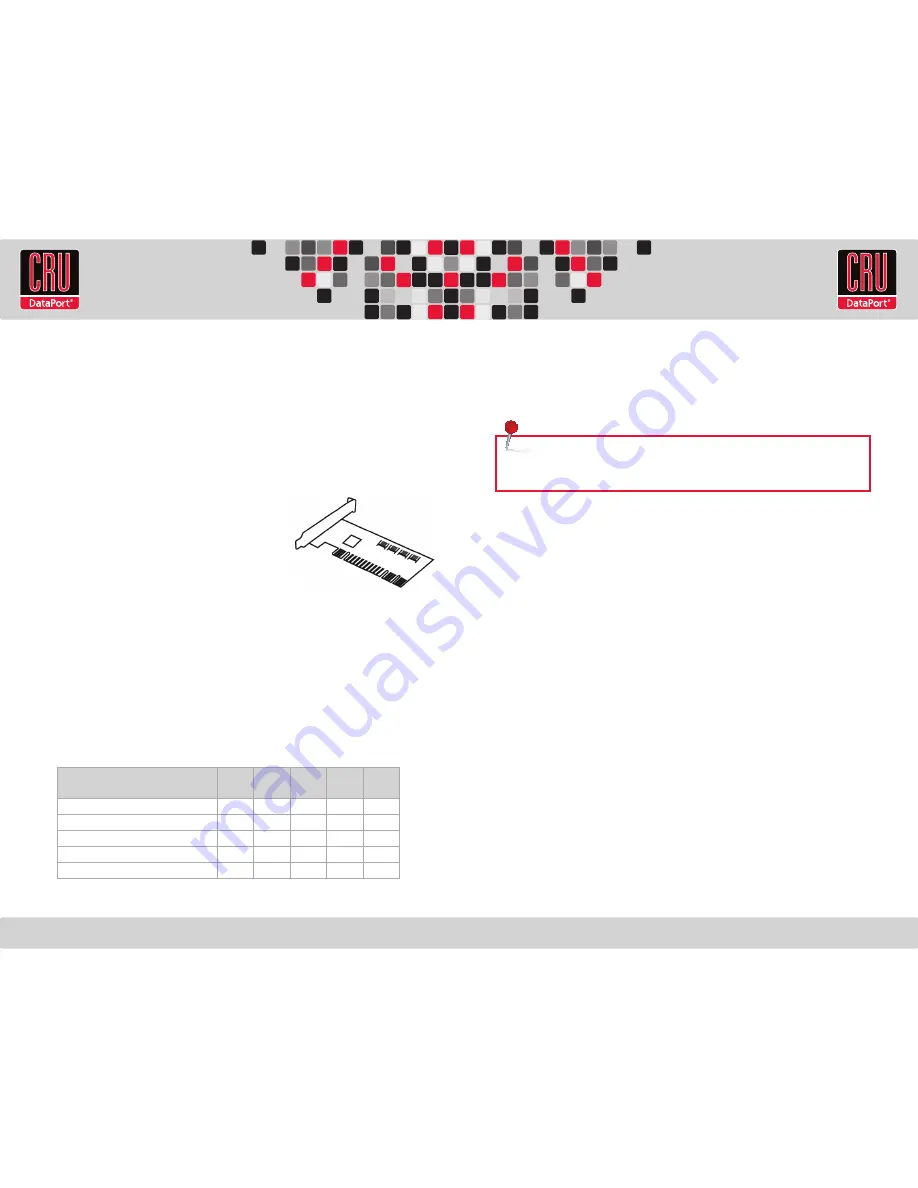
2.1 Install a host adapter into an empty PCI slot inside your computer (optional).
The
following general steps will work for most cards. Instructions for individual cards may
vary, so consult your host adapter’s user manual.
a. Some cards have jumpers that must be configured in order for the card to work
in certain expansion slots. If this applies to your card, set the jumpers according
to the chart in the card’s user manual. It might also be printed on the card itself.
b. Power down the computer system.
c. Insert the card into a compatible expansion slot.
Do not force it, but it will take firm pressure to
insert it.
d. Make sure the card is fully seated in the slot.
Secure with a screw.
e. Turn the computer back on.
f. Install the appropriate drivers for the card.
2.2 Installing Hard Drives
Install your hard drive by pulling on the ejection handle and opening the door. Then
just slide in your SATA drive and shut the door behind it. For extra security for your
hard drive you can lock the bay, but make sure to unlock it before pulling on the
ejection handle again.
2.3 Connect and power RTX
Data connections of RTX vary, depending on the model.
Connection
3QR
Model
3QJ
Model
XJ
Model
SV
Model
3SJ
Model
FireWire 800
2
8
USB 3.0
1
4
4
eSATA
1
4
4
Port-Multiplied eSATA
1
SFF-8088 Multi-Lane SAS/SATA 6Gb/s
1
NOTE:
To connect RTX410-3QJ to a USB 2.0 host, you must use a USB 2.0
cable. Both USB 2.0 and USB 3.0 cables are included with your RTX unit.


