background image

RTX220 QR - Manual

 1. Pre-Installation Steps

1.1 Box Contents

The following list contains the items that are included in the 
complete configuration for this device. Depending on which 
configuration and accessories you purchased, the package may 
include fewer items than what are listed here. Please contact 
CRU-DataPort if any items are missing or damaged: 

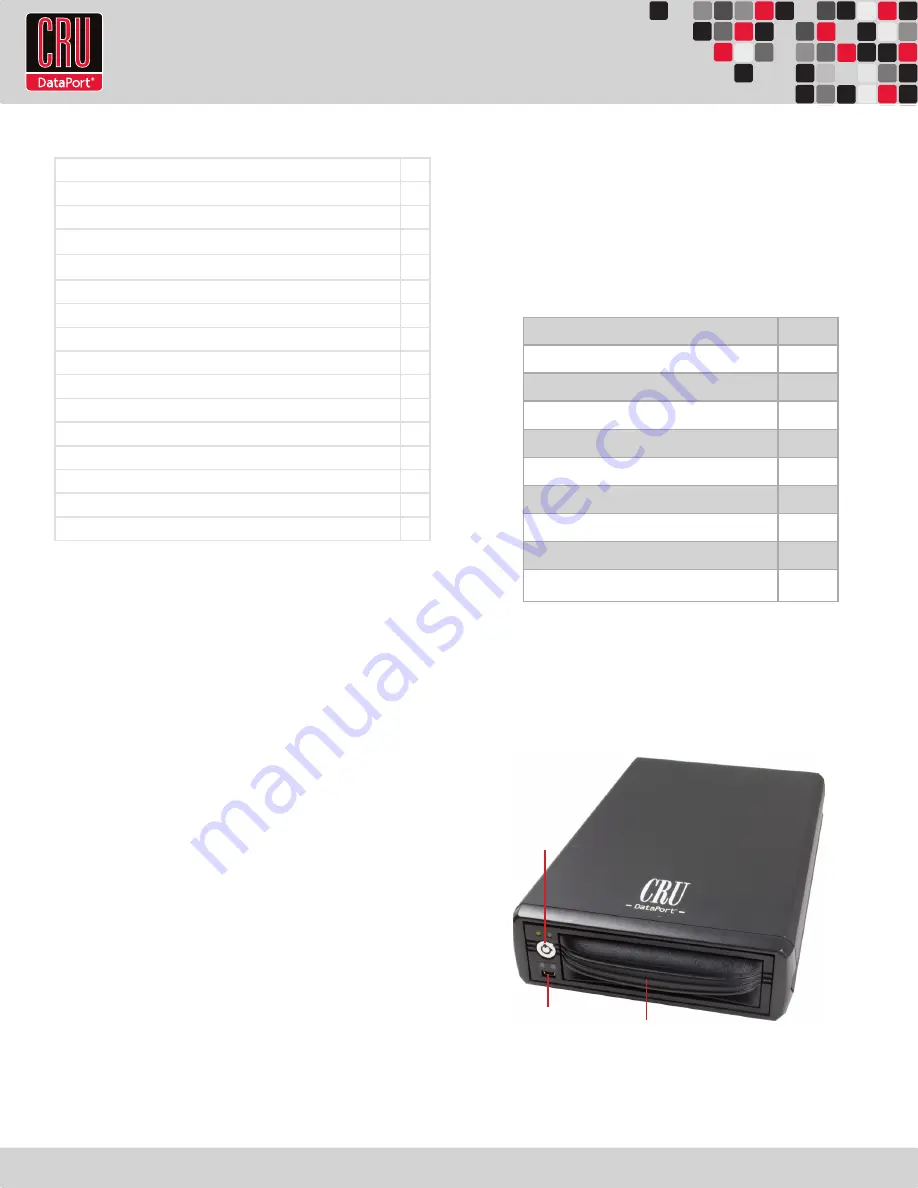
1.2  Identifying Parts of Your DataPort SecureDock with 

Internal Key

Table of Contents


Accessories 

Quantity

DataPort Carrier

1

#6-32x1/4 flat-head drive mounting screws

5

AC Adapter

1

DataPort Keys

2

eSATA Cable

1

Security Keys

3

Lanyards for Security Keys

3

Security Key ID Tag

3

Security Key Labels

6

1. Pre-Installation Steps

1

1.1 Box Contents

1

1.2 Identifying Parts of your DataPort SecureDock

1

1.3 Warnings and Notices

2

2. Installation Steps

2

2.1 Security Key Installation

2

2.2 Hard Drive Installation

2

2.3 Operating the DataPort SecureDock with Internal Key

3

2.4 Safe Carrier Removal

3

2.5 Other Configuration Options

3

2.5.1 External Security Key Override

3

2.5.2 Changing the Internal Security Key

3

3. Usage with Mac and Windows Operating Systems

4

4. Encryption

5

5. Frequently Asked Questions

5

6. Technical Specifications

7

Page 1

Key Lock

Security Key 

Port

Carrier Handle

Содержание DataPort SecureDock AES 128

Страница 1: ...ber 1471 and all CRU AES 256 bit security chips are NIST CSE validated FIPS PUB 197 No Key Management The encryption key is mounted inside of the dock Simply remove the carrier and the hard drive is e...

Страница 2: ...ter 1 DataPort Keys 2 eSATA Cable 1 Security Keys 3 Lanyards for Security Keys 3 Security Key ID Tag 3 Security Key Labels 6 1 Pre Installation Steps 1 1 1 Box Contents 1 1 2 Identifying Parts of your...

Страница 3: ...two inches until it catches and then pull up to remove the cover b Use a Phillips head screwdriver to remove the screws securing the receiving frame to the SecureDock c Unplug the power the 4 wired c...

Страница 4: ...to properly dismount the drive from Mac or Windows systems b Use the DataPort Key to turn the keylock 90 degrees counter clockwise to unlock and power off the unit c Pull the carrier by the handle tow...

Страница 5: ...your DataPort SecureDock with Internal Key with both Mac and Windows computers select MS DOS File System instead d Enter a name for the new volume and then click Erase to start the process 3 1 3 Moun...

Страница 6: ...SecureDock with Internal Key was previously formatted with the correct Security Key in place then when the DataPort SecureDock with Internal Key is properly connected and turned on a window may open...

Страница 7: ...iencing this issue please contact Technical Support Cycling power on the unit will require you to reinsert the external Security Key into the Mini USB Security Key port before turning the unit back on...

Страница 8: ...o comply with the limits for a Class B digital device pursuant to Part 15 of the FCC Rules These limits are designed to provide reasonable protection against harmful interference when the equipment is...

Отзывы: