background image

WWW.CRU-DATAPORT.COM  •  (800) 260-9800

WWW.CRU-DATAPORT.COM  •  (800) 260-9800

Diagram 5

Setting Up the Drive for Windows XP

Connect the DataPort

 250


to your computer.  Check to see if the

hard disk drive is accessible in 

My Computer

.  If it does not show up,

do the following:

·

Right click on 

My Computer

·

Click on 

Manage

·

In the 

Storage

 sub-section click on 

Disk Management;

 this

will show all the drives connected to your computer.

·

If you are prompted to initialize the drive, follow the directions.

REMEMBER, formatting your drive will result in loss of data.

You should now see the hard disk drive in the list of drives on the right
side of your window.

Right click on the drive and click 

New Partition

 (see Diagram 5).

This will launch a wizard that allows you to partition the drive, format it,
and assign it a drive letter.

9

WARNING: Formatting your drive will result in loss of data.

Setting up the Drive for Windows 2000

Connect the DataPort

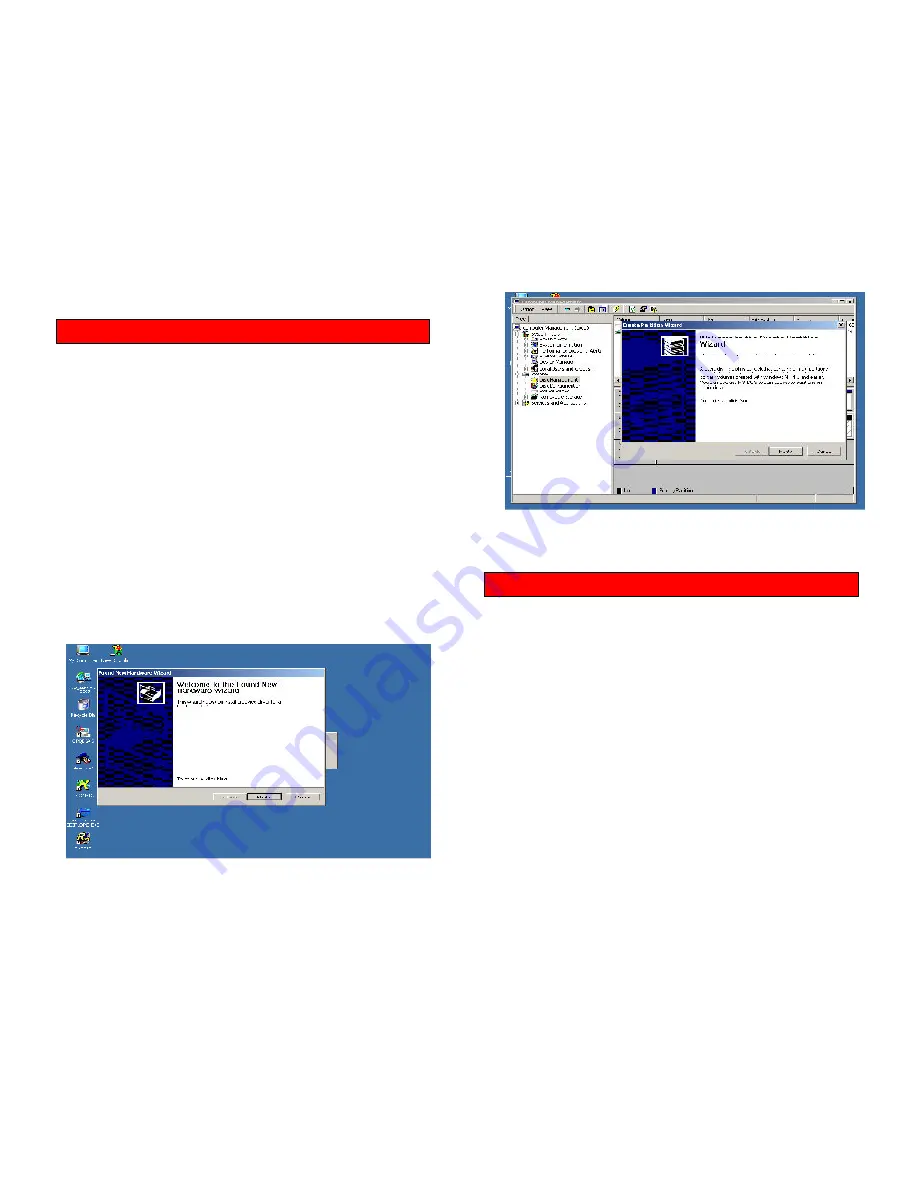
250 to your computer.  A new window will pop

up for the 

New Hardware Wizard

 (see Diagram 4). Follow the

instructions to add the new drive.  After completing these instructions,
do the following:

·

Right click on 

My Computer

·

Click on 

Manage

·

In the 

Storage

 sub-section, click on 

Disk Management

 to

display a list of  all the drives connected to your computer.

·

If you have not used the drive before you will have to partition it.
Left click on 

Action

, select 

All Tasks

 and then left click on

Create Partition

.  

REMEMBER, formatting will result in loss

of data.

·

This will bring up the 

Create Partition Wizard

 screen (see

Diagram 5).  Follow the instructions and the drive will be ready
to use.

Diagram 4

WARNING: Formatting your drive will result in loss of data.

8

Содержание DataPort 250

Страница 1: ...WWW CRU DATAPORT COM 800 260 9800 DataPort 250 USB 2 0 Enclosure User s Guide ...

Страница 2: ...260 9800 WWW CRU DATAPORT COM 800 260 9800 TABLE OF CONTENTS PAGE Package Contents 1 Features and Requirements 2 Installation 4 Trouble Shooting 13 Technical Support 14 Warranty 15 i DataPort 250 USB 2 0 Enclosure User s Guide ...

Страница 3: ... 1 PACKAGE CONTENTS DataPort 250 Power Supply Power Cable for PS 2 Port USB cable Carrying Case User s Manual If you are missing any of the above items please contact the place of purchase to get replacements For further assistance contact CRU DataPort at 800 260 9800 ...

Страница 4: ...ot swappable Three ways are provided to power the DP250 and hard drive bus power PS 2 port power cable included and external power supply AC power adapter included Power hard drive activity LED green indicator shows steady illumination to show power on flickers to indi cate hard drive activity Space saving design 1 year warranty For PC Users Windows 98SE 2K ME XP USB 2 0 Port For Mac Users Mac OS ...

Страница 5: ... power for the DP250 and hard drive Where USB bus power is not sufficient the PS 2 port or external power supply should be used PS 2 port The PS 2 port on your computer can be used to supply power to your DP250 Plug the provided PS 2 power cable into an available PS 2 port on your computer Plug the power input end of the PS 2 cable into the power input on the back of the DP250 enclosure The PS 2 c...

Страница 6: ...r select the primary drive and let the computer find it Once the driver installation is completed hit close Right Click on My Computer and select Properties Select the Device Manager tab Click on the beside Disk Drives Right click on your drive and select Properties Select the Settings tab and place a check beside Removable After completing these steps you will have to reboot your computer Once yo...

Страница 7: ... allows you to partition the drive format it and assign it a drive letter 9 WARNING Formatting your drive will result in loss of data Setting up the Drive for Windows 2000 Connect the DataPort 250 to your computer A new window will pop up for the New Hardware Wizard see Diagram 4 Follow the instructions to add the new drive After completing these instructions do the following Right click on My Com...

Страница 8: ... be added to your desktop If the drive is not correctly formatted you will be asked to initialize it see Diagram 6 Click on the partition tab and set your desired partitions then click ok see Diagram 7 The new disk will be added to your desktop REMEMBER format ting your drive will result in loss of data Diagram 6 10 WARNING Formatting your drive will result in loss of data ...

Страница 9: ...DataPort Technical support for further assistance 13 Removing the Hard Disk Drive Win 98SE ME 2K and XP Right click on the green arrow icon on the system tray Select Remove Reject Highlight the USB Mass Storage Device in the dialog box then click on Stop Choose the external disk drive that you want to disconnect then click on Stop Wait until the You may safely remove this device message appears Un...

Страница 10: ...acement hardware will be warranted for the remainder of the original warranty period These remedies are void if failure of the hardware has resulted from accident abuse misapplication or modification This will be deter mined by CRU DataPort 15 TECHNICAL SUPPORT Contact your dealer for technical support first If you still need assistance then contact the CRU DataPort technical support depart ment Y...

Страница 11: ...in 30 days of the original RMA issue date All products on each RMA must be shipped together Prior to returning defective product s contact a CRU DataPort Technical Support Specialist for problem analysis and replacement ap proval at 800 260 9800 To return defective product s please follow the guidelines below in addition to the general RMA guidelines described above in the Material Return section ...

Страница 12: ... product s after 30 days please follow the guidelines below in addition to the general RMA guidelines described above in the Material Return section Prior to returning defective product s contact a CRU DataPort Technical Support Specialist for problem analysis and replacement approval at 800 260 9800 Defective product s must be sent freight pre paid and insured by the requestor Repair replacement ...

Отзывы: