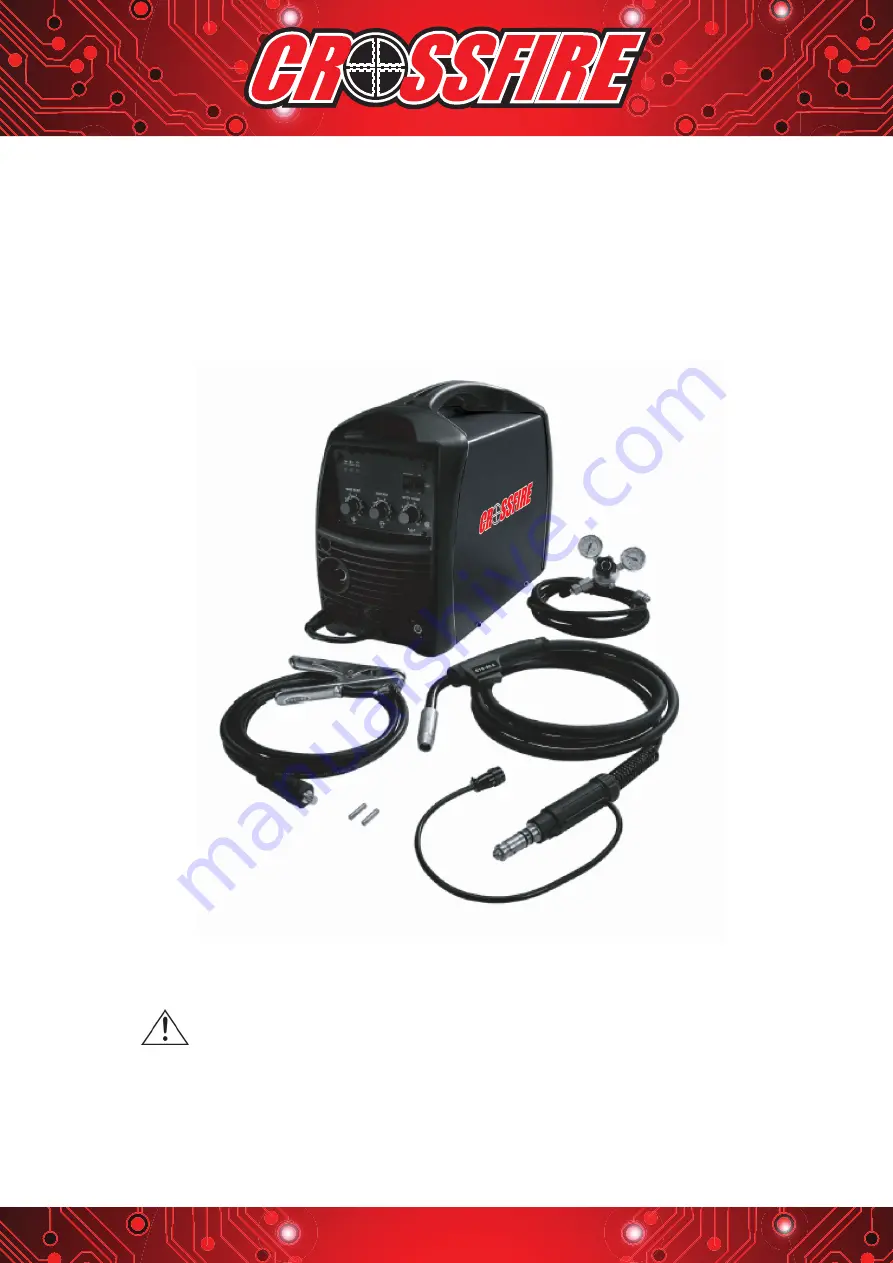
MS 210Si
OWNER’S MANUAL
WARNING:
Read carefully and understand all
ASSEMBLY AND OPERATION
INSTRUCTIONS before operating. Failure to follow the safety rules and other
basic safety precautions may result in serious personal injury.
Страница 1: ...R S MANUAL WARNING Read carefully and understand all ASSEMBLY AND OPERATION INSTRUCTIONS before operating Failure to follow the safety rules and other basic safety precautions may result in serious pe...
Страница 2: ...rch parts nozzle electrode di user cover are considered consumable items and are not covered under warranty 90 days Parts for Cross re spool guns welding carts and welding cabinets This warranty cover...
Страница 3: ...unt the welder on a secure bench or cart that will keep the welder secure and prevent it from tipping over or falling 1 2 Your Welder s Condition Check ground cable power cord and welding cable to be...
Страница 4: ...ct all cables and cords for any exposed wire and replace immediately if found Use only recommended replacement cables and cords Always attach ground clamp to the work piece or work table as close to t...
Страница 5: ...lammable gaseous or liquid combustibles in them Welding creates sparks and heat that can ignite flammable and explosive materials Do not operate any electric arc welder in areas where flammable or exp...
Страница 6: ...cables on the same side of your body Shielding Gas Cylinders Can Explode High pressure cylinders can explode if damaged so treat them carefully Never expose cylinders to high heat sparks open flames m...
Страница 7: ...1Phase 230V 60HZ AC power A 20 amp time delay fuse or circuit breaker is recommended The model is ideal for Do It Yourself projects or for light maintenance MIG weld carbon steel stainless steel Unpa...
Страница 8: ...y Hz 60 Rated input current A 35 Rated input capacitance KVA 6 9 No load voltage V 69 Rated working voltage V 22 MIG welding current A 30 200 Rated duty cycle 20 Welding current 10min A 20 200 10min 1...
Страница 9: ...hen the unit is ON WELDING VOLTAGE Set output voltage and wire speed Refer to the set up chart inside the wire feed compartment WIRE SPEED ADJUST Adjusts the wire feeding amperage speed SPOT TIMER Whe...
Страница 10: ...requirement AC single phase 230V 60HZ fused with a 20amp time delayed fuse or circuit breaker is required High voltage danger from power source Consult a qualified electrician for proper installation...
Страница 11: ...ible the work piece should be positioned so that the bead will run on a flat surface 3 2 Preparing the Joint Before welding the surface of work piece needs to be free of dirt rust scale oil or paint O...
Страница 12: ...rc flash make certain that the wire coming out of the end of the torch does not come in contact with work piece ground clamp or any grounded material during the drive tension setting process or arcing...
Страница 13: ...gulator and gas cylinder connection Attach one end of the gas hose to the gas solenoid valve gas inlet located on the back panel of the welder Attach the other end to the gas regulator which is attach...
Страница 14: ...receptacle Make sure the POWER switch is OFF before connecting your welder s power cord to a properly grounded 230VAC 220v 240v 60Hz single phase 20amp power source Part1 The MIG welding operation 1...
Страница 15: ...piece should be kept constant and should not exceed 1 4 inch or the arc may begin sputtering signaling a loss in welding performance 5 Tuning in the wire speed This is one of the most important parts...
Страница 16: ...re speed settings Repeat this tune in procedure if you select a new heat setting a different diameter wire or a different type of welding wire 6 Welding Techniques EXPOSURE TO A WELDING ARC IS EXTREME...
Страница 17: ...mple weld beads you can begin to try some different weld bead types The STRINGER BEAD Is formed by traveling with the torch in a straight line while keeping the wire and nozzle centered over the weld...
Страница 18: ...to achieve deeper penetration When vertical welding angle B see HOLDING THE TORCH is usually always kept at zero but angle A will generally range from 45 to 60 degrees to provide better puddle contro...
Страница 19: ...how the sequence for laying multiple pass beads into a single V butt joint NOTE WHEN USING SELF SHIELDING FLUX CORE WIRE it is very important to thoroughly chip and brush the slag off each completed w...
Страница 20: ...lled into the top piece of metal and the arc is directed through the hole to penetrate into the bottom piece The puddle is allowed to fill up the hole leaving a spot weld that is smooth and flush with...
Страница 21: ...when the temperature lowers 1 Yellow Indicator is on Using over the rated duty cycle It will automatically recover when the temperature lowers Potentiometer not in the proper status Change potentiomet...
Страница 22: ...ot feed Clean or replace the liner and the torch tip Ground cable break Connect ground cable 5 arc can t be pilot Work piece is greasy or rusty Clean work piece Torch is not connected properly Connect...
Страница 23: ...C6 C13 NTC2 AC 1 AC 2 3 4 Z1 S35VB100 C14 1 2 CN2 1 2 3 FAN FAN1 PowerMIG DB PM 01 MIG STICK 220Si MB ALARM LED POWER LED WORK LED PowerMIG KZB MI STICK 200W G1 E1 G2 E2 3 R22 C18 3 R23 C19 QF QF1 2 2...
Страница 24: ...arts List NO CODE Description Qty 1 2 05 08 126 Handle 1 2 1 1 01 01 0151 Enclosure 1 3 2 07 55 616 Gas valve plinth 1 4 2 07 80 001 Rocker Switch 1 5 1 2 07 02 3866 Gas valve wiring harness 1 6 1 1 0...
Страница 25: ...967 Europe type quick socket 2 17 2 03 40 764 Trigger switch wiring harness 1 18 1 2 08 02 0471 output cable 1 19 1 2 08 04 0160 Gun 1 20 2 30 08 188 Contact tip 1 21 2 20 04 501 Nozzle 1 22 2 07 11 0...
Страница 26: ...ve accumulated inside the welder Replace power cord ground cable ground clamp or electrode assembly when damaged or worn MINOR AND ROUTINE MAINTENANCE Store in a clean dry facility free from corrosive...