Crestron
CPC-2000A
Touchpanel with Dual Joysticks
2. Select
Tools | ViewPort
to open the “Crestron Performance Viewport”
dialog box.
3. Select
Functions | Set Network ID
. The software checks the baud rate
and then opens the “Set Network ID” dialog box.
4. Notice the list of current network devices in the dialog box. Highlight
the CPC-2000A.
5. The NET ID of the CPC-2000A (default is 30H) appears in the box
below the list. Use the scroll arrow to assign another NET ID.
6. When the newly assigned NET ID appears, select the
Set ID
button to
initiate the change.
7. The software responds with a successful message to confirm the new
NET ID.
8. To verify this procedure, select
Diagnostics | Report Network
Devices
. Confirm that the CPC-2000A has a new NET ID code.
9. Reconnect other network devices that were disconnected in step 1.
Configuring the Touchpanel
Main Menu
It may be necessary to make adjustments or
configure
the touchpanel due to
utilization or a particular appearance chosen by the user. To configure the
CPC-2000A, it may be necessary to access a series of setup screens prior to viewing
run-time screens that are loaded into the touchpanel for normal operation. The Main
Menu for configuring the touchpanel appears when a finger is held to the
touchscreen as power is applied. Remove your finger when the message “SETUP
MODE” appears on the touchscreen. Holding a finger to the touchscreen for five
seconds after the “SETUP MODE” message is displayed sets the brightness to high
and the contrast to a safe value.
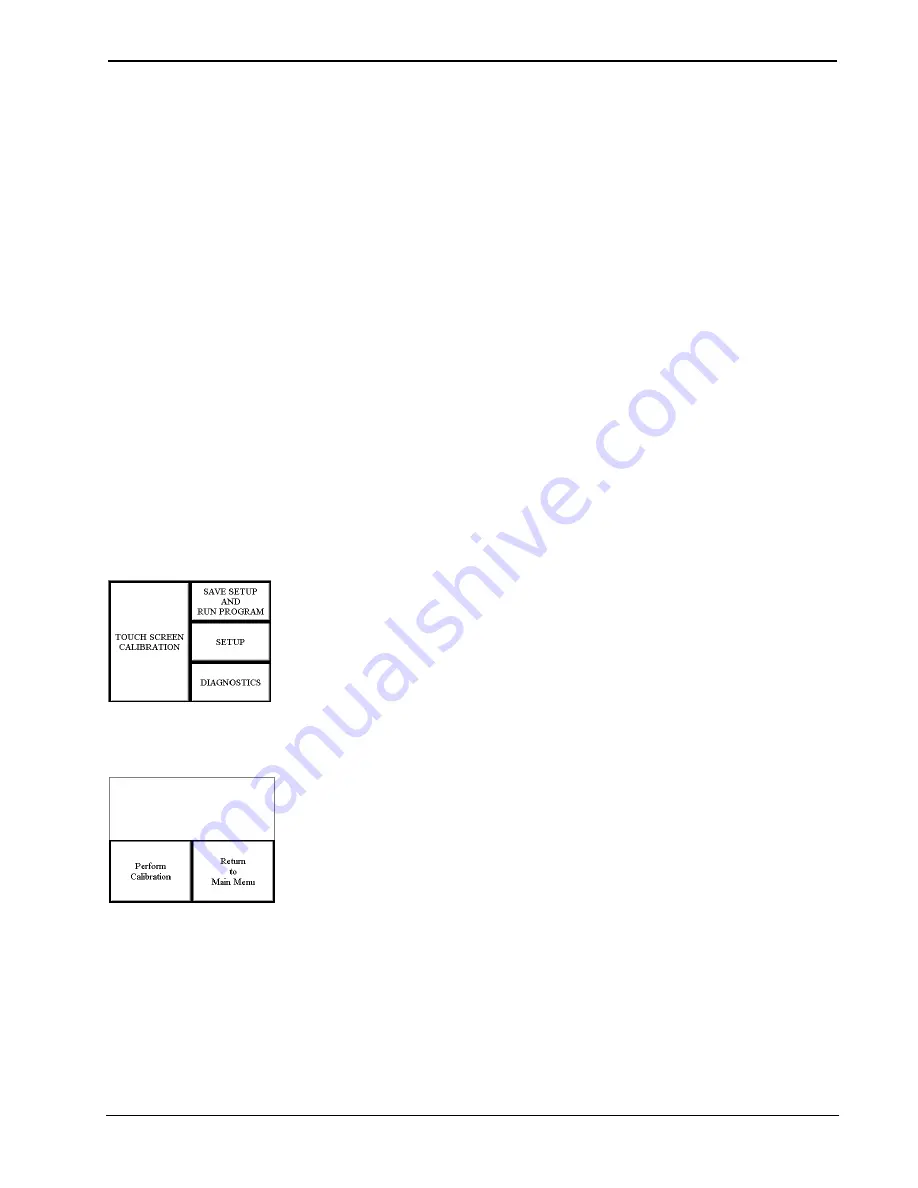
Upon entering SETUP MODE, the Main Menu, shown to the left of this paragraph,
displays four buttons:
TOUCH SCREEN CALIBRATION
,
DIAGNOSTICS
,
SETUP
, and
SAVE SETUP AND RUN PROGRAM
.
Calibration Menu
Calibration Menu
Calibration of the touchscreen is required if the active touch area of a button does
not coincide with the button’s image. Select the
TOUCH SCREEN
CALIBRATION
button on the Main Menu to display the Calibration Menu, shown
to the left of this paragraph. The Calibration Menu offers the choice to initiate
calibration with the
Perform Calibration
button or return to the previous screen
with the
Return to Main Menu
button. Choose an option by touching the correct
button. When touching the screen, be as accurate as possible.
If you proceed to calibrate the touchpanel, the screen prompts you with the message
“Touch Screen Calibration Menu” nearly centered on the display. Another message,
“Touch Upper Left Corner”, appears in the upper left corner. Touch the corner of
the screen to initiate calibration. Another message, “Touch Lower Right Corner”,
appears in the lower right corner. Touch the corner of the screen to return to the
Main Menu and terminate calibration.
Operations Guide - DOC. 5801A
Touchpanel with Dual Joysticks: CPC-2000A
•
7


