18
Note
: After you have set the position and OSD content, the symbol appears
in the Status column, which means that the OSD is set successfully. You may set
multiple lines of contents for each area and use and to adjust the display
sequence.
3.
After completing the settings, a message displays to indicate the successful
settings.
4.
To cancel OSD for an area, clear the OSD content in the Overlay OSD Content
column or select
None
in the Position column.
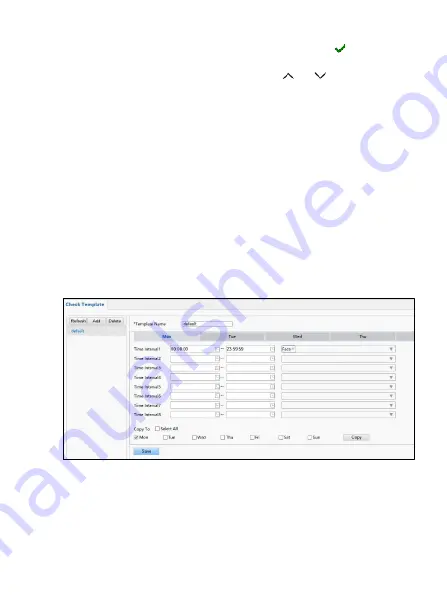
4.9 Configuring Check Templates
The check template is applicable when the device is used together with a door
control system. With the check template, you can configure the authentication
modes that are applicable to different periods of time in a day, so people must
match the authentication modes before they can open the door. The authentication
mode can be configured separately for each day or copied to all days. Up to 16 check
templates can be configured.
1.
Go to
Setup > Intelligent > Check Template
and click
Add
.
2.
Set parameters in the right panel of the interface.
•
Template Name: Enter the name of a check template. The value is a string
of 1–63 characters.


