8
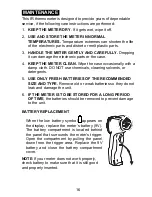
BATTERY INSTALLATION
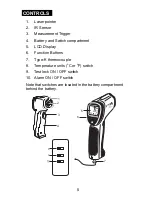
When the low battery symbol appears
on the display, replace the meter’s battery
(9V). The battery compartment is located
behind the panel that surrounds the
meter’s trigger. Open the compartment by
pulling the panel down from the trigger
area. Replace the 9V battery and close the
battery compartment cover.
NOTE
: If your meter does not work properly,
check the battery to make sure that it
is still good and properly inserted.
OPERATING INSTRUCTIONS
Non-Contact (IR) Temperature Measurements
1. Hold the meter by its handle and point it toward the surface
to be measured.
2. Pull and hold the trigger to turn the meter on and begin
testing. The temperature reading, the flashing ‘SCAN’ icon,
the emissivity, and the unit of measure will appear. Note:
Replace the 9V battery if the display does not switch on.
3. Release the Trigger and the reading will hold for
approximately 7 seconds (HOLD will appear on the LCD)
after which the meter will automatically shut off. The only
exception to this is if the LOCK mode is set to ON.
Note
: Select the temperature units (ºF/ºC) using the switch
inside the battery compartment

