16
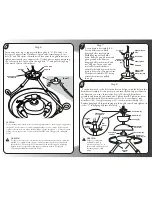
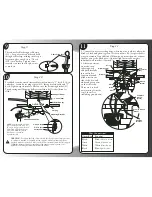
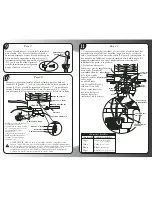
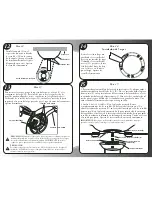
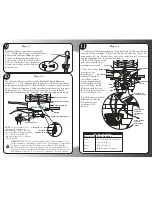
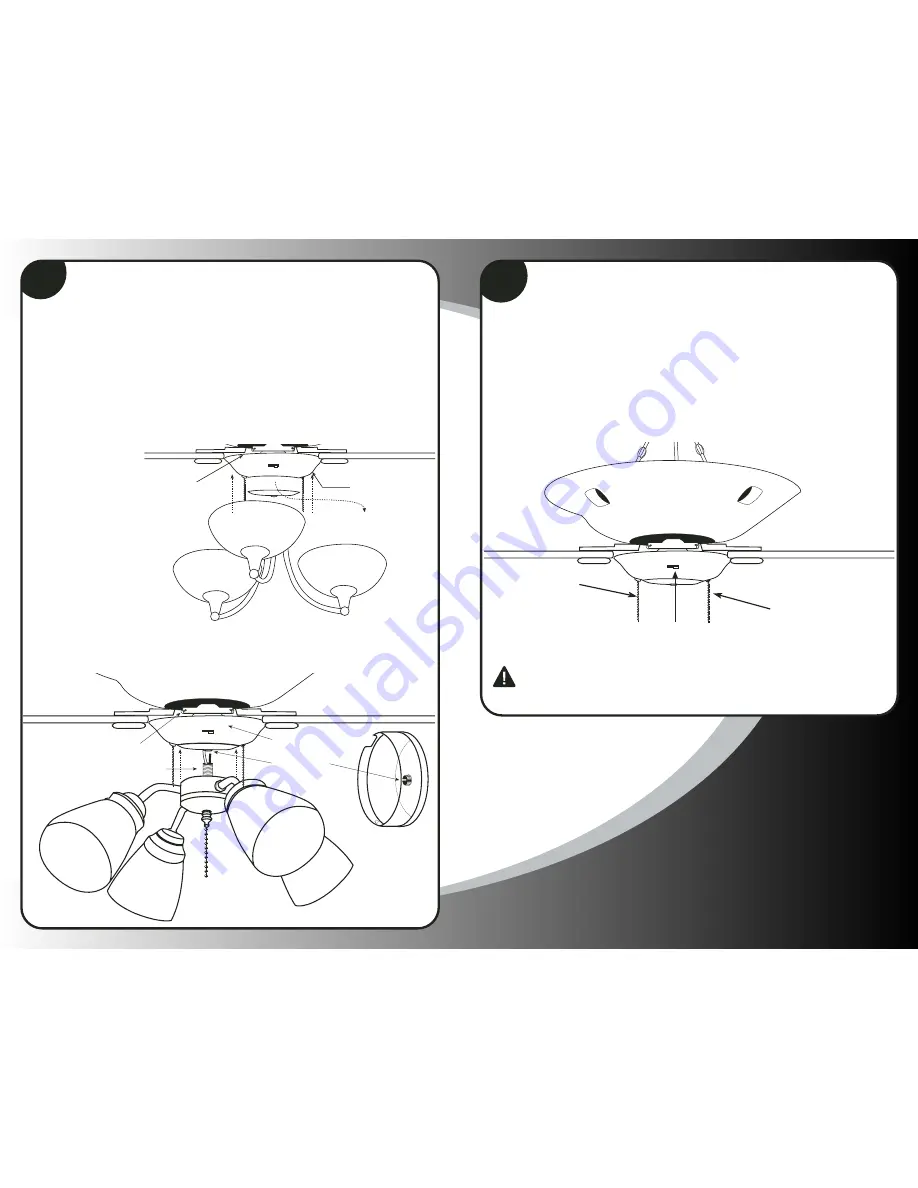
Screws
Switch Hub
Center Plug
Center Screw
Screws
Switch Hub
Remove Center Plate
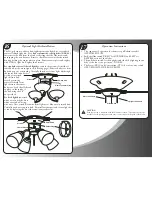
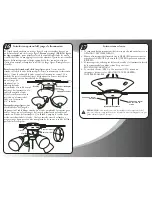
Optional Light Kit Installation
The Tri-pod can use either a hub-replacement type light kit or a standard
center all thread light kit. For a
hub replacement type light kit (DLK-36),
first remove the hub from the fan by removing the four side screws and
unsnapping the wire harness. Remove the three screws inside the switch
housing holding the center plate in place. Remove center plate and replace
with DLK-36 light kit. Replace three screws.
For standard center all thread light kit
, remove three screws from side of
switch hub (as shown in figure on following page). Remove hub cover from
hub and pop out center plug. Carefully thread wires from light kit through
the center hole in hub cover.
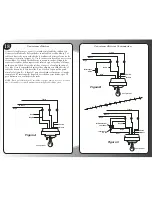
At this point attach
light kit into hub
cover by screwing
center all-thread from
light kit into the center
hub cover. Lock the all-thread
in place on the inside of
the hub using the 3/8"
nut provided.
For both light kits,
attach
white wire from light kit to
white wire in hub, using
wire nuts. Next, attach black wire from light kit to blue wire in switch hub.
Carefully push wires up into hub. Reinstall wire harness and secure light kit
to fan by replacing the four side screws removed earlier.
Operation Instructions
1. The sequence of operation for the motor pull/chain switch is
OFF-HI-MED-LOW.
2. Push the slide switch RIGHT for FORWARD, and LEFT for
REVERSE action of the blades.
3. The pull chain switch for the uplights and side body lighting in the
body of the fan is two positions - ON/OFF.
4. The Fresco (FR52) and Constantina (CT52) has a four-way switch:
OFF-UPLIGHTS-SIDE BODY-BOTH.
17
Motor Pull Chain
Slide Switch
Uplights Pull Chain
CAUTION
Even if your fan is mounted with the blades more than 7 feet from the floor, be
careful to avoid placing your raised arms or any object in the path of the blades.

