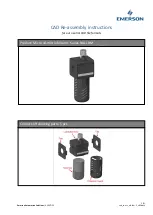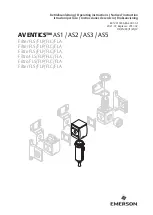
FILTER KIT START-UP (CONTINUED)
4.
Turn on the water to the filter and press the red button on
the head to open the pressure relief valve, release the button.
Inspect the filter assembly for leaks. Your system is now in
service. Always keep a supply of replacements cartridges
on hand.
NOTE:
The drinking water cartridge may, contain carbon fines
(very fine black powder). After installation, flush cartridge for 5
minutes to remove the fines before using the water.
INSTALLATION WITH SAF-T-WASH™
The following is an overview of installation instructions for the
STW1200KIT. For full instructions for installation with Saf-T-Wash™
(STW1200) please review the Saf-T-Wash™ instruction manual
included with kit or available for download at
www.sanjamar.com/saftwash.
NOTE
:
Before getting started, make sure to
have a space measured on the wall to mount the
Saf-T-Wash™ unit and filter kit.
CARE AND CLEANING
For the protection of your filter, do not store open containers of
oils, alcohols, insecticide, polishes, cleaning fluids or other common
household chemicals near your filter installation. To maintain the
clear, bright appearance of the filter bowl, clean only with mild
solution of unscented dishwashing detergent. Do not clean with
soap, strong or scented detergents, chemical cleansers or abrasives.
Check the system and installation for compliance with your state
and local laws and regulations. For cold water use only.
WARNING:
Do not use with water that is microbiologically
unsafe or of unknown quality without adequate disinfection before
or after the system. Systems certified for cyst reduction may be
used on disinfected waters that may contain filterable cysts.
CARTRIDGE CHANGE
Replace filter cartridges when they become excessively dirty,
when the
pressure gauge after the filter indicates extremely low
pressure during water flow, or when changes in taste and odor
are detected.
1.
Turn off inlet and outlet water valves and press the pressure
relief valve.
2.
Unscrew the bowl from the filter head, remove the used
cartridge and empty the water from the bowl.
3.
If the o-ring on the bowl feels dry, lubricate it with a high
quality silicone grease.
4.
Clean the bowl with a mild solution of unscented dishwashing
detergent. DO NOT use soap, strong or scented detergents,
chemical cleansers or abrasives.
5.
Position the replacement cartridge on the guide seat in the
bottom of the bowl. Then firmly screw the bowl into the
head by hand. DO NOT USE A HOUSING WRENCH. Flush
cartridge for 5 minutes to remove carbon fines before using
the water.
CAUTION:
The o-ring provides a water tight seal. Make sure
the o-ring is properly seated and lubricated.
Technical Support • Everpure: (800) 942-1153 • San Jamar: (800) 248-9826 • Mon-Fri., 8:00-5:00
24”
(610mm)
14”
(356mm)
inside port
(grey tube)
outside port
(blue tube)
4.65”
(118mm)
Teflon tape
1
2
3
4
5
6
Before starting installation, be sure to shut off both
power and water to the equipment being served
by your Costguard system.
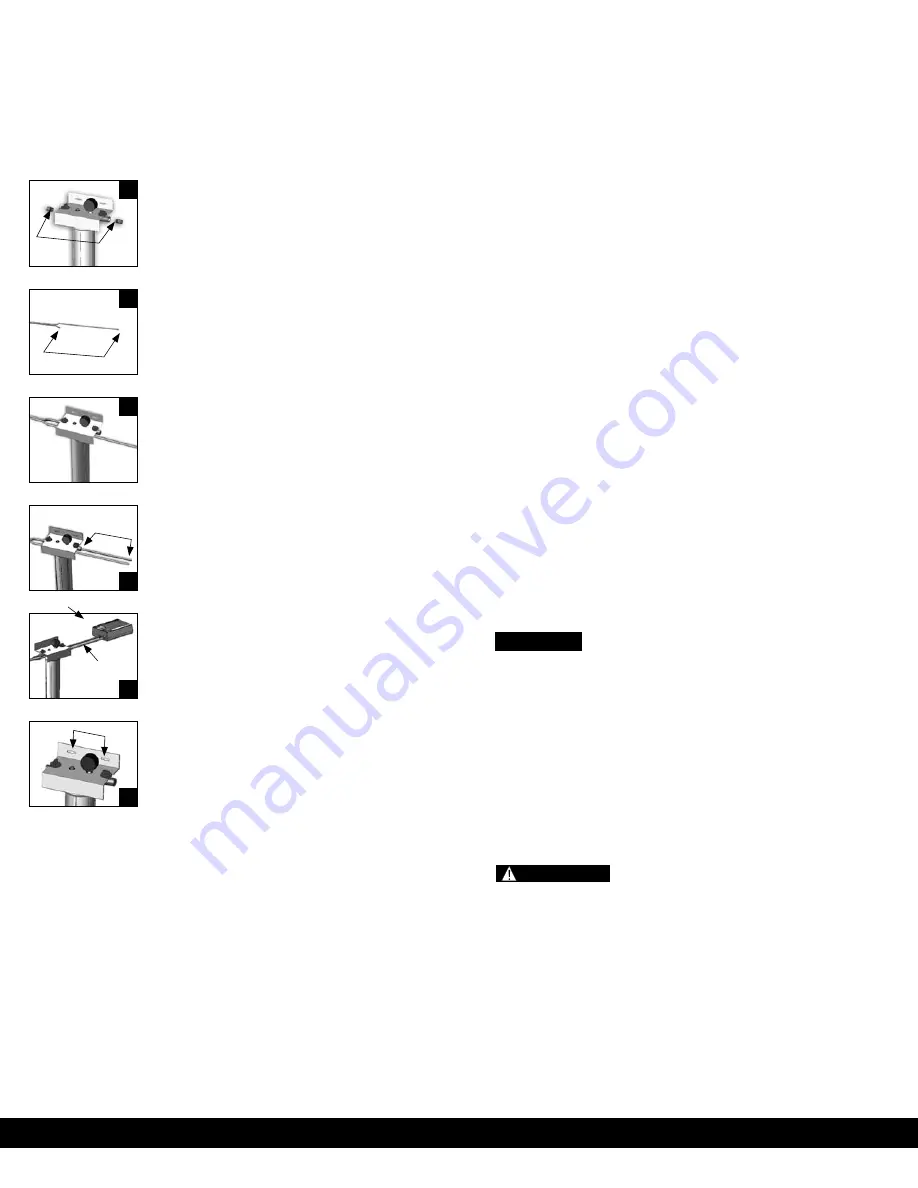
1:
Apply Teflon tape (included) to the threaded
fitting before assembling them onto the filter
housing.
2:
Separate blue and grey tubes about 30” from
the end of Valve Assembly. Cut 24” off of grey
tube.
3:
Mark the grey tube 3⁄4” from the end. Plug
grey tube into the inlet of the filter housing
(labeled “inlet”) to the 3⁄4” mark. IT IS
IMPORTANT to make sure the grey tube is
plugged in all the way to avoid a water leak. The
blue tube will run past the filter. It runs from
Saf-T-Wash™ unit to the diverter valve.
4:
Plug the 14” grey tubing piece (included in kit),
mark 3⁄4” from the end and plug into the outlet
of the filter assembly, inserting fully to the 3⁄4”.
5:
The grey tube inserts into the “inlet” port and
the blue tube inserts into the “outlet” port on
the Saf-T-Wash™unit. Make sure both tubes are
inserted 3⁄4” to avoid leakage.
6:
Mount filter unit to the wall. Using screws
provided with kit into the wall. Mount the
Saf-T-Wash™ Food Sanitizing unit onto the
wall according to the instructions on the
Saf-T-Wash™ manual.
FILTER KIT START-UP
1.
Separate the bowl and head assembly. Set the bowl and
cartridge aside.
2.
Check to be sure the o-ring on the bowl is sufficiently
lubricated. If additional lubrication is needed, use only a high
quality grade of silicone grease.
3.
Position the cartridge on the guide seat in the bottom of the
bowl. Then screw the bowl onto the head, by hand; do not
use a housing wrench!


