background image

4

Preparing to Return the Corning® Matribot® Bioprinter

Returning the Corning Matribot Bioprinter to Default Settings

Please return the Corning Matribot bioprinter to default settings by navigating on the LCD interface. First, navigate to the Prepare Bioprint 
menu and select Home Axes to return the printhead to the home position. Then, navigate to the Utilities menu and confirm that SD print 
is not enabled.

Cleaning or Sanitizing the Corning Matribot Bioprinter 

Before cleaning, turn off and unplug the Corning Matribot Bioprinter. The Corning Matribot Bioprinter has a chemical-resistant coating. 
Clean or sanitize it with >70% (v/v) ethanol. Spray the surface, and wipe it with a soft cloth while wearing gloves to avoid direct contact 
with the unit.

After using ethanol, wait at least 60 seconds before starting the Corning Matribot Bioprinter. Ethanol is flammable, and this 
ensures that all remaining ethanol vapor is ventilated. Failure to wait can cause equipment damage and personal injury.

Task

Action

Clean the gantry system

Remove any dirt that is on the rods or the lead screw 

with a clean, lint-free rag, or by using your finger (with 

gloves on). 

Clean exterior (sides, back, front, top)

Clean the surface with a cloth and ethanol >70% (v/v).

Clean LCD screen 

Clean carefully with a smooth cloth and without using 

heavy solvents.

Clean printbed

Clean the printbed body with a smooth cloth and 

ethanol >70% (v/v). Pay special attention to the auto-

calibration pad. If needed, the pad can be detached for a 

thorough cleaning.

Clean printhead

Clean the printhead body with a smooth cloth to remove 

any dust and debris. Check the fan of the printhead for 

residues or accumulated dirt.

Repacking the Corning Matribot Bioprinter

1.  Unplug the power supply and outlet cord as well as the USB cable from the Corning Matribot bioprinter. Remove any attached thermal 

insulators from the cooling block, detach the surface probe from its storage magnet, and eject the SD card if in use. 

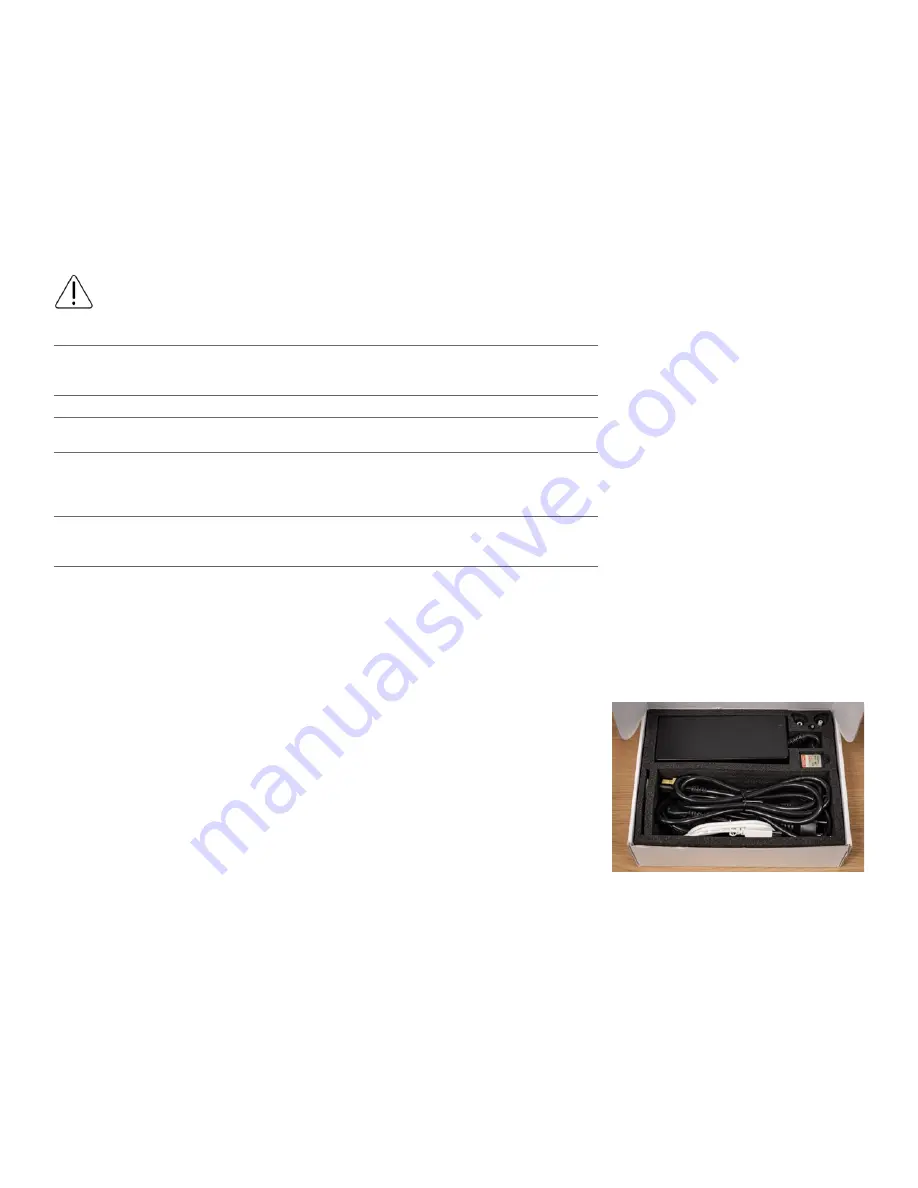
2.  Return all items to the electrical supply box (smaller white box), confirming that the following items have been placed inside the 

original packaging:

• [1x] 24V Power supply
• [2x] Power cord
• [1x] USB cable A male to B male 1.83m
• [1x] SD card, 32GB, SDHC
• [1x] 384-well microplate nozzle thermal insulator
• [1x] Standard nozzle thermal insulator
• [1x] Surface probe
• [1x] Toolkit for preventive maintenance (3 hex keys)

3.  Return the empty consumable box (larger white box insert). NOTE: Remember to remove 

the return shipping label from the consumables box and set aside for returning the unit  
once the demo is complete. 

Содержание Matribot Bioprinter

Страница 1: ...These instructions are to help guide you through unpacking the Corning Matribot bioprinter at the beginning of your demo and through repacking the Corning Matribot bioprinter at the end of your demo If you have any questions please contact your Corning representative ...

Страница 2: ...t be connected to a power outlet with protective grounding 1 Clear a sturdy table benchtop and floor space of at least 2 x 3 feet 0 6 x 0 9 meters 2 Place the box on the floor and open it 3 Save boxes to return the unit after the demo is completed A return shipping label is included in the consumables supply box 4 Remove the two loose item boxes 5 Review the contents of the two boxes to ensure tha...

Страница 3: ...any movable parts or loose components It is recommended to have 2 people lift from the sides of the frame at the indicated locations Remove the device out of the box and place it on the table or benchtop 8 Remove the protective plastic bag from the unit 9 Remove the top inner foam insert as shown DO NOT pull on the printhead cable ...

Страница 4: ... Corning Matribot Bioprinter Instruction Manual CLS AN 641DOC or the Corning Matribot Bioprinter Introduction videos for start up instructions and support NOTE Please do not add delete files to the SD card provided in the package 10 Remove the middle inner foam insert as shown 14 Keep all of the original packaging materials such as foams plastic envelopes return shipping label and boxes in a safe ...

Страница 5: ... front top Clean the surface with a cloth and ethanol 70 v v Clean LCD screen Clean carefully with a smooth cloth and without using heavy solvents Clean printbed Clean the printbed body with a smooth cloth and ethanol 70 v v Pay special attention to the auto calibration pad If needed the pad can be detached for a thorough cleaning Clean printhead Clean the printhead body with a smooth cloth to rem...

Страница 6: ...ower inner foam insert from the front of the printer to slide it under the printbed Lower the printbed onto the foam by gently pushing on the printbed support located at the back of the printbed 5 Confirm that the thermal insulator has been removed from the cooling block to prevent damaging the thermal insulator Gently move the printhead to the center of the unit and slide the middle inner foam in...

Страница 7: ... location Carefully place the bagged Corning Matribot bioprinter into the bottom shipping foam ensuring the LCD knob goes into the foam cutout 10 Place the top shipping foam onto the top of the Corning Matribot bioprinter encapsulating the unit in the box 11 Place the empty consumables box on top of the shipping foam above the Corning Matribot bioprinter and place the electrical supply box in the ...

Страница 8: ...ences www corning com lifesciences NORTH AMERICA t 800 492 1110 t 978 442 2200 ASIA PACIFIC Australia New Zealand t 61 427286832 Chinese Mainland t 86 21 3338 4338 India t 91 124 4604000 Japan t 81 3 3586 1996 Korea t 82 2 796 9500 Singapore t 65 6572 9740 Taiwan t 886 2 2716 0338 EUROPE CSEurope corning com France t 0800 916 882 Germany t 0800 101 1153 The Netherlands t 020 655 79 28 United Kingd...

Отзывы: