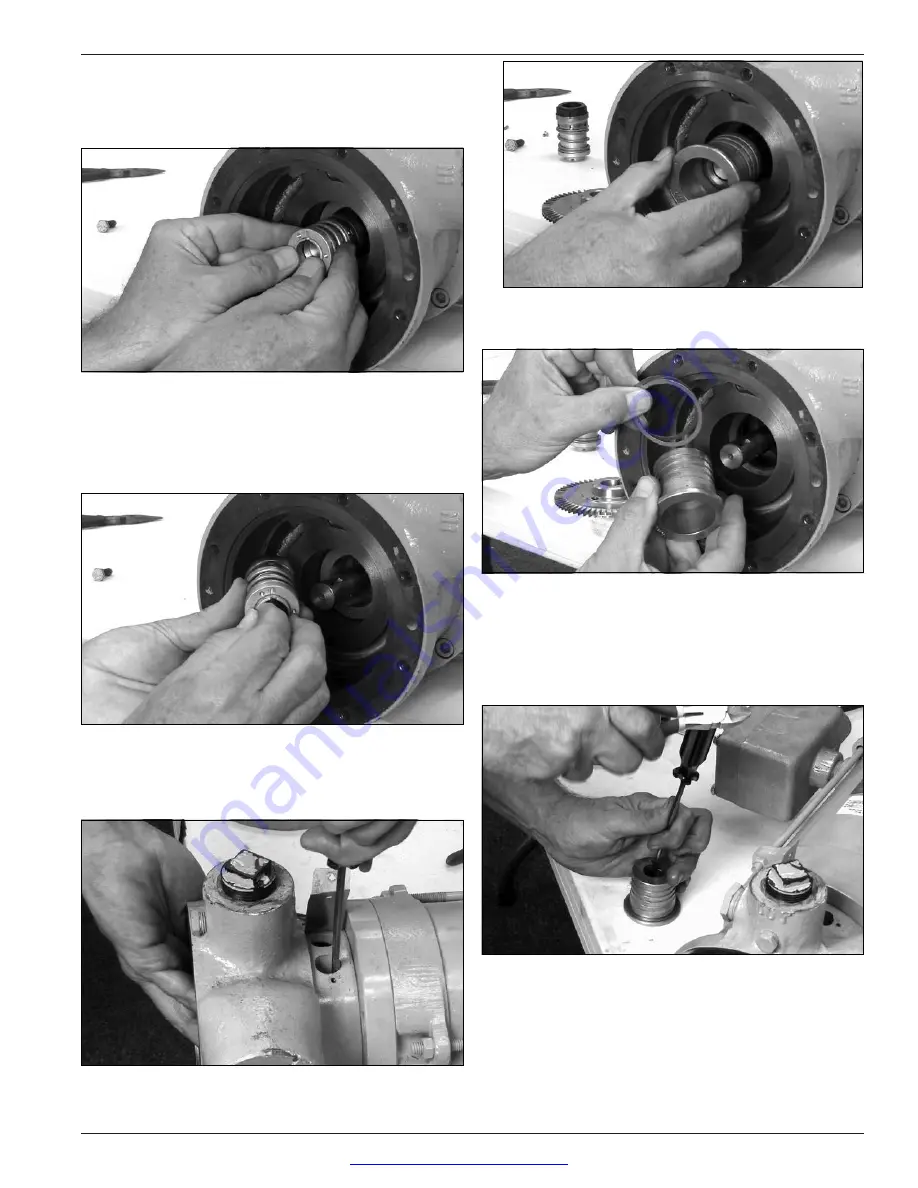
the shaft so the locking pin is in the 6 o’clock position.
Compress the seal assembly with your thumbs and the
pin should drop out. A light press with a screwdriver
may help if the seal assembly does not move back.
15. Reach in with your fingers and remove the sleeve, follower,
and follower O-ring. If there are any nicks or burrs on the
shaft, removal may be difficult. Push the assembly back
in and use emery cloth to smooth and polish the shaft.
Repeat until the sleeve assembly slides out easily.
16. After you remove the assembly note the follower and
follower O-ring. The O-ring is compressed by the follower
when you tighten the seal clamp ring with the 3 screws. It is
critical that the shaft is smooth and clean for a positive seal.
17. To access the seal housing, remove the nameplate
located at the top of the pump casing and insert a flat
blade screwdriver in the opening.
Pry the seal housing forward with the screwdriver and
remove the housing from the pump.
18. After the seal housing has been removed, locate
and remove the shims behind the flange of the seal
housing. Make sure no shims have stuck to the inside
of the casing. Note the number of shims and set aside.
These shims will be re-used during reassembly and
are critical for proper seal compression.
19. Remove the metal stationary seat inside the seal
housing by placing the seal housing face down on a
flat work surface. Lightly tap the seat with a flat blade
screwdriver until it drops out. Or, using a small flat
blade screwdriver, gently pry the seat, rotating the
housing, until the seal drops out.
13
www.northridgepumps.com


