14
We recommend you write the alphabet (A-Z) to check out which letters are recognised using
your own unique handwriting. Use capital letters first and then lower case letters.
TIP!
The larger you write on screen the software will turn into capital letters and visa versa
for small writing. Please practice this.
For some letters the software may have difficulty recognising using your own unique
handwriting, so you will have to add some letters to the memory database. This is done by the
following procedure. Letters are automatically kept in the “Learn” window. Ensure the toolbar
is set to mouse/pen icon. Access the learn window by pressing the 3rd from left icon on the
toolbar. Your letter are kept here, overtype into the box below named “Input text here” Select
the “insert” key to record the letter style. As your handwriting will vary slightly several versions
of your letters may need to be stored in the database.
Signature easy set up instructions
The signature program provides the signature or facsimile features under the software which
support the BMP format files, such as WordPad, Word, AmiPro etc.
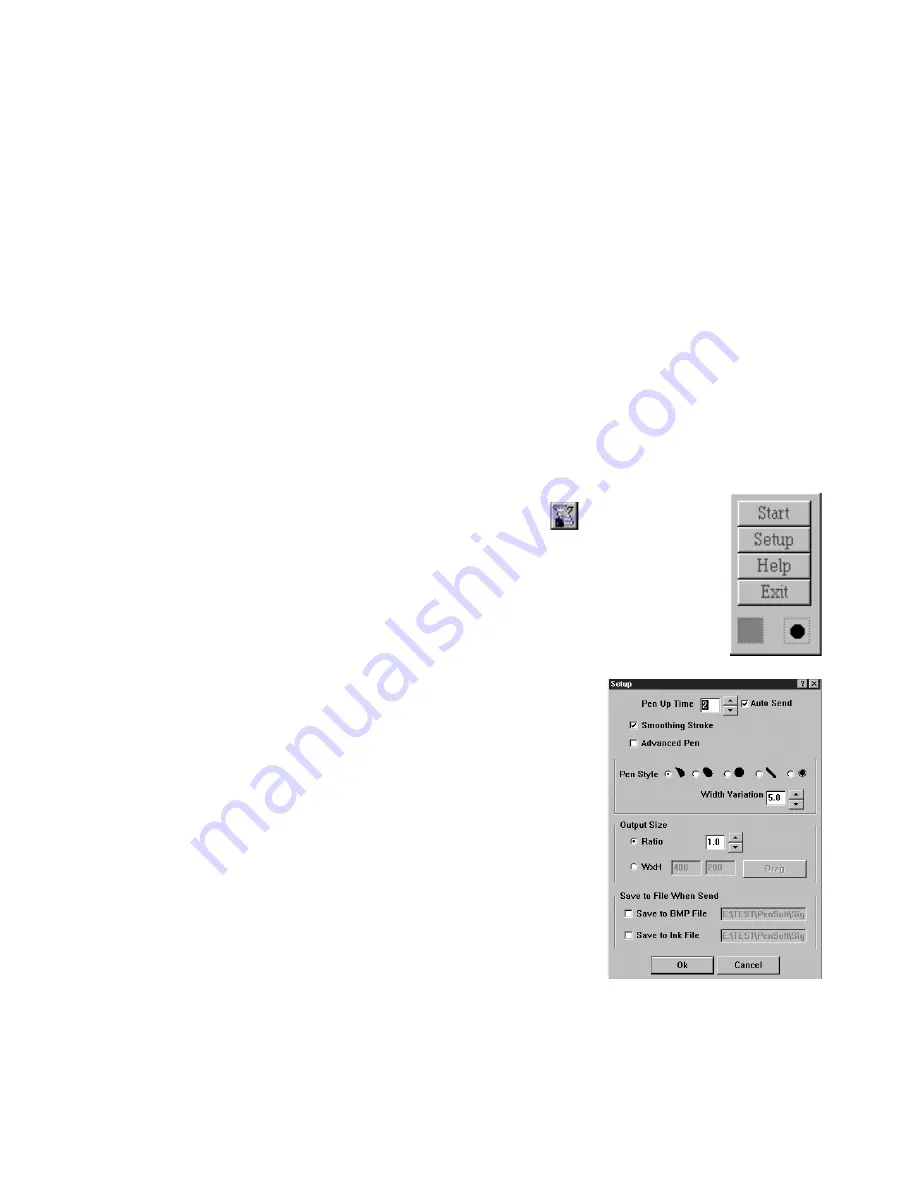
1. Go to Start > Programs > Pensoft > Inking or select the
icon on the
PenSoft Toolbar.
The Signature toolbar will appear on screen.
2. Select “Start” and the icon will change to “Sign” to enter the
signature mode. You can sign your signature now. With the
pen on the
DIGITAL IMAGING CREATIVITY KIT
surface
write your signature and it will appear on screen with the
settings you have chosen. Select “File” and “Save as”, this will
allow you to recall your signature from file and drop into for
example word processing and e-mail documents.
To make any changes to your signature settings, select
“setup” for the toolbar.


