7
5.7 How to Install Cu-SeeMe™
1. Insert the CD-ROM disc into the CD-ROM drive and close the CD-ROM drawer.
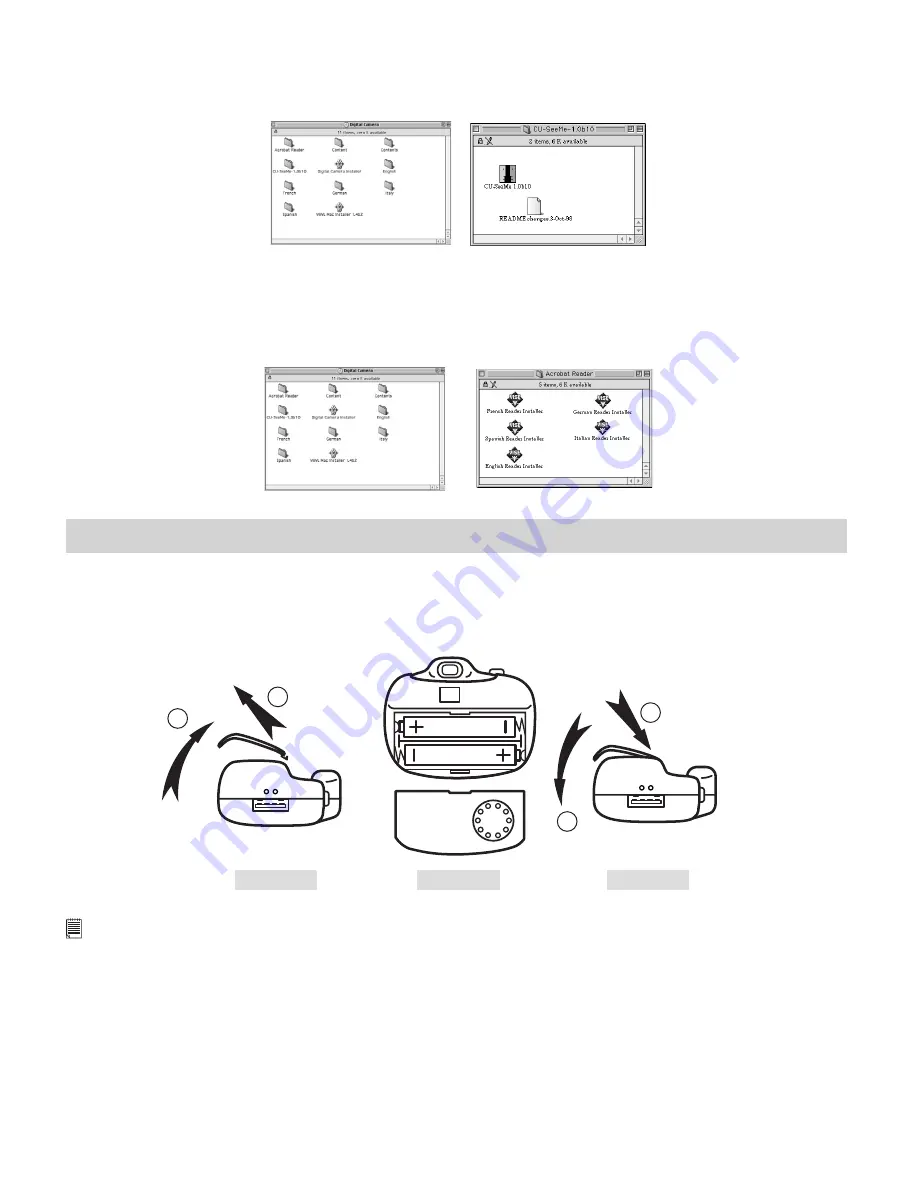
2. Double click the CD-ROM icon “Digital Camera”.
3. Double click the “Cu-SeeMe™1.0b10” folder, followed by the “Cu-SeeMe™1.0b10” icon.
4. Follow the instructions presented on the screen to complete the installation.
5.8 How to Install Adobe® Acrobat® Reader
1. Insert the CD-ROM disc into the CD-ROM drive and close the CD-ROM drawer.
2. Double click the CD-ROM icon “Digital Camera”.
3. Double click the “Acrobat Reader” folder and select the language you wish to install.
4. Follow the instructions presented on the screen to complete the installation.
5. Visit http://www.adobe.com/ for all your FAQ’s, tips and technical support.
6. Battery Installation
1. Press in and lift the battery door inwards and upwards (as shown on Diagram A). Insert the 2 new AAA (UM-4)
alkaline batteries into the battery compartment (as shown on Diagram B). (Make sure you follow the correct
polarity (+) (-) as indicated.)
2. Put the battery door on correct position and push downwards to close the battery door (as shown on Diagram
C).
2
2
1
1
Diagram B
Diagram A
Diagram C
Important Note:
To avoid lost images when changing batteries, please make sure your images are uploaded to your PC or Mac before changing
batteries. Or make sure the
Micro C@m
is connected to your PC or Mac via the USB cable with your PC or Mac is switched
on.


