Convision CC-6357 Скачать руководство пользователя страница 16

Manual CC 6357 

16 


Note


• You cannot set the DNR to ‘ON’ or ‘OFF’ when the AGC mode of the EXPOSURE  

   menu is ‘OFF’. 
• When adjusting the noise reduction level of the DNR mode, remember that the higher the    
   level set, the more the noise level will be reduced but that after image may also occur. 
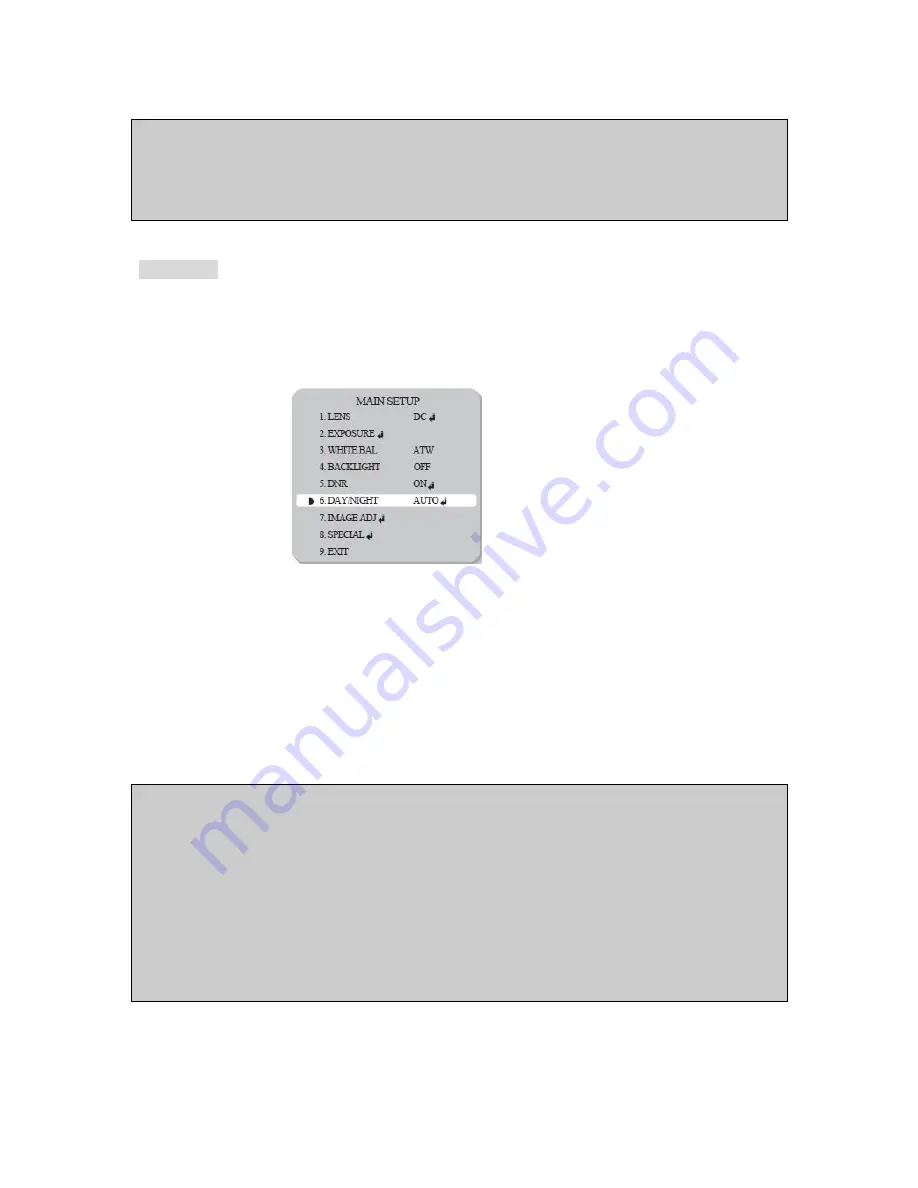


Day & Night


You can display pictures in colour or black and white. 

 
1. When the SETUP menu screen is displayed, select ‘DAY/NIGHT’ by using the Up and Down buttons 

so that the arrow indicates DAY/NIGHT. 


2. Select a desired mode using the Left and Right buttons according to the picture  
    display you want. 


 COLOR: The picture is always displayed in colour. 

 B/W: The picture is always displayed in black and white. 

 AUTO: The mode is switched to Colour in a normal environment, but switches to B/W mode when 

ambient illumination is low. To set up the switching time or speed for AUTO mode, press the SET 
button. 

 EXTERN: This mode allows you to apply a desired filter to external signals. 


Note


• When using a Video Auto Iris Lens, if you set the lens level to low, automatic switching between Color 

and Black & White may not occur. 
• You cannot control the DAY/NIGHT menu when AGC in the EXPOSURE menu is ‘OFF’. 

At this time, the exchange between DAY mode and NIGHT mode operates as like selecting ‘COLOR’ 
mode. 

• The OSD key does not work for 3 seconds when switching to Colour or B/W, to ensure stable camera 
operation. 

• The camera may focus less well under infrared illumination than under normal illumination. 

• Since the camera may not focus as well under infrared illumination at night as it does under normal 
illumination, install an Extra-low Dispersion Lens to obtain sharp pictures. 


Содержание CC-6357

Страница 1: ...Manual CC 6357 1 Manual CC 6357 Date January 2011 Convision Systems GmbH...

Страница 2: ...de reasonable protection against harmful interference when the equipment is operated in a commercial environment This equipment generates uses and can radiate radio frequency energy and if not install...

Страница 3: ...t for a long period a fire may be caused Do not install the camera on a surface that can not support it If the camera is installed on an inappropriate surface it may fall and cause injury Do not hold...

Страница 4: ...6 Features 7 Components 8 Names and Functions of Parts 8 Dimensions 9 Installation 9 How to Use the Camera 10 Menu 10 How to Set up the Functions 11 Lens 12 Exposure 12 White Balance 13 BACKLIGHT 14...

Страница 5: ...nded by manufacturer 6 Power source This product should be operated only from the type of power source indicated on the marking label Precautions Operating Before using make sure power supply and othe...

Страница 6: ...ality compression algorithm H 264 Compression in various resolution CIF Half D1 D1 Wide range of video transmission rate 32kbps 4Mbps Various transmission mode CBR VBR Motion detection Audio Multi tri...

Страница 7: ...l resolution have been improved resulting in clear and sharp images displayed even in the dark Motion Detection The camera detects motion and generates a screen message without an external sensor DIS...

Страница 8: ...nents 1 Color Dome Camera 2 Adapter Plate 3 Screws Names and Functions of Parts 1 Lens Vari Focal DC Auto Iris Lens 2 3 Axis Bracket Please loosen screws and fix tilted and panned position 3 VBS Extra...

Страница 9: ...Manual CC 6357 9 Dimensions Installation...

Страница 10: ...on the 3 axis camera bracket and adjust the direction and angle of view Make sure to retighten the camera bracket screws Set all desired functions using the OSD menu 4 Dome Cover Mounting Replace the...

Страница 11: ...enu can be operated with 5 buttons on the page Web View page Setup Camera 1 Please press the Setup button Main setup menu is displayed on the monitor screen 2 Select a desired function using the Up an...

Страница 12: ...d within the range of 1 70 The optimum level of brightness for the user can be achieved by adjustment If you select the MANUAL mode it can be adjusted in ESC mode MANUAL Manual lens selection 3 Press...

Страница 13: ...intains a clear picture if this mode is activated OFF Deactivates the SENS UP function AUTO Activates the SENS UP function RETURN Select this to save the changes in the EXPOSURE menu and return to the...

Страница 14: ...owing conditions the WHITE BALANCE function my not operate properly In such cases please select the AWC mode 1 When the objects surroundings have a very high colour temperature eg a clear sky and suns...

Страница 15: ...rence in the effectiveness of HLC according to the amount of light area in the screen optimise the installation angle for the best HLC performance In a dark environment the HLC is only activated when...

Страница 16: ...r in a normal environment but switches to B W mode when ambient illumination is low To set up the switching time or speed for AUTO mode press the SET button EXTERN This mode allows you to apply a desi...

Страница 17: ...cture horizontally on the screen D ZOOM You can use a digital zoom of x1 x10 SHARPNESS As you increase this value the picture outline becomes stronger and clearer Adjust this value appropriately depen...

Страница 18: ...mode using the Up and Down buttons CAM TITLE If you enter a title the title will appear on the monitor 1 If the SPECIAL menu screen is displayed use the Up and Down buttons so that the arrow indicate...

Страница 19: ...ng the 4 direction buttons and press the SET button When the position is determined select END and press the SET button to return to the SPECIAL menu SYNC In areas where the supply is at 60Hz you can...

Страница 20: ...ss the Up and Down buttons so that the arrow indicates PRIVACY Set up the mode using the 4 direction buttons AREA SEL You can select up to 8 areas AREA MODE Determines whether to use the area selected...

Страница 21: ...can select the menu language according to your requirements RESET Resets the camera settings to the factory defaults RETURN Select this to save the SPECIAL menu settings and return to the SPECIAL men...

Страница 22: ...is dark Please adjust the contrast feature of the monitor If you have an intermediate device set the 75 Hi z properly and check the terminals Please check if an auto iris lens is being used and adjus...

Страница 23: ...ion 0 Lux with IR LED 18pcs Gain Control OFF LOW HIGH White Balance ATW AWC Manual Outdoor Indoor Electronic shutter Speed Auto Manual 1 60 1 120 000 Auto Manual 1 50 1 120 000 Sens Up OFF AUTO O S D...

Отзывы: