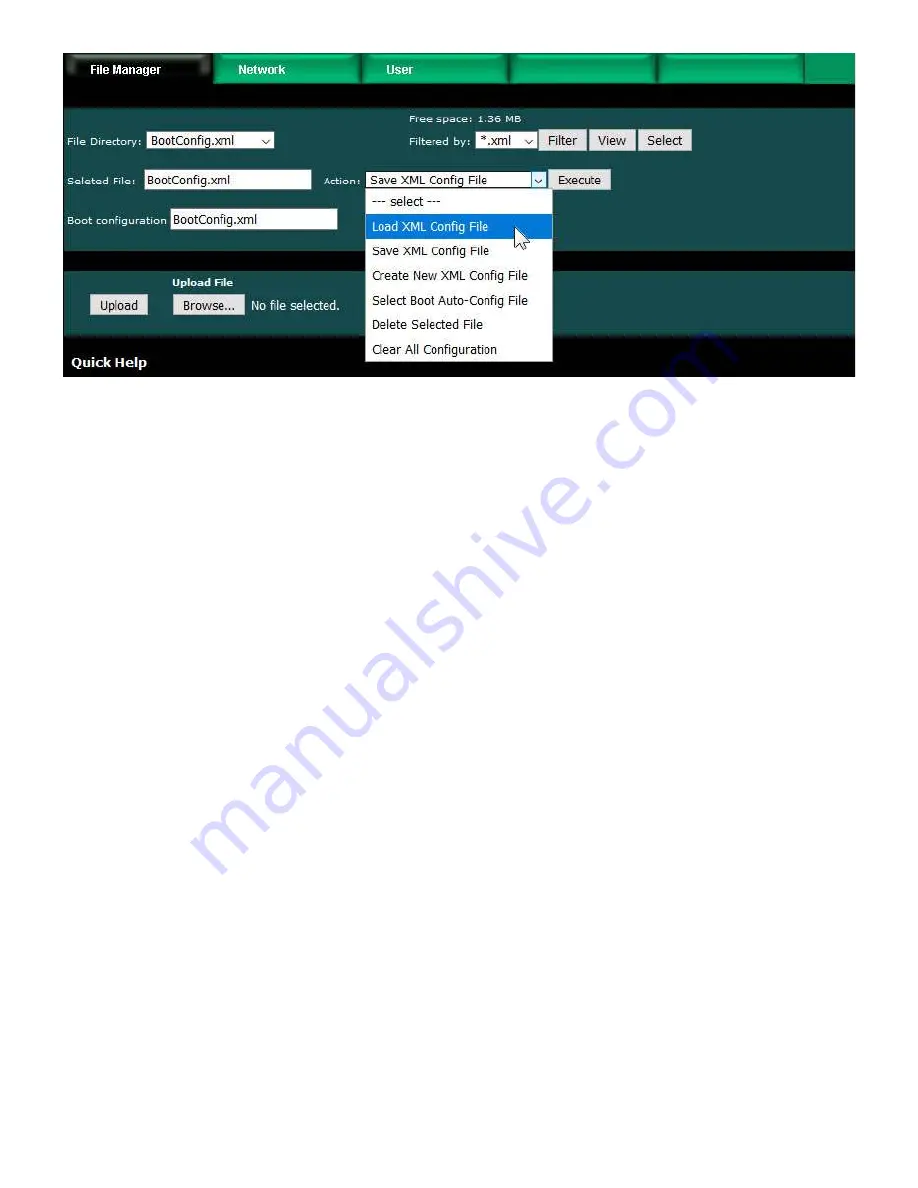
You must use the Select button to populate the Selected File window prior to executing
any action from the list. Choose a file from the drop down list that shows all available
files, then click the Select button. You may then act on that file.
You do not need to use the Select button to simply View a file. Clicking View will cause
your browser to display the file chosen from the drop down list.
Upload File:
To upload a file from your PC to this gateway, use the Browse button to
find the file on your PC, open the file in the PC's file dialog box, and then click Upload.
NOTE: If you get a "File upload error: -1" message, click the browser's "back" button,
then simply click the View button to view any file (does not matter which file), and
then click browser's "back" button again to return to this page. This gets the browser
and HTTP server back in sync, and this requirement generally happens only once
following power-up.
Restart:
To restart the gateway, check Confirm and click Restart. This is a hard reset
that will accomplish the same thing as a power cycle without physically disconnecting
and reconnecting power.
3.1.1 Load, Save, Create XML Configuration File
NOTE: Configuration files from a BB2-6010-GW or SPX-GW can be loaded into the
BB3-6101-GW or MX-61-GW, but will be saved in a new format when saved.
NOTE: The only thing saved in the XML file for a BB3-6101-GW or MX-61-GW is
the TCP Device Maps. RTU port settings are saved in non-volatile configuration
memory in this model gateway. Therefore, if you are not using the TCP Device
Mapping, you have no need for any XML files.
Load XML Config File:
The configuration file shown in the "Boot configuration"
window will be loaded automatically at startup. If you have uploaded a new
configuration file and wish to use it without restarting, select that file (choose from
list, click Select), select this action, and click Execute.
3. System Configuration and Resources
file:///C:/AAA_CSI/Literature/2021 User Guides/BB3-6101-MX-61 Use...
3 of 9
5/4/2021, 9:55 AM


