the power cord and phone line into a high quality surge protector as your miniAlarm
is susceptible to power surges, spikes, and lightning strikes.
3. Mounting on the wall
The miniAlarm™ works best when mounted on a wall. You can either mount it with
double stick tape or screws. Velcro
®
and/or double stick are included, but the screws
and wall anchors are not.
The miniAlarm should be mounted between 5’ (1.5 m) and 8’ (2.4 m) from the ground.
If mounting with screws, use the template at the end of the instructions to locate the
proper location for your screw holes.
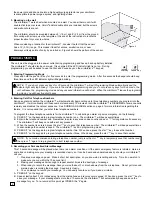
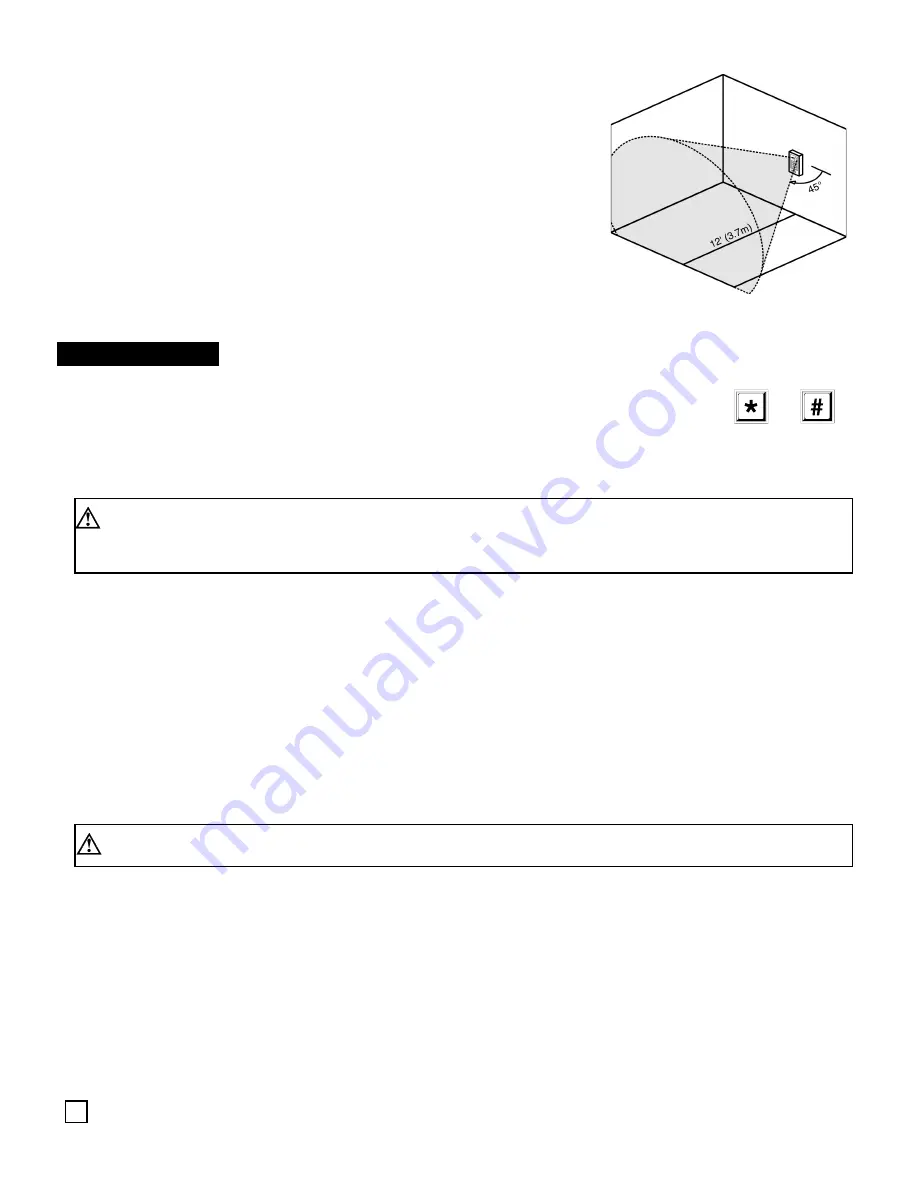
When considering a location for the miniAlarm™, consider the fact that the sensor
has a 12’ (3.7m) range. This makes it ideal for entries, smaller rooms, or near
doorways or likely points of entry by an intruder. Figure 2 shows the pattern of the sensor.
PROGRAMMING
The unit must be plugged into a power outlet during programming and have a back-up battery installed.
The miniAlarm™ should also be unarmed. It is unarmed if the LED indicator light is not on. During
programming you will be asked to use the Star and Pound keys on the miniAlarm’s™ keypad.
1. Entering Programming Mode
Press and hold the pound (#) key for five seconds to enter the programming mode. After five seconds the beeper should beep
three times and the LED indicator light will begin blinking.
NOTE: If you do not press any keys for 30 seconds, the miniAlarm™ will exit Programming Mode automatically and the
indicator light will stop blinking. If you are in the middle of programming and you do not press any keys for 30 seconds, the
unit will leave the programming mode and any unsaved information will be lost. When the miniAlarm™ leaves the programm-
ing mode, you will hear five short beeps.
2. Entering Call-Out Telephone Numbers
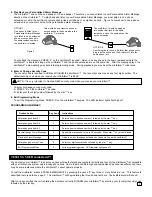
During an alarm condition, the miniAlarm™ will automatically begin calling up to three telephone numbers you program into the
miniAlarm™. It will continually call those numbers twice every 15 minutes or until the miniAlarm™ is DISARMED or someone calls
remotely and disables the call-out sequence. See DURING AN ALARM section on page 4 for more information regarding this
feature. It is not required that you enter three telephone numbers.
To program the three telephone numbers for the miniAlarm™ to call during an alarm or panic emergency, do the following:
A. PRESS “1” on the keypad to program telephone number one. The miniAlarm™ will beep several times.
B. Enter in the telephone number one. Remember to enter in any area codes, country codes, or “1” for long distance if necessary.
The miniAlarm™ will beep once with each key pressed.
C. When the number is entered, press the star “*” key to save that telephone number. The miniAlarm™ will beep several times
to acknowledge the number is saved. The miniAlarm™ is still in programming mode.
D. PRESS “2” on the keypad to program telephone number two. When done, press the star “*” key to save that number.
E. PRESS “3” on the keypad to program telephone number three. When done, press the star “*” key to save that number.
NOTE: If you made a mistake entering a telephone number, just press the star “*” key to temporarily save that number and
then press “1” again to re-program the correct telephone number.
3. Recording your Personalized Alarm Message
This 10 second message will be played when there is an alarm condition or if the panic emergency feature is initiated. Here are
some tips on making sure your message is recorded clearly, so it can be heard and understood easily, should your miniAlarm™
call you.
1. Prepare a message on paper. Make it short, but descriptive, so you know who is calling and why. Time it on a watch to
make sure you are within the 10 second limit.
2. Making your message short enough to repeat several times is the best type of message.
3. When ready to record the message, have your mouth about 3 or 4 inches away from the microphone. Do not yell or sound
alarmed when recording the message. Speak very clearly.
4. You can always re-record your message. You can easily record over if you make a mistake.
A. PRESS “4” on the keypad.
B. Speak clearly about 3 or 4 inches away from the microphone and record your message. When done, press the star “*” key to
save your message. If your message lasts more than 10 seconds, the miniAlarm™ will automatically beep and save the
message for you. To re-record at this point, just PRESS the “4” again.
Figure 2
Star Key
Pound Key
2


