


2
4
Seat the battery securely into the slot and press down
(Figure 4).
Figure 4: Battery installed
5
Insert the remote’s rechargeable battery cover into the
remote. Notice the two metal plates on the cover; that’s
how you can differentiate the standard cover from the
rechargeable one (Figure 5).
Figure 5: Replace cover
6
Slide the battery cover into the slot and then press down
until the cover is horizontal. Slide the cover into the slot until
it snaps into place.
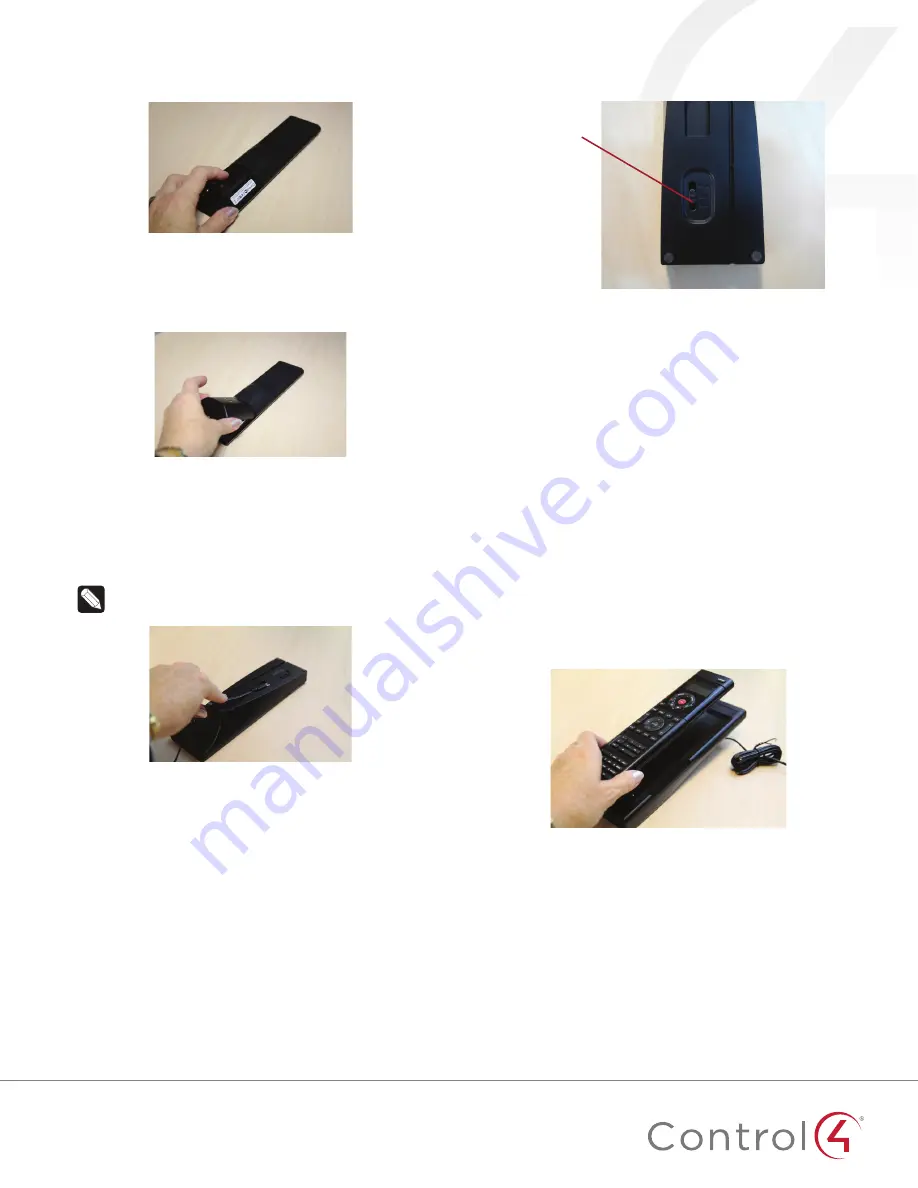
7
Insert the small end of the USB cable into the back of the
recharging station (inside the indentation) and thread the
power cord through the indentation in the station (Figure 6).
Note:
You can thread the cord straight out or wind it
around to the opposite end of the recharging station.
Figure 6: Insert power cord
8
Attach the USB cable to the power supply.
a
Remove the plastic shield from the power supply.
b
Attach the correct power plug adapter to the power
supply by sliding it into the power supply’s slot until it
clicks into place.
c
(Optional) To remove the power plug adapter, press the
Push button and slide the plug out.
9
Insert the power plug into a power outlet to begin
recharging.
10
For convenience, place the recharging station close to where
you use your remote.
11
Turn the recharging station over. Notice the Charging
Indicator button labeled
High
,
Off
, and
Low
(Figure 7).
Figure 7: Charging indicator button
Charging
Indicator
Button
12
Move the button to the desired light level.
•
High
: Sets to the highest light level.
•
Off
: Sets the light to off.
•
Low
: Sets the light to low.
13
Turn the recharging station over to its upright position.
Place the remote on your recharging station
This section applies to recharging stations for existing or new
remotes.
1
If you purchased a recharging station without a remote,
ensure that you’ve replaced your old batteries with the new
rechargeable batteries and new cover.
2
While holding the remote in a horizontal position, place it
onto the charging station.
3
Ensure that it is properly seated. The two metal plates on
the back of the remote must touch the metal pins in the
recharging station (Figure 8). Depending on your light
setting an indicator light may come on at the bottom of the
recharging station.
Figure 8: Ensure proper installation
Recharging station lights
Depending on the Charging Indicator brightness you select, the
indicator light will be High or Low brightness or Black/Off. When
your recharging station is on, you may see the following lights.
• Red: The remote is recharging, and is not fully charged yet.
• Green: The remote is fully charged.
• Black: The light is off. Either the Charging Indicator is turned
off, or the remote is not seated properly in the recharging
station.


