


ENGLISH
12
4. Driver & software installation
When the 150
N
Wireless USB Adapter is connected to your computer, you can proceed with installing the
Conceptronic drivers & software.
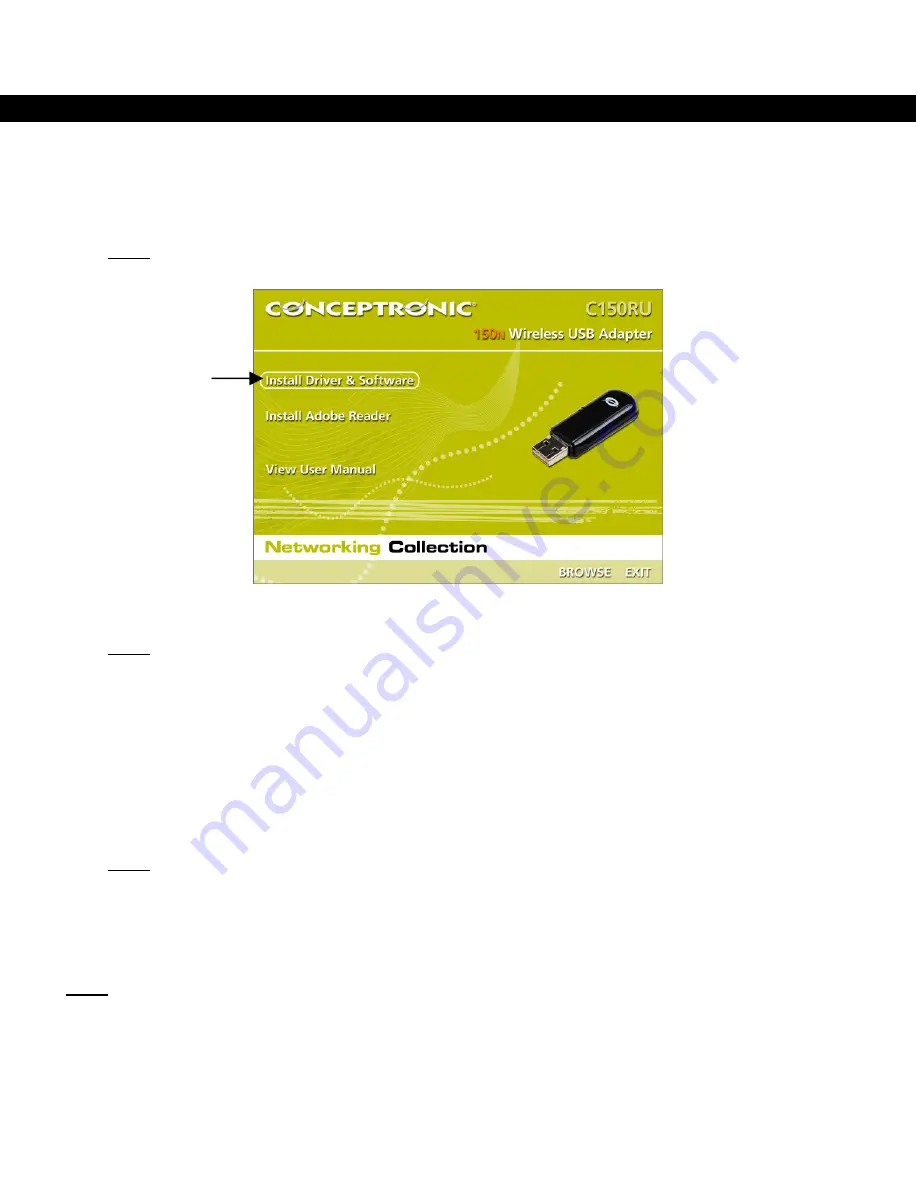
A.
Insert the CD-ROM in the optical drive of your computer. The AutoPlay option will be shown
automatically. Click on “
Run Autorun.exe
” to start the autorun menu.
Note:
If the AutoPlay option is not shown, you can start the autorun menu by browsing to
“
Computer
” and double clicking on your optical drive.
B.
Select the option “
Install Driver & Software
” from the autorun menu. The installation wizard will
appear.
Note:
You might get a “
User Account Control
” warning message, which you will need to accept by
clicking on “
Yes
”.
C.
Select the language you want to use for the installer and click on “
OK
” to proceed.
D.
Select “
Install drivers and Conceptronic Wireless Network Config Utility
” if you want to use the
Conceptronic software, or select “
Install drivers only
” if you want to use the standard Windows
Wireless Configuration utility. Click on “
Next
” to proceed.
E.
Click on “
Install
” to install the driver and software.
F.
A popup verifying that you have connected the hardware will be shown. Click on “
OK
” to proceed.
The drivers & software (if selected) will be installed on your computer.
Note:
During the installation, you might get a “
Windows Security
” warning message, which you
will need to accept by clicking “
Install this driver software anyway
”.
G.
When the installation is finished, click on “
Finish
” to close the installation wizard.
H.
The Conceptronic Wireless Network Config Utility will be shown if you have selected to install the
drivers and the software.
Note:
It is recommended to restart your computer when the new hardware installation has been
completed.
You can now proceed to
chapter 5
to connect to a wireless network.


