5
GETTING STARTED
GETTING STARTED
The VXM4 startup screen detects and checks the status of hard drives and the
DVD-RW drive. After startup diagnostics are complete, the operator must logon to
the system.
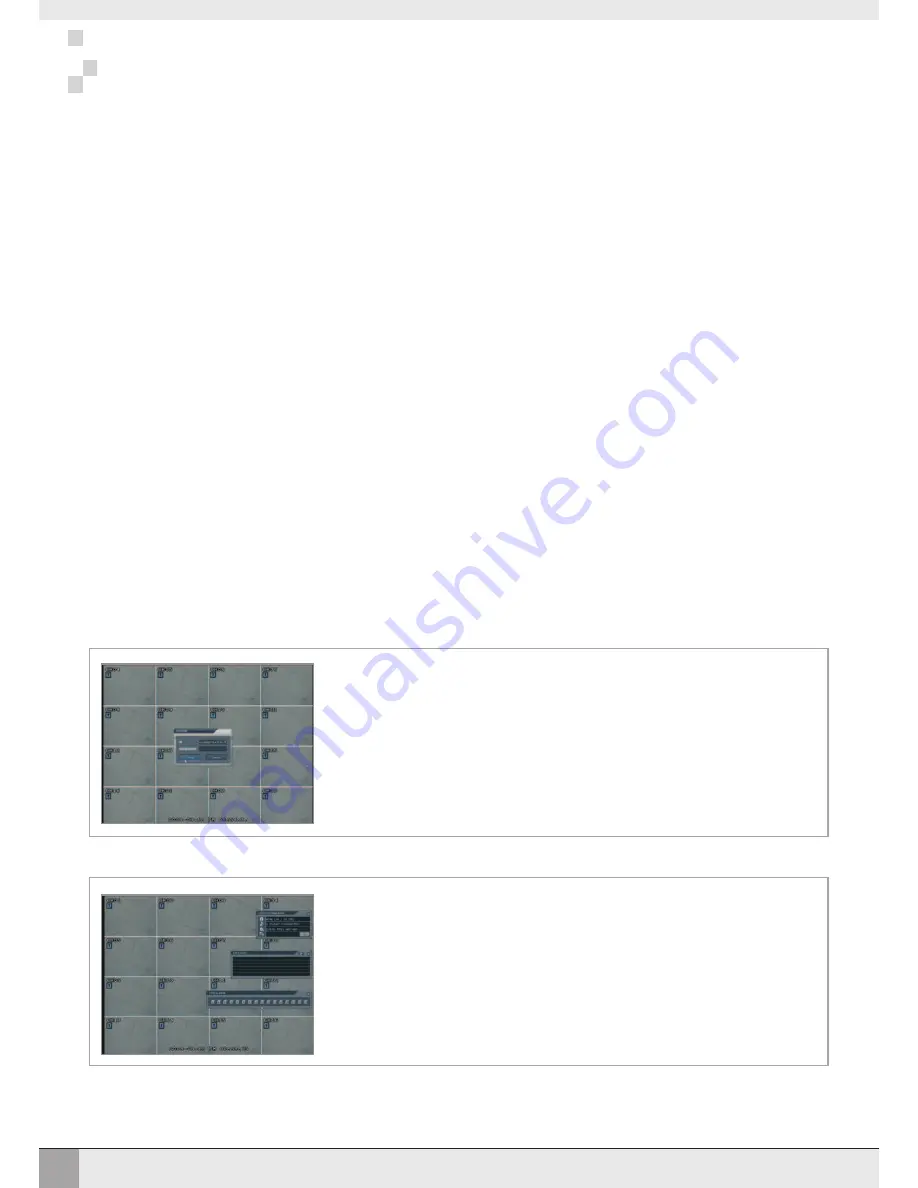
The default user name is 'ADMINISTRATOR', no password. Using the mouse,
click OK to logon to the system
The VXM4-RT16 begins normal operation and shows the default display of all 16
channels. A blue square and letter 'T' in the top left of each channel display shows
that the channel is recording in Timer mode
3 status windows (Live System Info, Live Log and Live Alarm) show the current
operating status of the DVR - any of the windows can be closed by clicking 'X' at
the top right of the window.
To display a window again, move the mouse cursor to the bottom left of the screen
and choose which window to display from the popup.
PLEASE NOTE: ALL NECESSARY CONNECTIONS MUST BE MADE BEFORE APPLYING POWER TO THE
VXM4-RT16!
The VXM4-RT16 is pre-configured with the following settings:
25FPS continuous recording rate per channel at CIF (352 x 288) resolution and highest image quality.
•
Time and date set to correct local time
•
Audio inputs 1-4 assigned to video channels 1-4 respectively
•
Telemetry devices set to PELCO-D, 2400 Baud
•
Based on average image recording, the above settings will provide around 6 days recording on 1TB of storage
before the footage starts to be overwritten.
CONNECT AND SWITCH ON
•
Connect up to 16
CAMERA INPUTS
as necessary. The VXM4-RT16 also has
LOOP OUTPUTS
so that any
signals can be fed to other equipment if required. Termination is automatically set by the VXM4-RT16 depending
on connection type
•
Connect a VGA monitor to the VXM4-RT16 using the
VGA
connection
•
Connect a USB mouse to either the front or rear USB sockets
•
Connect power to the VXM4-RT16 and press the
POWER BUTTON
on the front panel to begin operation.
Содержание VXM4-RT16
Страница 47: ...44 NOTES NOTES...
Страница 48: ......


