11
ARCHIVING
ARCHIVING
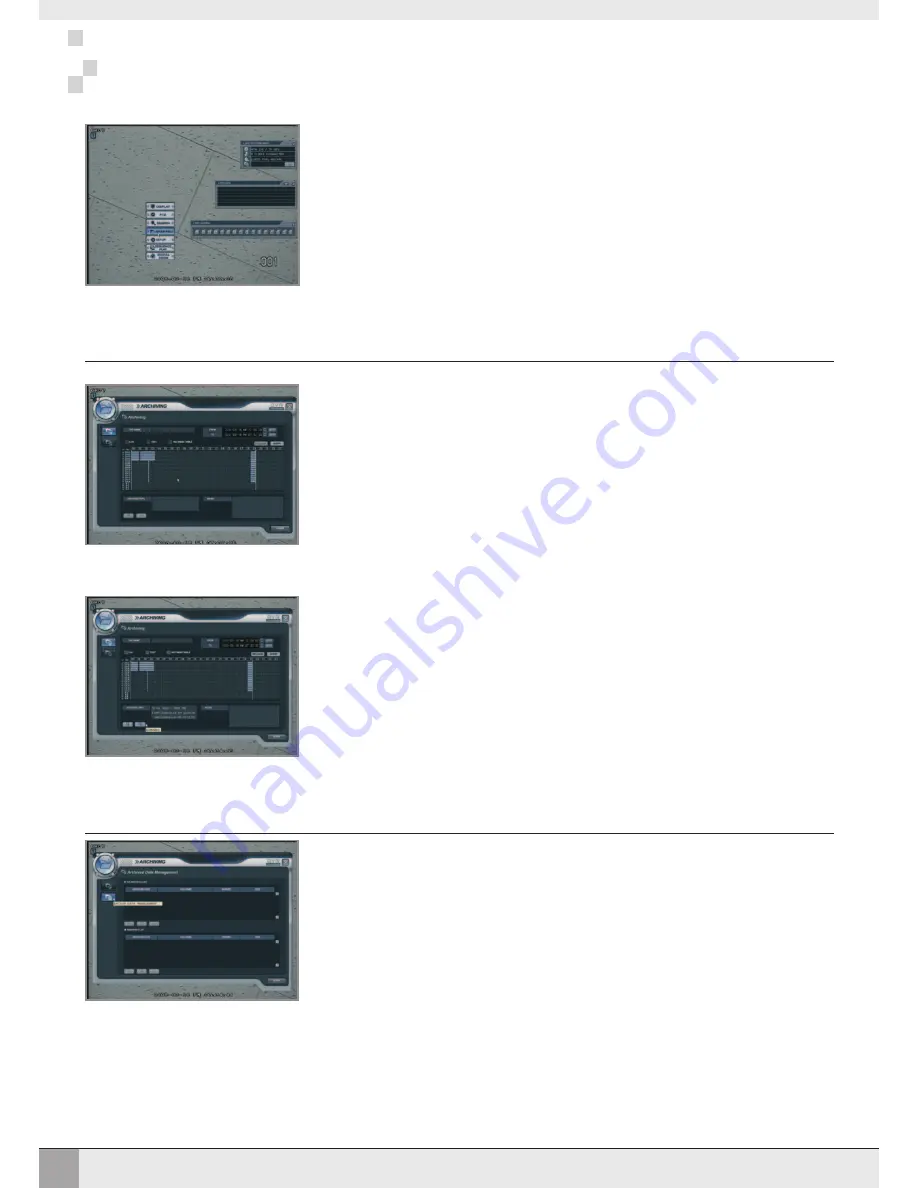
To create a new archive, use the virtual keyboard to enter an archive tag name and pick the desired start
and end time to archive.
Note: there are two timeline cursors representing the start time and end time and these can be quickly
dragged using the mouse.
Tick the boxes for LOG, TEXT and REC INDEX TABLE if this information should also be included on the
archive set.
At the left of the timeline, choose which of the 16 channels should be included in the archive set, and use
the virtual keyboard to enter a memo if the circumstances of the archive need to be described in more
detail.
As well as allowing the operator to archive selected footage to DVD or USB stick, the archiving section
of the VXM4-RT16 can also be used to review information about snapshots and archives taken during
playback.
Call up the main menu and choose 'ARCHIVING' to display the main archive screen.
NEW ARCHIVE
Finally, click the QUERY button to display the estimated size of the archive set and the start and end time.
If incorrect values have been chosen, click the RELEASE button to reset all values and then repeat the
above steps to define a new archive set.
Once the archive set is complete, the operator can choose either to burn directly to DVD or USB by
clicking the burning icon, or, the archive can be saved in the archive area for future use by clicking the
reserve icon.
From the archiving menu, choose the backup data management icon to display all previous archive sets
and snapshots.
To display detailed information about an archive or snapshot entry, highlight it and click the info icon.
To delete an archive or snapshot, highlight it and click the delete icon. The VXM4-RT16 prompts for
confirmation.
Finally, a selected archive or snapshot can be burned to DVD or USB by highlighting it and clicking the
burn icon.
MANAGING EXISTING ARCHIVES
Содержание VXM4-RT16
Страница 47: ...44 NOTES NOTES...
Страница 48: ......


