RUCKUS SmartZone 144
Data Plane (SZ144-D)
Quick Setup Guide
This Quick Setup Guide provides basic instructions for setting up
the RUCKUS SmartZone 144 Data Plane (SZ144-D) on the
network. For information on advanced configuration and
management options, see the vSZ-H Administrator Guide and
SmartZone100-D / vSZ-D Command Reference Guide, which are
available for download from the RUCKUS Support website:
https://support.ruckuswireless.com/documents
This Guide in Other Languages
请从以下网站获得该指南的简体中文版
Vous trouverez la version française de ce guide à l'adresse
suivante
https://support.ruckuswireless.com
このガイドの日本語版は
https://support.ruckuswireless.com
でご覧ください。
이
가이드의
한국어
버전은
웹
사이트
에서
확인하시기
바랍니다
.
Veja a versão em português (Brasil) deste guia em
Puede ver la versión en español (América Latina) de esta guía en
https://support.ruckuswireless.com.
Licensing Information
SZ144-D does not need any separate AP or Capacity licenses. vSZ
manages the SZ144-D ADD-ON licenses.
Before You Begin
Before deploying RUCKUS products, please check for the latest
software and the release documentation.
• Release Notes and other user documentation are available at
https://support.ruckuswireless.com/documents
.
• Software upgrades are available at
support.ruckuswireless.com/software
• Software license and limited warranty information are available
at
https://support.ruckuswireless.com/warranty
• Refer to the vSZ-D Configuration Guide for the upgrade process.
Package Contents
• One SmartZone 144-D appliance with one AC power supply unit
and power cord
• One console cable
• One Cat6 Ethernet cable (5-foot length)
• One rack mount kit
• Service Level Agreement/Limited Warranty Statement sheet
• Regulatory Statement sheet
• This Quick Setup Guide
Important Notes
• SZ144-D works under vSZ management.
• If you are upgrading both Virtual SmartZone (vSZ) and
SmartZone Data Plane (SZ144-D), RUCKUS recommends
upgrading the vSZ software first, before upgrading the SZ144-D
software.
• For information on how to upgrade the SZ144-D software to
this release, see the vSZ-D Configuration Guide.
What You Will Need
• An administrative computer (admin PC) with an available COM
port for connecting the console to SZ144-D
• The IP address, netmask, gateway and DNS server addresses
assigned to the SZ144-D—if it has a static network address
(recommended)
Controller SKU
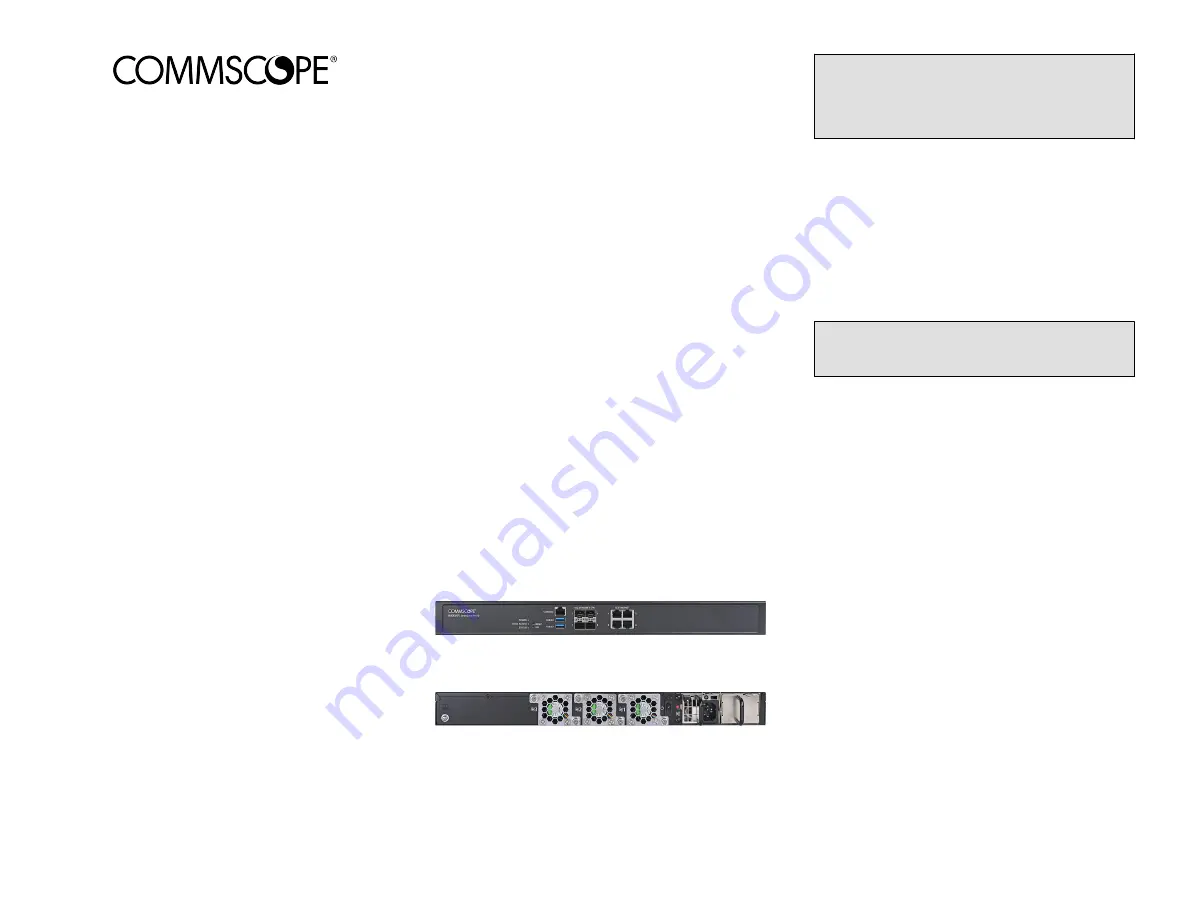
SZ144-D stock keeping unit (SKU) P01-D144-XX00 has four (4)
1000Base-T (RJ-45) ports and four (4) 10GbE SFP+ ports.
• FIGURE 1 SZ144-D Front View
• FIGURE 2 SZ144-D Rear View
Step 1: Connect Console to SZ144-D
1. Connect the SZ144-D to a convenient power source—it will
automatically power on. When the SZ144-D has started up
successfully, the Status LED turns to a slow-blinking green
light.
NOTE: The SZ144-D must be powered on for a minimum of
five seconds before it is powered off using the power
button. To ensure complete shutdown while powering off
SZ144-D, hold the power button for a minimum of five
seconds—till the Power LED turns off completely.
2. Using the shipped console cable, connect one end of the
cable to one of the LAN ports (either port 1 or port 2) on the
SZ144-D, and then connect the other end to your network’s
switch or router.
Step 2: Run and Complete the SZ144-D Setup
In this task, you will define the management and data interface
settings that you want SZ144-D to use.
1. Start PuTTY, the PuTTY Configuration dialog box appears,
showing the Session screen.
NOTE: Open-source terminal emulator, serial console, and
network file transfer applications such as Teraterm,
MobaXterm, and SecureCRT can also be used.
2. In Connection type, select Serial if you are connecting via
serial cable.
3. Configure the serial connection settings as follows:
• Serial line to connect to: Type the COM port name to
which you connected the RS-232 cable.
• Bits per second: 115200
• Data bits: 8
• Stop bits: 1
• Parity: None
• Flow control: None
4. Click Open. The PuTTY console appears and displays the login
prompt.
5. In
login as:
, enter admin. The message
“Welcome to
SZ144-D”
appears.
6. In
password:
, enter admin. The
SZ144-D>
prompt
appears.
7. Enter en to enter the privileged mode.
8. In
password:
, enter admin. The
SZ144-D#
prompt
appears.
9. Enter setup. The message
“Start SZ144-D setup
process”
appears.
Copyright
©
2020 CommScope, Inc. All rights reserved.
Page 1 of 3
Published August 2020, Part Number 800-72550-001 Rev C


