Maintenance
(Continued)
10
CHECKING THE BATTERY
6
Operation (Continued)
HOMEDEPOT
.
COM
Please contact 1-877-527-0313 for further assistance.
9
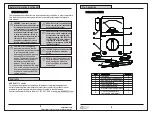
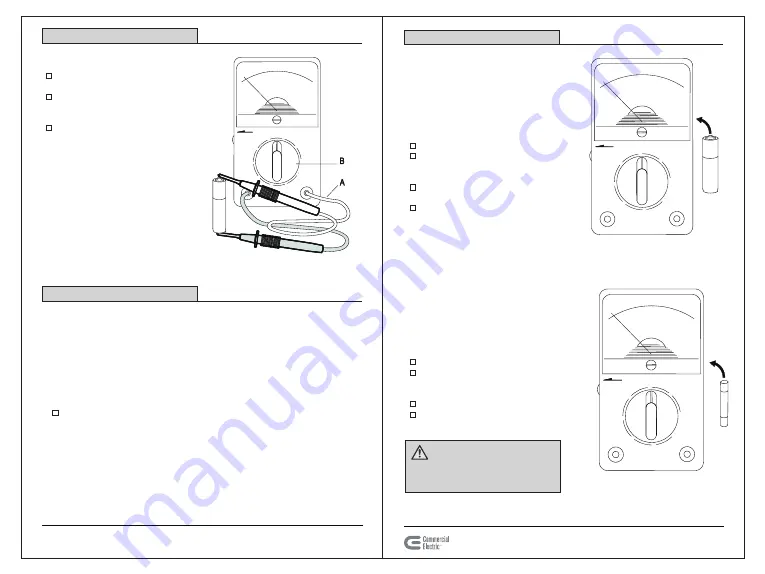
Set the measurement range switch (B)
to one of the BAT positions.
Connect the test leads (A) to the battery
with the red test lead to the positive end
and the black test lead to the negative end.
Read the GOOD BAD (green and red)
scale on the analogue display (D).
Maintenance
When using this instrument in compliance with this instruction manual, no special
maintenance is required. Adjustments and repairs can only be carried out by
authorized staff.
CALIBRATION INTERVAL
To ensure accuracy and reliability of measurement results, it is recommended
that you calibrate this instrument periodically.
TEST LEAD REPLACEMENT
When you replace the test leads, only use test leads with the following specifications:
300V CAT II 500 mA, or better.
REPLACING THE BATTERY
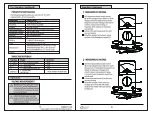
Short the two test leads (A) together
and adjust the resistance-zero
adjustment (C) to set the pointer to
the"0'" at the right end of the
resistance scale. If this does not work,
replace the battery with a new one as
follows:
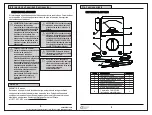
Remove the multimeter from all circuits.
Loosen the screw located on the
back of the multimeter and open the
battery cover.
Replace the battery with a new
1.5V lEC LR6 AA battery.
Close the battery cover and dispose of
the old battery in a proper manner.
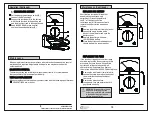
REPLACING THE FUSE
If the fuse has tripped due to current range
overload, replace the fuse according to this
procedure. Only use fuses with specified
current and voltage values, switch-off
characteristics, and capacities. Replace
the old fuse with a 500mA/250V, Fast Acting fuse.
Remove the multimeter from all circuits.
Loosen the screw located on the back of
the multimeter and open the meter
rear cover.
Remove the defective fuse.
Insert a new fuse and ensure that it is
positioned correctly.
WARNING: Using auxiliary fuses
and short-circuiting the fuse
holders is prohibited and can lead
to instrument destruction and
serious personal injury.


