17
16
* As a common wiring type product, damage may result if the installed Household
videophone unit is removed and installed at a different location.
* Please turn the unit ON.
* When damage or malfunction of the unit has been detected, please contact the
Customer Service Center right away.
* An appropriate circuit breaker must be installed in the building's interior wiring.
* Do not place vase, water bottles, and etc on top of the unit.
* Please ensure that electrical power has been completed blocked from the unit when
installing or repairing the unit.
22. Instruction for use
▶
When more than one videophone is connected to the system and one of those
videophones are in use, the call cannot be made by another videophone within that
system.
▶
Also, incoming pages while a call is being made are only heard through the
videophone in which that call is being held from.
▶
When an emergency situation occurs, emergency alarm will be sounded by all
installed videophones, and the Cancel/Reset feature can only be performed through
videophones supporting that feature.
▶
This videophone is able to call the guard, wireless phone(ext. 5) and Master
phone(ext. 1) but in other places (common entrance, other households, local loop
and so on), only receiving is available.(Master interlocking function)
Monitor
T4 X 18
Wall bracket
Mounting Screw
M3 X 8
Monitor
Fixing Screw
Connector
(7P X 1EA)
Adapter
(DC 14V)
Bracket for wall mount
Manual
23. Contents
POWER CORD
16
1
9
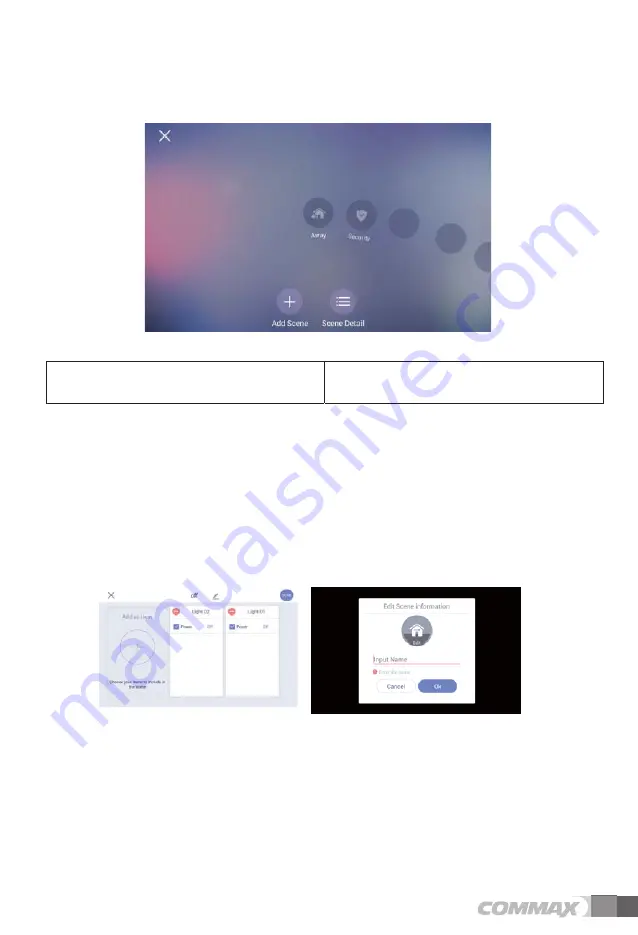
6. Scenario/schedule setting
¤
¥
[Scenario/schedule control screen]
£
Go to home screen
¤
Scenario
addition
¥
Scenario view detail
6.1. Scenario
addition
1)
Press "Add Scene" button on "Add Scene Main Screen
.
2)
The device selection dialogue window will be displayed, if you click 'Create scene '
.
3)
Select the device to set and press the OK button on the upper right corner
.
4)
Select the device attribute and set the device
.
5)
Click the ‘Enter Name button’ at the top of the screen and then set the name and icon
.
[Device attribute setting screen]
[Name and Icon setting screen]
£
Содержание CIP-700M
Страница 32: ...31 11 System Diagram...


