30
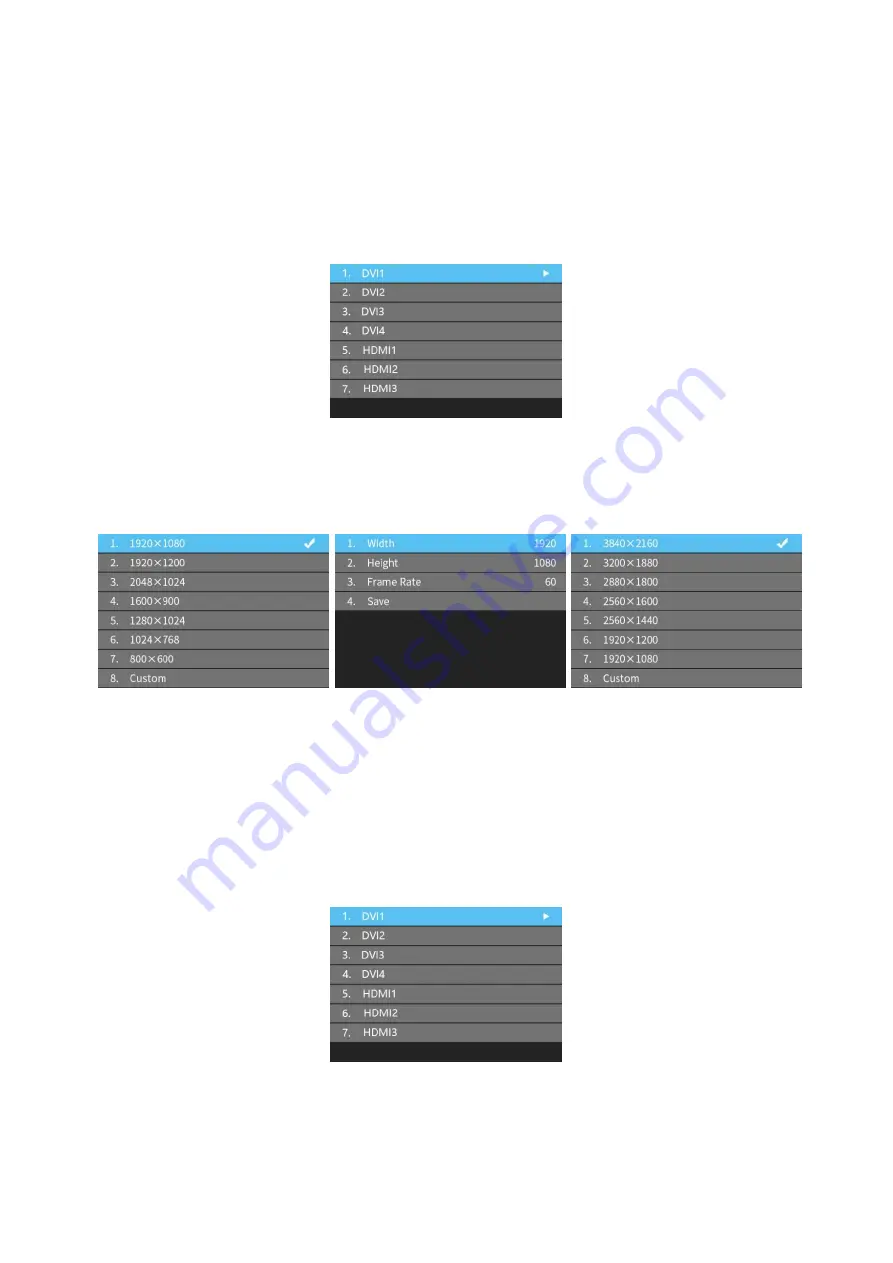
6.4.2 EDID Setting
Rotate the knob/ok to select
EDID
setting, then press the knob/OK to enter submenu of
“
EDID Setting
”. The list may differ due to the different input boards.
Here is the example of the HDMI setting. Press “
OK
” to HDMI setting, and select the
correct resolution and press “
OK
” or can select “
Custom
” to change the width, height, frame
rate, and save it.
6.4.3 Cropping Setting
Rotate the knob/OK to select cropping setting, then press the knob/OK to enter submenu
of “
Cropping Setting
”.
Rotate the knob to select cropping setting, then press the knob/OK to enter submenu of
“
Cropping Setting
”. The input boards may be mixed-use, and the name will show as order.
Содержание Z6 PRO
Страница 1: ...Z6 PRO Super Controller...
Страница 5: ...5 3 Hardware The Front Panel The Back Panel...
Страница 7: ...7 4 Connection Diagram Using Z6 PRO with H10FN...
Страница 11: ...11 PIP The Z6 PRO supports up to 10freely placable windows each PIP window can be set individually...
Страница 35: ...35...
Страница 36: ...36...


