


70 DataMan 300 Quick Reference Guide
DataMan 300 Quick Reference Guide 71
Training Feedback
The second LED from left on the reader
glows green to indicate that it is currently
trained, or yellow to indicate that it is not
trained.
Connect the reader to the Setup Tool to
untrain it and allow it to recognize other
enabled symbologies.
Incremental Training for Multiple Symbologies
If you want to train the reader to recognize multiple symbologies, you can
present a single image showing all the desired symbologies and perform the
training procedure previously described.
If you cannot present a single image showing all the necessary symbologies,
you can enable incremental training on the
Training
tab of the
Symbology
Settings
pane:
With incremental training enabled, you can train the reader using
multiple images showing the symbologies you expect to decode. The
reader will train each new symbology while retaining the existing trained
symbologies.
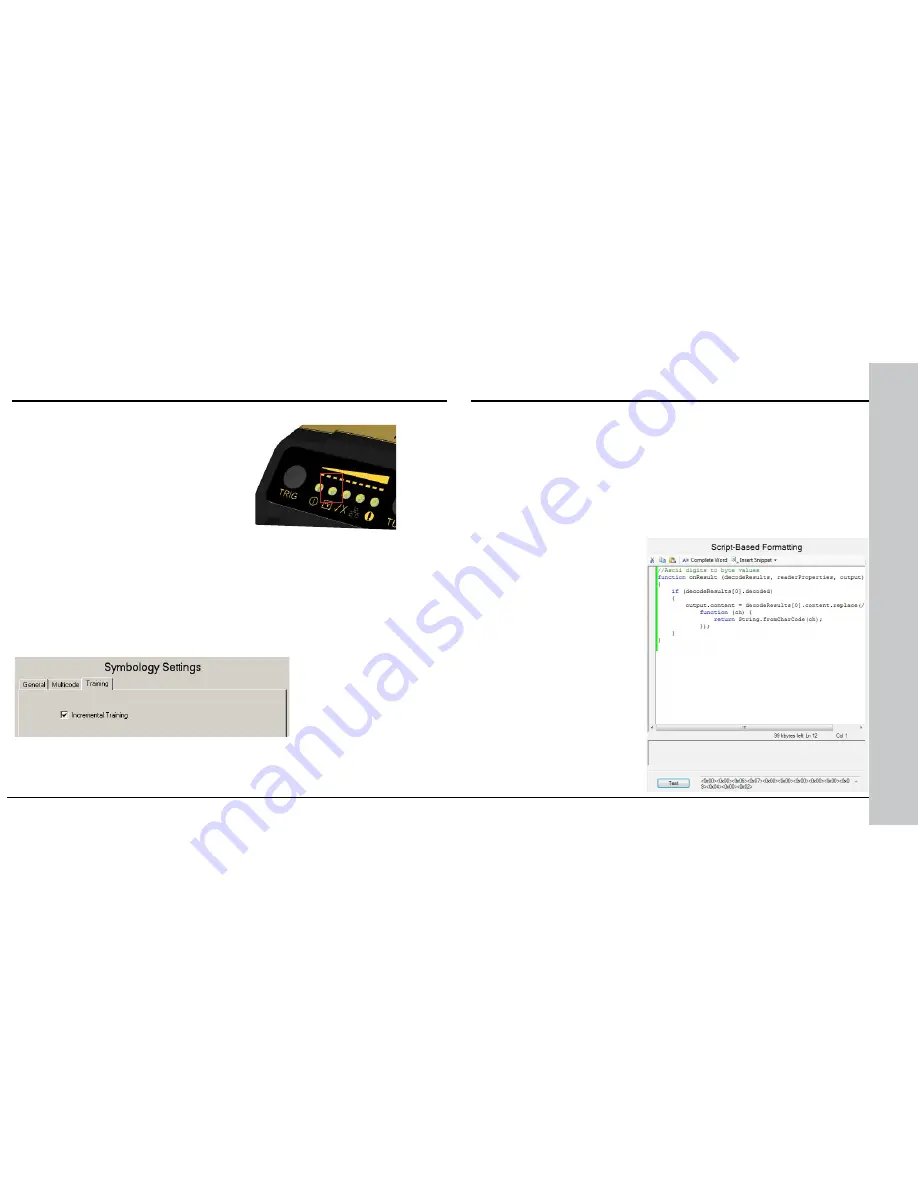
Scripting
Training the Reader (Continued)
In addition to standard formatting possibilities, you have the option to
write a script
inside the Setup Tool. On the
Script-Based Formatting
tab, when script-based formatting is enabled, you can define a
JavaScript module to format data according to your needs. The
FTP
Storage
tab is for writing scripts to generate FTP file names.
The script for data formatting not only allows you to have different data
formatting combinations, but you can also perform operations on the
output channel, for example, to pull output 1 up. You can configure read
results flexibly and configure reader events before the result returns.
For the details of how to write
the script and for scripting
examples, please see the
DataMan Communications and
Programming Guide.
You can
find scripting samples in the
right-click context menu of
the Scripting pane.
You can open your own scripts
through the Setup Tool’s
File
menu
Open Script...
option.


