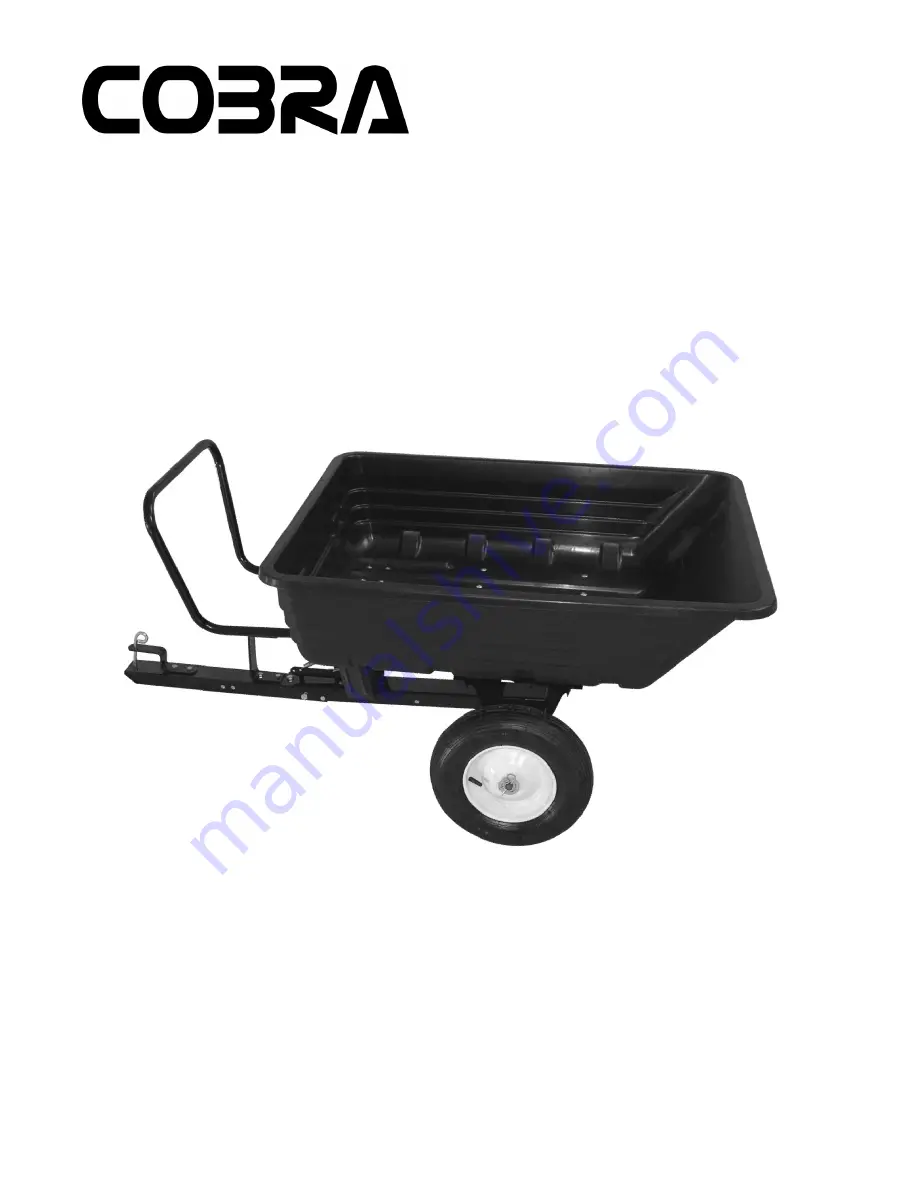
Cart shown above may differ slightly in design from actual cart.
MODEL: GTT400HD
HEAVY DUTY DUMP TRAILER OWNERS MANUAL
Страница 1: ...Cart shown above may differ slightly in design from actual cart MODEL GTT400HD HEAVY DUTY DUMPTRAILER OWNERS MANUAL...
Страница 2: ...y the dump cart before disconnecting it from a garden tractor Cart tongue must be in its retracted or standard position when the cart is not pulled Stand clear of the tongue and handle when dumping th...
Страница 3: ...desired With assistance place the tub on its side 1 on a at surface and hold or brace in position NOTE You must be able to access the inside and underside of the tub to attach the axle plate Align th...
Страница 4: ...8 hex nuts NOTE Secure bolts into the outer bolt holes See white arrows below B The inner bolt holes are used to attach the handle assembly Insert all bolts through the dump cart tub with the head of...
Страница 5: ...o both the support and handle assembly Insert all bolts through the dump cart tub with the head of the bolts to the inside of the tub Align the holes of the handle assembly with 1 the holes of the sup...
Страница 6: ...e as shown in the photo to the right Insert the axle through the axle plate and through 3 the hole in the dump lever assembly as shown in diagrams A and B Pull the dump lever press the assembly agains...
Страница 7: ...e stem 1 outward Using the washer and cotter pin that was set aside 2 earlier in these instructions slide the washer onto the axle and insert a cotter pin through the hole in the end of the axle Using...
Страница 8: ...ith the 2 tongue support facing up as shown in the diagram to the right into the dump lever assembly Align the bolt holes and secure in place 3 using the same 3 1 2 bolts removed earlier in Step 1 See...
Страница 9: ...ps prevent the handle from contacting the garden tractor when in use Return to all fasteners and verify that they 5 are tight DUMPING THE CART To dump the cart when it is attached to a garden tractor...
Страница 10: ...support and fasteners in a safe place for future use Remove the outer 3 1 2 bolt A from the 2 tongue assembly See black arrow Pivot the tongue back toward the axle B 3 The tongue rests inside the dum...
Страница 11: ...4 M12 bolts four 4 washers and four 4 nuts which were attached to the caster during shipping See diagrams A and B Reattach the 3 1 2 bolt washer and 5 nut removed earlier to lock the tongue assembly i...
Страница 12: ...xtended Handle Position Remove the bolts and extend the handle Align the bolt holes and secure the handle using bolts washers and nuts Return to all fasteners and verify that they 9 are tight Standard...
Страница 13: ...of the handle when dumping the cart Dump cart shown with the handle in the standard position NOTE Convert the push cart to a pull cart by removing the anchor bolt see diagrams below on the tongue ass...