1. Select the HDD (Master or Slave)
2. Select 1 out of the lists for setting up the B
ackup Start Time
.
3. Setup the B
ackup End Time
and click on blank box. If the
End Time
is not
selected, the
BACKUP
continues until the
Playback
automatically ends.
4. Click
the
Play&Backup
button, and data will be saved on the
BACKUP
folder.
•
If you wish to stop manually, click the
STOP
button.
•
To view the Backup image file, click
VIEWER
>click
OPEN
in
LOCAL VIEWER
>double
click
BACKUP FILES
in
CLDVR
>double click file list>click
PLAY
.
5. JPEG
•
Click one out of 4 channels and then click the
JPEG
button to save the image in
JPEG
file format. You can only save the selected channel (one channel).
•
To view the saved file, go to the directory of the saved file by using
Windows Explorer
and double click on it.
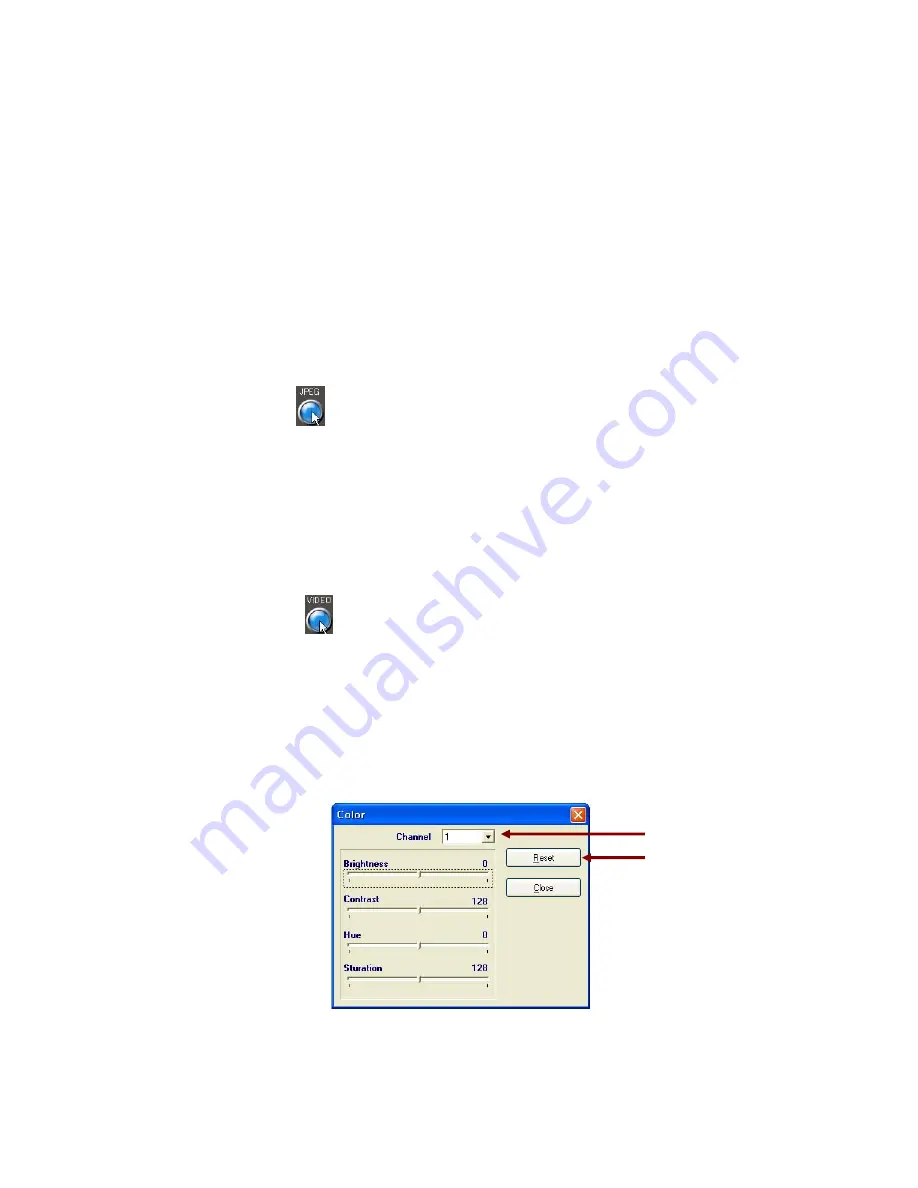
6. VIDEO ENHANCEMENT
•
Click
the
VIDEO
(
VIDEO ENHANCEMENT
) button to enhance the picture quality of each
channel such as Brightness, Contrast, Hue (Tint) and Saturation (Color) shown on the
GUI screen.
•
Select channel you wish to enhance the picture quality.
•
Click
the
RESET
button to reset the values.
•
To exit, click the
CLOSE
button.
Select Channel
Reset button
- 49 -


