Disassembly
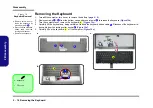
Removing the Keyboard 2 - 15
2.Disassembly
6.
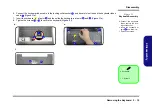
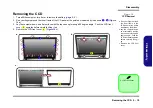
Connect the keyboard ribbon cable to the locking collar socket
, and be careful not to bend the keyboard ribbon
(
).
7.
Insert the keyboard
at point
and then slide the keyboard in at point
and
(
).
8.
Tighten the screws
-
to secure the keyboard (
).
8
7
4
9
10
11
12
13
d.
9
8
8
e.
7
9
10
11
f.
12
13
4
4. Keyboard
•
2 Screws
Figure 11
Keyboard Assembly
d. Connect the keyboard
ribbon cable to the lock-
ing collar socket.
e. Insert the keyboard at
point
and slide it in.
f. Tigthen the screws.
9
Содержание W950BU
Страница 1: ...W950BU W955BU ...
Страница 2: ......
Страница 3: ...Preface I Preface Notebook Computer W950BU W955BU Service Manual ...
Страница 24: ...Introduction 1 12 1 Introduction ...
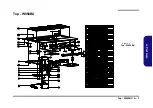
Страница 47: ...Top W950BU A 3 A Part Lists Top W950BU Figure A 1 Top W950BU ...
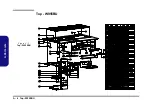
Страница 48: ...A 4 Top W955BU A Part Lists Top W955BU Figure A 2 Top W955BU ...
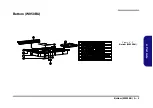
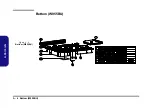
Страница 49: ...Bottom W950BU A 5 A Part Lists Bottom W950BU Figure A 3 Bottom W950BU ...
Страница 50: ...A 6 Bottom W955BU A Part Lists Bottom W955BU Figure A 4 Bottom W955BU ...
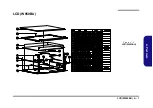
Страница 51: ...LCD W950BU A 7 A Part Lists LCD W950BU Figure A 5 LCD W950BU ...
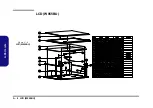
Страница 52: ...A 8 LCD W955BU A Part Lists LCD W955BU Figure A 6 LCD W955BU ...
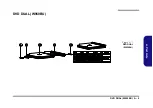
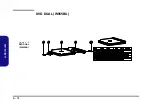
Страница 53: ...DVD DUAL W950BU A 9 A Part Lists DVD DUAL W950BU Figure A 7 DVD DUAL W950BU ...
Страница 54: ...A 10 A Part Lists DVD DUAL W955BU Figure A 8 DVD DUAL W955BU ...
Страница 55: ...Dummy ODD W950BU A 11 A Part Lists Dummy ODD W950BU Figure A 9 Dummy ODD W950BU ...
Страница 56: ...A 12 HDD W950BU A Part Lists HDD W950BU Figure A 10 HDD W950BU ...
Страница 57: ...HDD W955BU A 13 A Part Lists HDD W955BU Figure A 11 HDD W955BU ...
Страница 58: ...A 14 2nd HDD W950BU A Part Lists 2nd HDD W950BU Figure A 12 2nd HDD W950BU ...

