


131
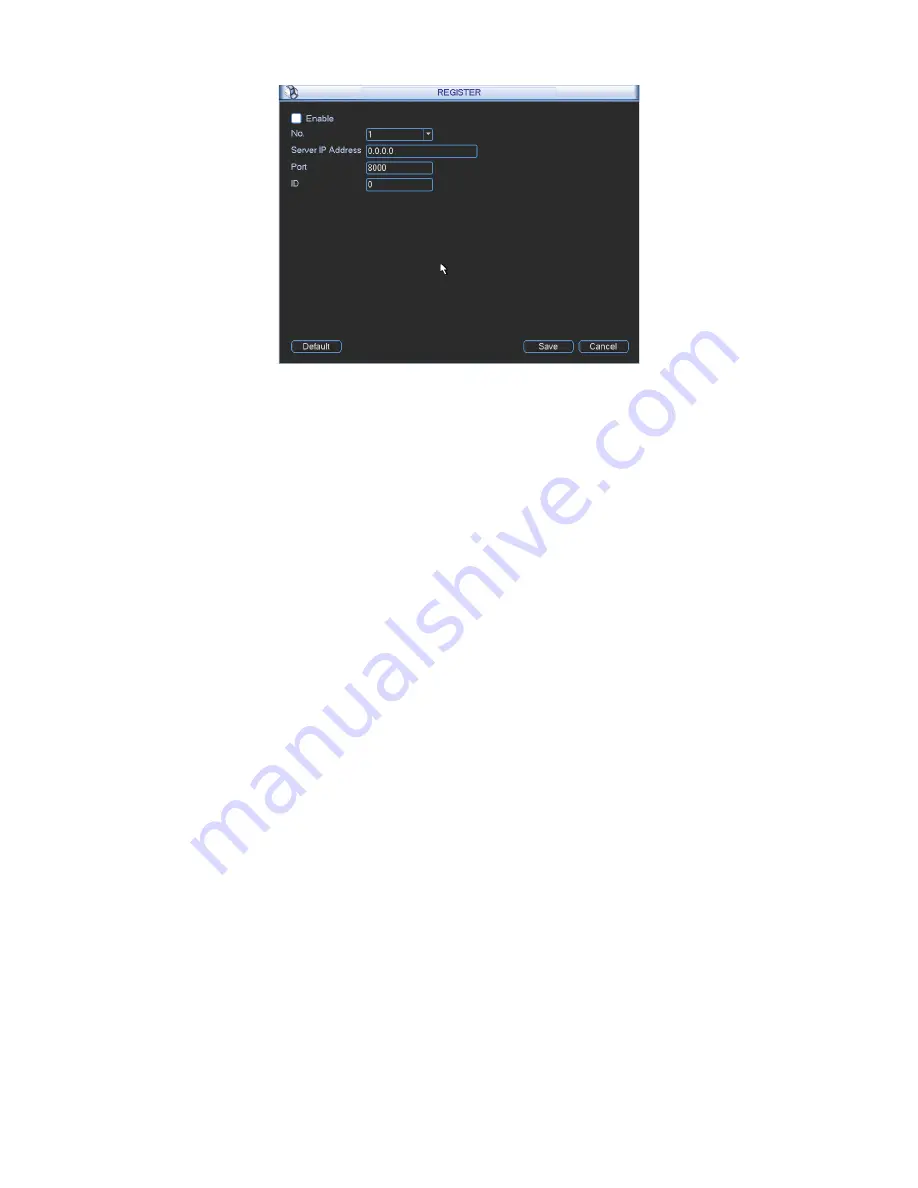
Figure 5-34
2) The proxy server software developed from the SDK. Please open the software and input the
global setup. Please make sure the auto connection port here is the same as the port you set in
the previous step.
3) Now you can add device. Please do not input default port number such as the TCP port in the
mapping port number. The device ID here shall be the same with the ID you input in Figure 5-34.
Click Add button to complete the setup.
4) Now you can boot up the proxy server. When you see the network status is Y, it means your
registration is OK. You can view the proxy server when the device is online.
Important
The server IP address can also be domain. But you need to register a domain name before you
run proxy device server.
5.3.6 Alarm
Please refer to chapter 4.7 Alarm Setup and Activation.
5.3.7 Detect
Please refer to chapter 4.6 Detect.
5.3.8 Pan/Tilt/Zoom
The pan/tilt/zoom setup includes the following items. Please select channel first. See Figure 5-35.
z
Protocol: Select corresponding PTZ protocol such as PELCOD.
z
Address: input corresponding PTZ address.
z
Baud rate: Select baud rate.
z
Data bit: Select data bit.
z
Stop bit: Select stop bit.
z
Parity: There are three choices: none/odd/even.
After completed all the setups please click save button, system goes back to the previous menu.
For detailed setup, please refer to chapter 4.10 preset/patrol/pattern/scan.
Содержание N6 1U Series
Страница 1: ... N6 1U Series DVR Quick Start Guide Version 5 1 1 ...
Страница 34: ... N6 Series Standalone DVR User s Manual Version 5 1 1 ...
Страница 98: ... 55 Figure 2 21 2 3 3 General 1 5U series Please refer to Figure 2 22 for connection sample ...
Страница 123: ... 80 1 5U Series 2U Series Figure 3 12 ...
Страница 144: ... 101 Figure 4 28 Figure 4 29 Figure 4 30 ...
Страница 152: ... 109 Figure 4 46 ...
Страница 192: ... 149 Figure 5 66 ...
Страница 197: ... 154 Figure 6 11 ...
Страница 217: ... 174 Figure 7 32 Figure 7 33 Figure 7 34 ...
Страница 272: ...S o tware ...


