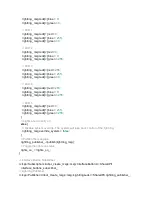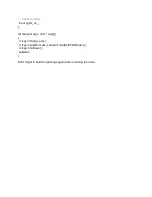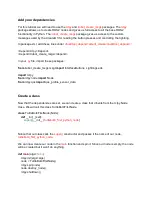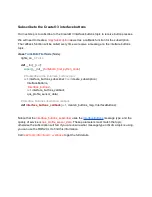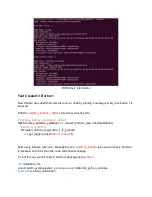
This function creates a
LightringLeds
message and populates the parameters.
We first stamp the message with the current time:
lightring_msg.header.stamp =
this->
get_clock()
->
now();
Then we set the
override_system
parameter to
true
so that our command overrides whatever
commands the Create® 3 is sending to the lightring.
lightring_msg.override_system =
true
;
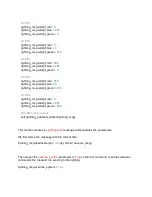
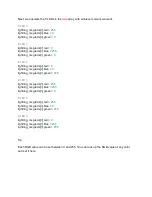
Next, we populate the 6 LEDs in the
leds
array with whatever colours we want.
// LED 0
lightring_msg.leds[
0
].red =
255
;
lightring_msg.leds[
0
].blue =
0
;
lightring_msg.leds[
0
].green =
0
;
// LED 1
lightring_msg.leds[
1
].red =
0
;
lightring_msg.leds[
1
].blue =
255
;
lightring_msg.leds[
1
].green =
0
;
// LED 2
lightring_msg.leds[
2
].red =
0
;
lightring_msg.leds[
2
].blue =
0
;
lightring_msg.leds[
2
].green =
255
;
// LED 3
lightring_msg.leds[
3
].red =
255
;
lightring_msg.leds[
3
].blue =
255
;
lightring_msg.leds[
3
].green =
0
;
// LED 4
lightring_msg.leds[
4
].red =
255
;
lightring_msg.leds[
4
].blue =
0
;
lightring_msg.leds[
4
].green =
255
;
// LED 5
lightring_msg.leds[
5
].red =
0
;
lightring_msg.leds[
5
].blue =
255
;
lightring_msg.leds[
5
].green =
255
;
Содержание TurtleBot 4 Lite
Страница 50: ...Running the Light Ring test...
Страница 61: ...Adding Displays in Rviz2...
Страница 63: ...Camera image displayed in Rviz2...
Страница 82: ...TurtleBot 4 Lite with a NED2 arm...
Страница 147: ...Color camera diagnostics...


