C3Pi Thin Client Quick Start Guide
ClearCube Technology, Inc.
www.clearcube.com
(866) 652-3500
3
of
8
Thin Client Setup,
Continued
Setting up a
Thin Client
(continued)
Step
Action
4
Connect the included Mini USB power cord and AC adapter, and then plug
the Mini USB cable into the rear of the thin client. Continue by plugging the
power adapter into an AC power outlet.
5
Power on the thin client by pressing the inline power button on the
power cable.
Next steps:
Perform the initial configuration of Cloud Desktop OS (First-Time Wizard)
and, optionally, configure Wi-Fi connections.
C3Pi Indicators
and
Power Controls
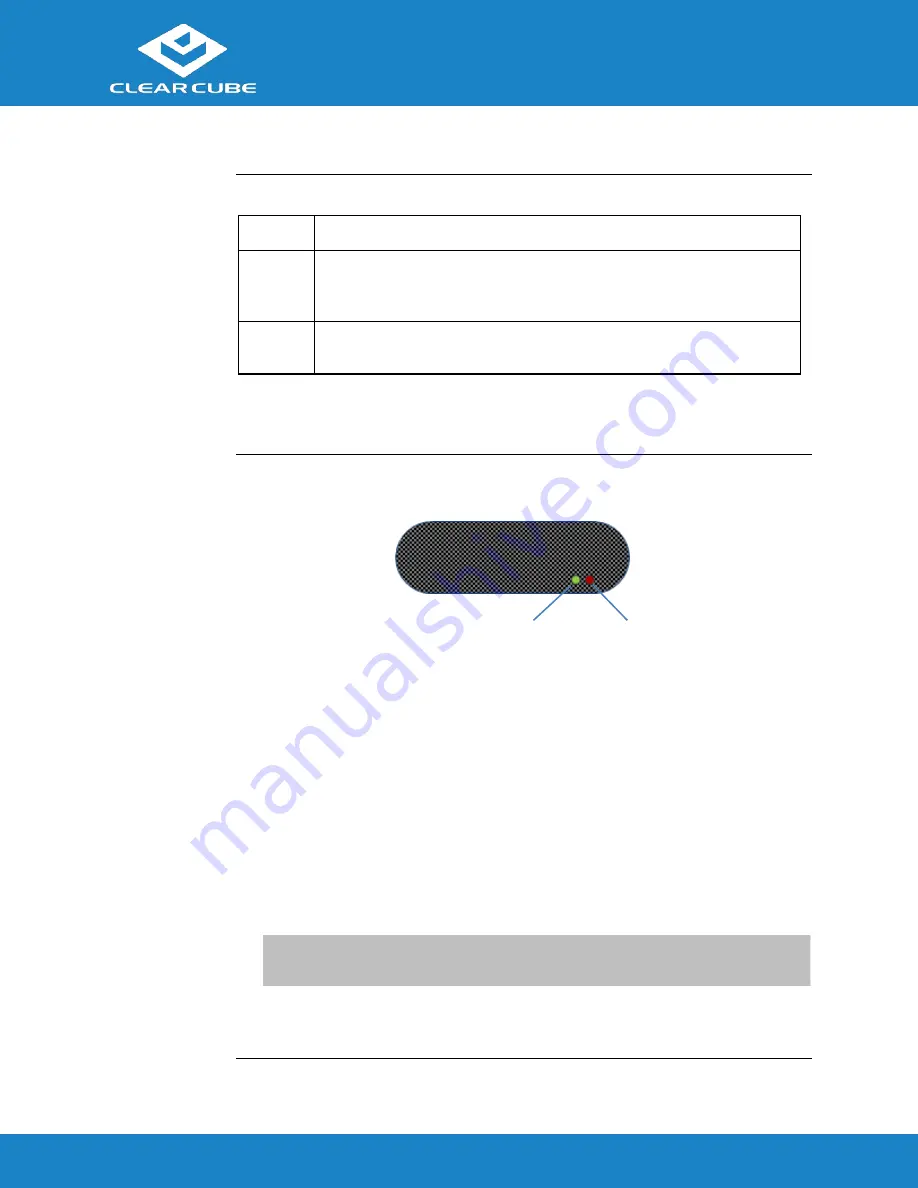
The picture below shows the indicators on the side of the C3PI.
Figure 3. Indicators on the side of the C3Pi
The list below describes power functions available from the power cable and operating system.
Power cable with inline switch
The power cable provides 5V power to the C3Pi, and the switch integrated into the cable
turns 5V power on and off.
Cloud Desktop OS:
Shutdown:
From Cloud Desktop OS, click
Start > Shutdown
.
When using Cloud Desktop Shutdown option, the C3Pi enters a low power state—note
that the red, 5V power light remains on after shutting down. While the C3Pi is in a low
power state, 5V power is still present. To turn off 5V power, press the inline power
button on the power cable, and the light will turn off.
NOTE:
To apply power to the C3Pi from this state, you might have to press the inline
power button twice.
Reboot:
From Cloud Desktop OS, click
Start > Reboot
to shut down and restart the
operating system.
5V Power
Applied
SD Card
Activity


