38
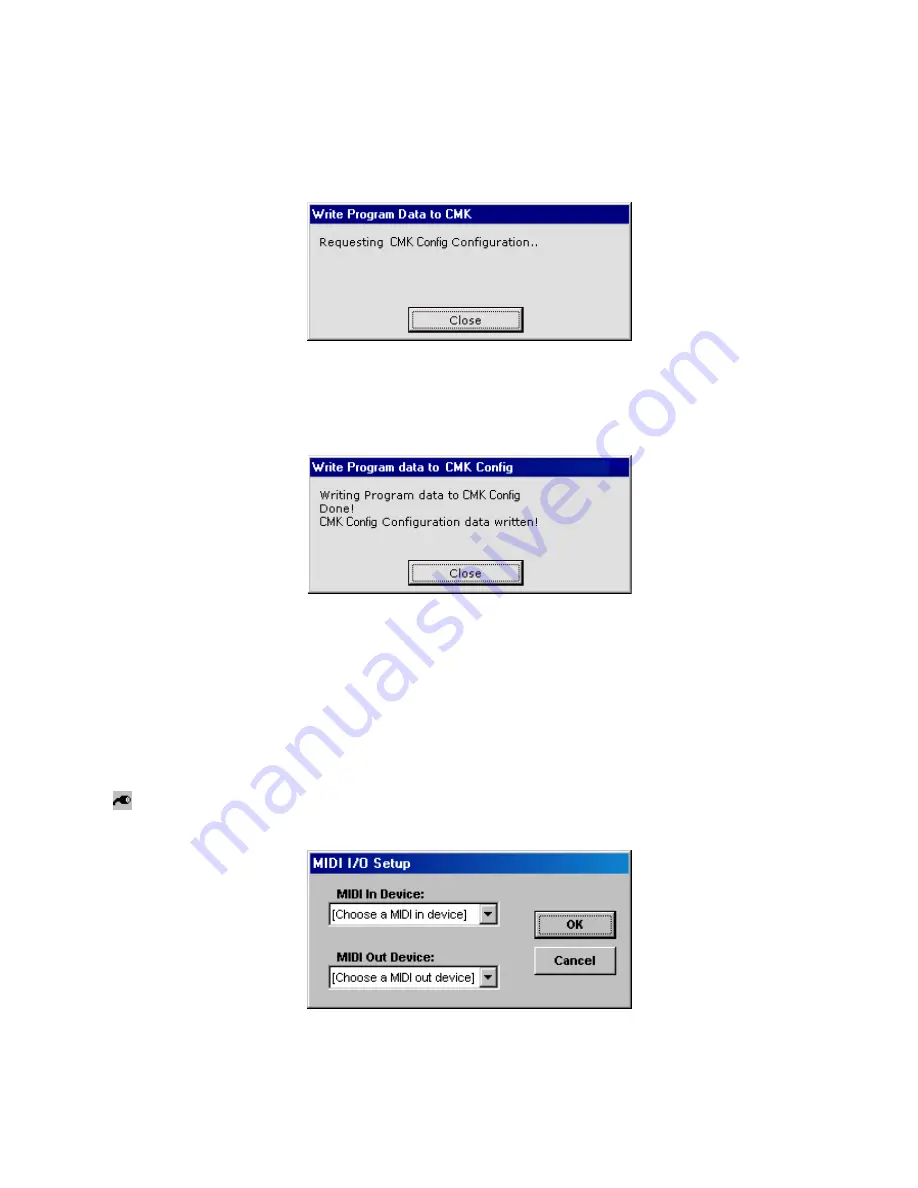
To save a configuration to the CMK-2, go to File
→
Write Program Data to CMK-2 or, use the
keyboard shortcut or icon as shown above. The Software attempts to make a connection to the
CMK-2.
Figure 32: Software attempting to communicate with CMK-2
A window should appear to confirm that the contents were written.
Figure 33: Confirms configuration written to CMK-2 from CMK-2Config software.
2. Options Menu
•
MIDI I/O Setup
– This function sets the MIDI input and output ports on your PC.
Icon: Keyboard
shortcut:
Ctrl+M
Figure 34: MIDI Input Output Setup window
3. Help Menu
Содержание CMK-2
Страница 6: ......
Страница 8: ......
Страница 11: ...11 Figure 2 CMK 2 connections...
Страница 29: ...29 Figure 13 Confirmation window Figure 14 Setup progress window...
Страница 30: ...30 Figure 15 Confirms installation was successful...
Страница 46: ......
Страница 54: ......
Страница 55: ...55 APPENDIX C CIRCUIT BOARD SCHEMATICS Figure 39 CMK 2A SS Classic MIDI Keyboard Circuit board Silk Screen...
Страница 56: ...56 Figure 40 CMK 2A Classic MIDI Keyboard Circuit Board Schematic...
Страница 57: ...57 Figure 41 CMK 2 PR S SSC v 1 Classic Midi Keyboard Piston Rail Silk Screen...
Страница 58: ...58 Figure 42 CMK 2 PR S S v 1 Classic MIDI Keyboard Piston Rail Schematic...
Страница 59: ...59 CLASSIC MIDI KEYBOARD CMK 2 APPENDIX D MECHANICAL DRAWINGS...
Страница 60: ...60 Figure 43 CMK 2 Piston Rail Front Panel Mechanical Drawing...
Страница 63: ...63 Figure 46 Mating the Small and large Brackets Figure 47 Connecting Two Brackets...
Страница 64: ...64 Figure 48 Brackets mated and closed Figure 49 A Four Manual Stack Open...
Страница 65: ...65 Figure 50 A Four Manual Stack Closed Figure 51 A Completed Four Manual Stack...


