9
INSTALLING/CHANGING BLADES
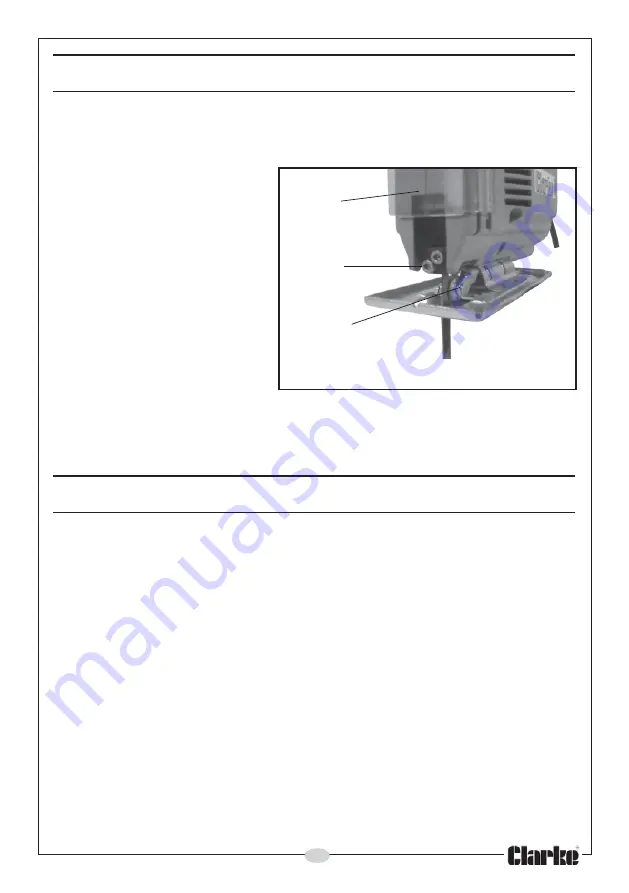
With the power cable disconnected from the mains supply, raise the blade
guard and slacken off the two hexagonal socket screws using the hexagonal
key stored at the rear of the tool body.
Loosen the two blade securing
screws and remove existing
blade. Select the saw blade
appropriate for the job in
hand, and insert it in to the
Blade Holder as far as it will go,
with the teeth facing forwards.
Tighten the two blade holder
screws progressively, until the
blade is held firmly. Ensure that
the blade is straight and resting
against the blade support
roller. Pull the blade to check
that it is secure before re-
connecting the power supply.
Take care that the saw blade is not touching anything before you start the
saw. Take care never to use cracked, blunt or damaged blades.
OPERATION
USING THE JIGSAW
IMPORTANT: DO NOT plug in to the mains, unless you have ensured the tool is
switched OFF. To do this, pull the switch fully upwards, and then release it.
The ON/OFF trigger switch is located under the grip.
Ensure that the workpiece being cut is securely held in place and that the cut
line is clearly marked. Connect the vacuum extractor port to an extract
system wherever possible.
Place the sole-plate on the workpiece taking care that the saw blade is
vertical and correctly positioned in relation to the cut line without touching it.
Push the clear plastic blade guard down fully.
Ensure the saw blade is not striking on anything below the workpiece and
that the power cable is well away from the moving blade before starting the
saw. If cutting out an aperture, it will be necessary to drill a suitably sized hole
in the workpiece for use as a starting point.
Blade
securing
screws
Blade
guard
Blade support
roller
Fig 2
Содержание Woodworker 6462160
Страница 1: ...OPERATING MAINTENANCE INSTRUCTIONS Model No CJS1 C PART NO 6462160 12 08 JIGSAW ...
Страница 16: ......


