IMPORTANT
ALWAYS ensure that the centre of gravity of the load, is centred about the cradle, before
taking the full weight.
PRE-ASSEMBLY
Unpack the components on a clean flat area of hard standing, and ensure that all parts
are present according to the packing list, as follows:
1.
Column Assembly complete.
2.
2 Wheel Brackets with 4 bolts and shake proof washers.
3.
4 Castors with nuts and washers.
4.
1 Cradle.
5.
1 Vent Plug.
6.
1 Instruction manual
Visually inspect all components to ensure that no damage was suffered in transit. Any
damage should be reported to your CLARKE dealer immediately.
ASSEMBLY
(Ref. Parts List)
1.
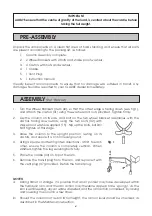
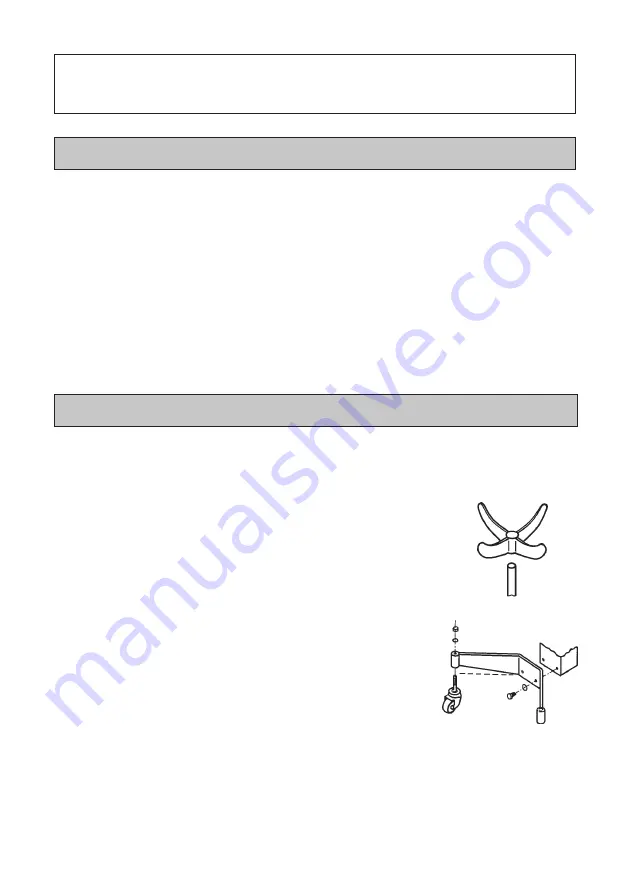
Turn the Wheel Brackets (item 40), so that the offset edge is facing down (see fig 1),
and attach the castors (41) using the washers and nuts provided. Tighten firmly.
2.
Lay the column on its side, and bolt on the two wheel bracket assemblies, with the
castors facing downwards, using the two bolts (39) with
shake proof washers supplied (15). Nip up the bolts, but DO
NOT tighten at this stage.
3.
Raise the column to the upright position, resting on its
castors, and ensure it is on firm level ground.
4.
Using a square, and testing in two directions - at 90° to each
other, ensure the column is completely vertical. When
satisfied, tighten the leg securing bolts fully.
5.
Place the cradle (43) on top of the ram.
6.
Remove the transit plug from the ram, and replace it with
the vent plug (37) provided. Retain the transit plug.
NOTES:
a.
During transit or storage, it is possible that an air pocket may have developed within
the hydraulic ram, and the ram action may therefore appear to be ‘spongy’. As the
ram is self bleeding, any air will be dispelled, and the ram action normalised, by raising
and lowering the column a few times.
b
.
Should the column not reach its full height, the ram oil level should be checked, as
described in the Maintenance Section.
fig. 1
4
Содержание Strong-Arm CTJ 50
Страница 1: ...AH0509 OPERATING MAINTENANCE INSTRUCTIONS 1 2TON TRANSMISSIONJACK Model CTJ 50...
Страница 6: ...6...
Страница 8: ......


