7
Parts & Service: 020 8988 7400 / E-mail: [email protected] or [email protected]
MOUNTING AND DEMOUNTING TYRES
TYRE REMOVAL
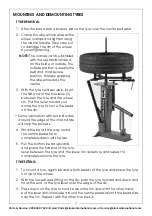
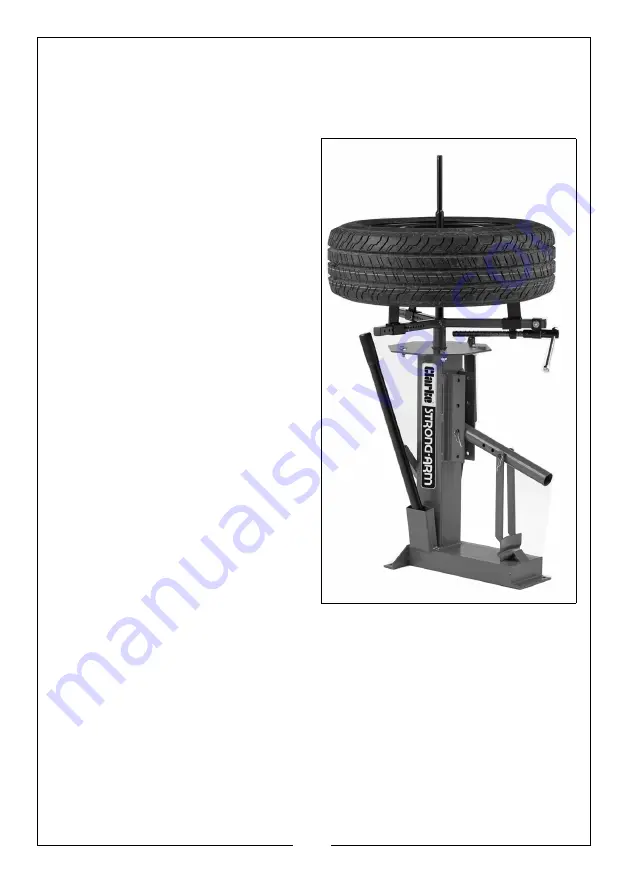
1. After the bead seal is broken, place the tyre over the centre pedestal.
2. Clamp the wheel rim between the
wheel clamps and tighten using
the clamp handle. Take care not
to damage the rim of the wheel
by overtightening.
NOTE:
The clamps can be installed
with the upstands located
on the inside or outside. The
outside position is usually the
best and most secure
position, thereby gripping
the wheel towards the
centre.
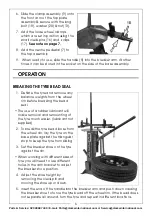
3. With the tyre held securely, insert
the flat end of the tyre lever (3)
between the tyre and the wheel
rim. Pull the lever toward you
across the tyre to force the bead
off the rim.
• Some lubrication with soap & water
around the edge of the rim and tyre
will help the process.
4. Work the bar all the way round
the centre pedestal to
completely dismount the tyre.
5. Pull the bottom bead upwards
and place the flat end of the tyre
lever between the tyre and the lower rim as before and repeat to
completely remove the tyre.
TYRE FITTING
1. To mount a tyre, again lubricate both beads of the tyre and place the tyre
on top of the wheel.
2. With the lower bead sitting on the rim, push the tyre forward and down and
hook the end of the tyre lever over the edge of the rim.
3. Press down on the tyre to hold it below the rim and with the other hand,
pull the lever anti-clockwise around the centre pedestal until the bead slips
over the rim. Repeat with the other tyre bead.
Содержание Strong-Arm CMTC1
Страница 8: ......


