


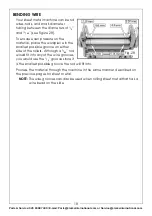


13
Parts & Service: 020 8988 7400 / E-mail: [email protected] or [email protected]
CREATING CURVES
Your sheet metal machine can easily create constant radius curves in sheet
metal up to 1 mm in thickness.
The method of creating a specific radius is a trial and error process. Due to the
many variations among metal workpieces, no single configuration of the
rollers will reproduce the same curve in all materials. We recommend testing
your roller configurations on scrap pieces that are the same dimension and
material as your final workpiece.
TO CREATE A CURVE IN TH5E WORKPIECE:
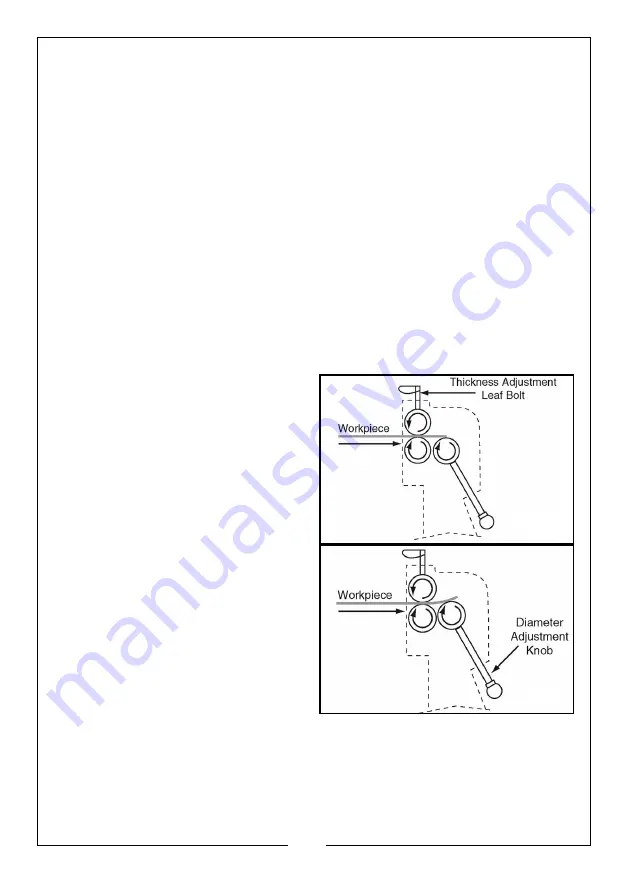
1. Use the diameter adjustment knobs to fully lower the rear roller below the
level of the bottom roller, then rotate the thickness adjustment leaf bolts
counterclockwise until the upper roller can be lifted with enough
clearance for the workpiece.
NOTE:
Performing multiple passes through the machine with gradual
reductions in the curve radius produces better results than trying to
make the curve in one or two passes.
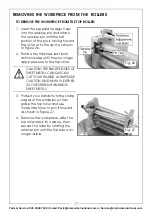
2. Insert the workpiece between the
upper and lower rollers and just
over the rear roller, as illustrated in
Figure 17, then snug the thickness
adjustment leaf bolts down to
hold the workpiece securely.
Make sure you tighten the leaf
bolts exactly the same amount.
3. Use the diameter adjustment
knobs to raise the rear roller, then
use the hand crank to pass the
workpiece through the machine
(see the illustrations in Figure 18-
19).
NOTE:
For good results, make the
first bend less than the final
radius, then slightly decrease
the bend with each
successive pass until the final
radius has been reached.
Fig. 17
Fig. 18


