background image

280-8009-00

DXZ546MP

23

English

Operations Common to Each Mode

2. Select and play a CD in the CD changer or

tune in to a TV station or TUNER for which
you want to enter the title.

3. Press the [

DISP

] button and display the

main.

4. Press the [

T

] button.

5. Press the [

a

] or [

d

] button to move the

cursor.

6. Press the [

DISP

] button to select a character.

Each time you press the [

DISP

] button, the

character changes in the following order:

Capital letters 

 Small letters 

 Numbers

and  Symbols 

 Umlaut 

 Capital letters...

7. Turn the [

ROTARY

] knob to select the de-

sired character.

8. Repeat steps 5 to 7 to enter up to 10 charac-

ters for the title.

9. Press and hold the [

] button for 2 sec-

onds or longer to store the title into memory
and cancel title input mode.

Clearing titles

1. Select and play a CD in the CD changer or

tune in to a TV station or TUNER for which
you want to clear the title.

2. Press the [

DISP

] button and display the

main.

3. Press the [

T

] button.

The display switches to the title input display.

4. Press the [

BND

] button.

5. Press and hold the [

] button for 2 sec-

ond or longer to clear the title and cancel title
input mode.

Triggered audio mute for cellular
telephones

This unit requires special wiring to mute the au-
dio signal automatically when a cellular tele-
phone rings in the car.

This function is not compatible with all cellular tele-
phones Contact your local authorized Clarion dealer
for information on proper installation and compat-
ibility.

AUX function

This system has an external input jack so you
can listen to sounds and music from external
devices connected to this unit.

2. Press the [

a

] or [

d

] button to select

AUX SENS

”.

3. Turn the [

ROTARY

] knob clockwise or coun-

terclockwise as needed and select from

HIGH

”, “

MID

” or “

LOW

”.

4. Press the [

T

] button to return to the previous

mode.

Setting the clock

1. Press and hold the [

T

] button for 1 second or

longer to switch to the adjustment selection
display.

2. Press the [

a

] or [

d

] button to select

CLOCK 

”.

3. Press the [

] button.

4. Press the [

a

] or [

d

] button to select the

hour or the minute.

5. Turn the [

ROTARY

] knob clockwise or coun-

terclockwise to set the correct time.

 The clock is displayed in 12-hour format.

6. Press the [

] button to store the time into

memory.

7. Press the [

T

] button to return to the previous

mode.

Note:

• You cannot set the clock when it is displayed with

only the ignition on. If you drain or remove the
car’s battery or take out this unit, the clock is re-
set. While setting the clock, if another button or
operation is selected, the clock set mode is can-
celed.

Entering titles

Titles up to 10 characters long can be stored in
memory and displayed for CD, CD changer and
TV stations. The number of titles that can be en-
tered for each mode are as follows.

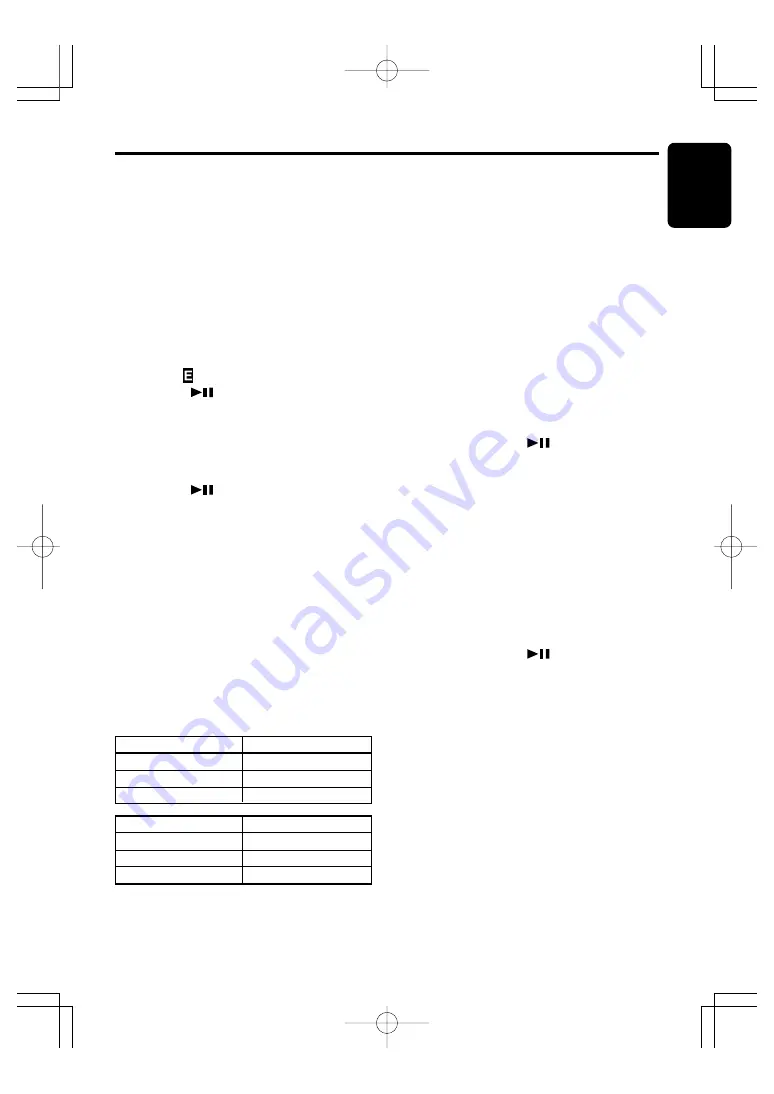
CD changer mode

Number of titles

DCZ625 connected

100 titles

CDC655Tz connected

100 titles

CDC1255z connected

50 titles

Mode

Number of titles

CD mode

50 titles

TV mode

20 titles

Tuner mode

30 titles

1. Press the [

FNC

] button to select the mode

you want to enter a title (TUNER, CD, CD
changer or TV).

+DXZ546MP-009-ENG

03.12.26, 4:48 PM

Page 23

Adobe PageMaker 6.5J/PPC

Содержание DXZ546MP

Страница 1: ...ll Rights Reserved Copyright 2004 Clarion Co Ltd 2004 1 PE 2623K 280 8009 00 Owner s manual 사용 설명서 AM FM CD MP3 WMA PLAYER jLcj aLjmPLtj AM FM CD MP3 WMA 플레이어 DXZ546MP 001 cover 03 12 26 4 44 PM Page 1 Adobe PageMaker 6 5J PPC ...

Страница 2: ...MP3 WMA Operations 16 Different pieces of music heard by plural listeners 2 ZONE function 20 Operations Common to Each Mode 21 8 OPERATIONS OF ACCESSORIES 24 CD Changer Operations 24 TV Operations 26 9 IN CASE OF DIFFICULTY 28 10 ERROR DISPLAYS 29 11 SPECIFICATIONS 30 Thank you for purchasing this Clarion product Please read this owner s manual in its entirety before operating this equipment After...

Страница 3: ...e compact disc or mark the surface with a pencil or pen Never play a compact disc with any cello phane tape or other glue on it or with peeling off marks If you try to play such a compact disc you may not be able to get it back out of the CD player or it may damage the CD player Do not use compact discs that have large scratches are misshapen cracked etc Use of such discs may cause misoperation or...

Страница 4: ...These buttons are used to make various settings Press and hold the button for 1 second or longer to switch the fast forward fast back ward BND button Switch the band or seek tuning or manual tuning while in the radio mode Play a first track while in the CD mode A M button Use the button to switch to the audio mode bass treble balance fader Z Enhancer Plus Press and hold for 1 second or longer to t...

Страница 5: ...nd put it into the supplied DCP case Ensure the DCP is in the correct orienta tion DCP DCP 2 1 Note If the DCP is dirty wipe off the dirt with a soft dry cloth only CAUTION The DCP can easily be damaged by shocks After removing it be careful not to drop it or subject it to strong shocks When the Release button is pressed and the DCP is unlocked the car s vibrations may cause it to fall To prevent ...

Страница 6: ...the remote control unit facing in the directions shown in the figure then close the rear cover Notes Using batteries improperly can cause them to explode Take note of the following points When replacing batteries replace both batteries with new ones Do not short circuit disassemble or heat batteries Do not dispose of batteries into fire or flames Dispose of spent batteries properly Receiver for re...

Страница 7: ... on Switches among main display clock display Press and hold for 1 second or longer to turn on or off the 2 ZONE mode Press to switch the control zone between main zone or sub zone while 2 ZONE mode on Preset scan When pressed and held for 2 seconds Auto store No function No function Scan play Press and hold the button for 1 second or longer to perform folder scan play while in the MP3 WMA mode Re...

Страница 8: ... or der Radio mode CD MP3 WMA mode CD changer mode DVD changer mode TV mode AUX mode Radio mode External equipment not connected with CeNET is not displayed Adjusting the volume Turning the ROTARY knob clockwise in creases the volume turning it counterclockwise decreases the volume The volume level is from 0 minimum to 33 maxi mum Switching the display Press the DISP button to select the desired d...

Страница 9: ...veral times until the function mode is reached Adjusting the bass Gain Frequency Q curve This adjustment can be performed when the Z Enhancer Plus is set to CUSTOM 1 Press the A M button and select BASS 2 Turning the ROTARY knob clockwise em phasizes the bass turning it counterclock wise attenuates the bass The factory default setting is BÅ Å Å Å ÅGAIN 0Î Î Î Î Î Adjustment range 6 to 8 3 Press th...

Страница 10: ... available 2 Tune into a station Quick tuning Press and hold the a or d button for 1 second or longer to tune in a station Step tuning Press the a or d button to manually tune in a station Basic Operations Adjusting the balance 1 Press the A M button and select BAL 0 2 Turning the ROTARY knob clockwise em phasizes the sound from the right speaker turning it counterclockwise emphasizes the sound fr...

Страница 11: ...nd FM or AM 2 Press and hold the P A button for 2 sec onds or longer The stations with good recep tion are stored automatically to the preset channels Preset scan Preset scan receives the stations stored in pre set memory in order This function is useful when searching for a desired station in memory 1 Press the P A button 2 When a desired station is tuned in press the P A button again to continue...

Страница 12: ...type track is selected MP3 WMA What is MP3 MP3 is an audio compression method and clas sified into audio layer 3 of MPEG standards This audio compression method has penetrated into PC users and become a standard format This MP3 features the original audio data com pression to about 10 percent of its initial size with a high sound quality This means that about 10 music CDs can be recorded on a CD R...

Страница 13: ...en the CD will start playing For 5 inch 12 cm CD For 3 inch 8 cm single CD Notes Never insert foreign objects into the CD SLOT If the CD is not inserted easily there may be another CD in the mechanism or the unit may require service Discs not bearing the or mark and CD ROMs cannot be played by this unit Some CDs recorded in CD R CD RW mode may not be usable Loading 8 cm compact discs No adapter is...

Страница 14: ... In addition the playing time may have a margin of error Folder Select This function allows you to select a folder con taining MP3 WMA files and start playing from the first track in the folder 1 Press the DN or the UP button Press the DN button to the previous folder Press the UP button to the next folder CD MP3 WMA Operations 2 3 4 5 1 Root folder Press the UP button while in the final folder to...

Страница 15: ...tus indications such as FOLDER and RPT disappear from the display and normal play resumes from the track currently being played Random play This function allows you to play all tracks re corded on a disc in a random order 1 Press the RDM button to perform random play The indication RDM lights up in the display and TRK RANDOM or RANDOM when performing random play for tracks on a MP3 WMA disc appear...

Страница 16: ... initial state the MAIN zone services for sources inside this unit and the SUB zone for AUX Chang ing a source during later use causes the latest heard source to be invoked Press and hold the button for 1 second or longer to turn on or off When the 2 ZONE function is turned on 2 ZONE ON on the display lights Switching sources 1 Press the button to select the control zone MAIN or SUB Every time the...

Страница 17: ...he a or d button to move the cursor 6 Press the DISP button to select a character Each time you press the DISP button the character changes in the following orders Capital letters Small letters Numbers and Symbols Umlaut Capital letters 2 Press the FNC button to select a source in the control zone Every time the button is pressed the follow ings appear in turn For a source group included in this u...

Страница 18: ... are difficult to hear even after adjusting the volume The factory default setting is MID 1 Press and hold the T button for 1 second or longer to switch to the adjustment selection display 7 Turn the ROTARY knob to select the de sired character 8 Repeat step 5 to 7 to enter up to 30 charac ters for message 9 Press and hold the button for 2 sec onds or longer to store the message in memory and canc...

Страница 19: ...mpat ibility AUX function This system has an external input jack so you can listen to sounds and music from external devices connected to this unit 2 Press the a or d button to select AUX SENS 3 Turn the ROTARY knob clockwise or coun terclockwise as needed and select from HIGH MID or LOW 4 Press the T button to return to the previous mode Setting the clock 1 Press and hold the T button for 1 secon...

Страница 20: ... work Selecting a track Track up 1 Press the d button to move ahead to the beginning of the next track 2 Each time you press the d button the track advances ahead to the beginning of the next track Track down 1 Press the a button to move back to the beginning of the current track 2 Press the a button twice to move to the beginning of the previous track Fast forward fast backward Fast forward Press...

Страница 21: ...at play press the RPT button again RPT goes off from the display and normal play resumes Disc repeat play After all the tracks on the current disc have been played disc repeat play automatically re plays the current disc over from the first track This function continues automatically until it is cancelled 1 Press and hold the RPT button for 1 second or longer DISC and RPT light in the dis play and...

Страница 22: ... quick tuning mode you can quickly tune the desired frequency TV Operations 1 Press the BND button and select the de sired band TV1 or TV2 If MANU is not lit in the display press and hold the BND button for 1 second or longer MANU lights in the display and manual tun ing is now available 2 Tune into a station Quick tuning Press and hold the a or d button for 1 second or longer to tune in a station...

Страница 23: ... 1 Press and hold the T button for 1 second or longer to switch to the adjustment selection display 2 Press the a or d button to select ÅTV AREA Î Î Î Î Î 3 Turn the ROTARY knob clockwise or coun terclockwise to select the reception area 4 Press the T button to return to the previous mode Setting the TV diver You can change the reception setting for the TV antenna connected to the TV tuner 1 Press...

Страница 24: ...purchase Consult your store of purchase 1 Turn the unit off 2 Remove all wires attached to the power antenna lead Check each wire for a possible short to ground using an ohm meter 3 Turn the unit back on 4 Reconnect each amplifier remote wire to the power antenna lead one by one If the amplifiers turn off before all wires are attached use an external relay to provide remote on voltage excessive cu...

Страница 25: ...it is loaded upside down Parental level error Region code error The speaker protection circuit is operating During this operation if any volume operation is performed the display shows AMP GUARD This is a failure of CD deck s mechanism and consult your store of purchase Replace with a non scratched non warped disc Eject the disc then reload it properly This is a failure of CD changer s mechanism a...

Страница 26: ... W 4 ch Continuous Average Power Output 17 W 4 into 4 Ω 20 Hz to 20 kHz 1 THD Bass Control Action 50 Hz 80 Hz 120 Hz 16 dB 12dB Treble Control Action 8 kHz 12 kHz 12 dB Line Output Level CD 1 kHz 1 8 V General Power Supply Voltage 14 4 V DC 10 8 to 15 6 V allowable negative ground Current Consumption Less than 15 A 3A Speaker Impedance 4 Ω 4 Ω to 8 Ω allowable Weight Source unit 2 86 lb 1 3 kg Wei...

Отзывы: