background image

English

27


DXZ388RUSB/DXZ389RUSB/DXZ389RGUSB

Operations Common to Each Mode

Displaying the settings

The number of indicator of this unit decreases, 
you can see the state of current settings at any 
operation mode.

2-1. Select “

SETTINGS

”.

3-1. Press the [

w

] or [

z

] button to display the 

state of current settings.

When the setting is selected, after 1 second 
the current state will be displayed.

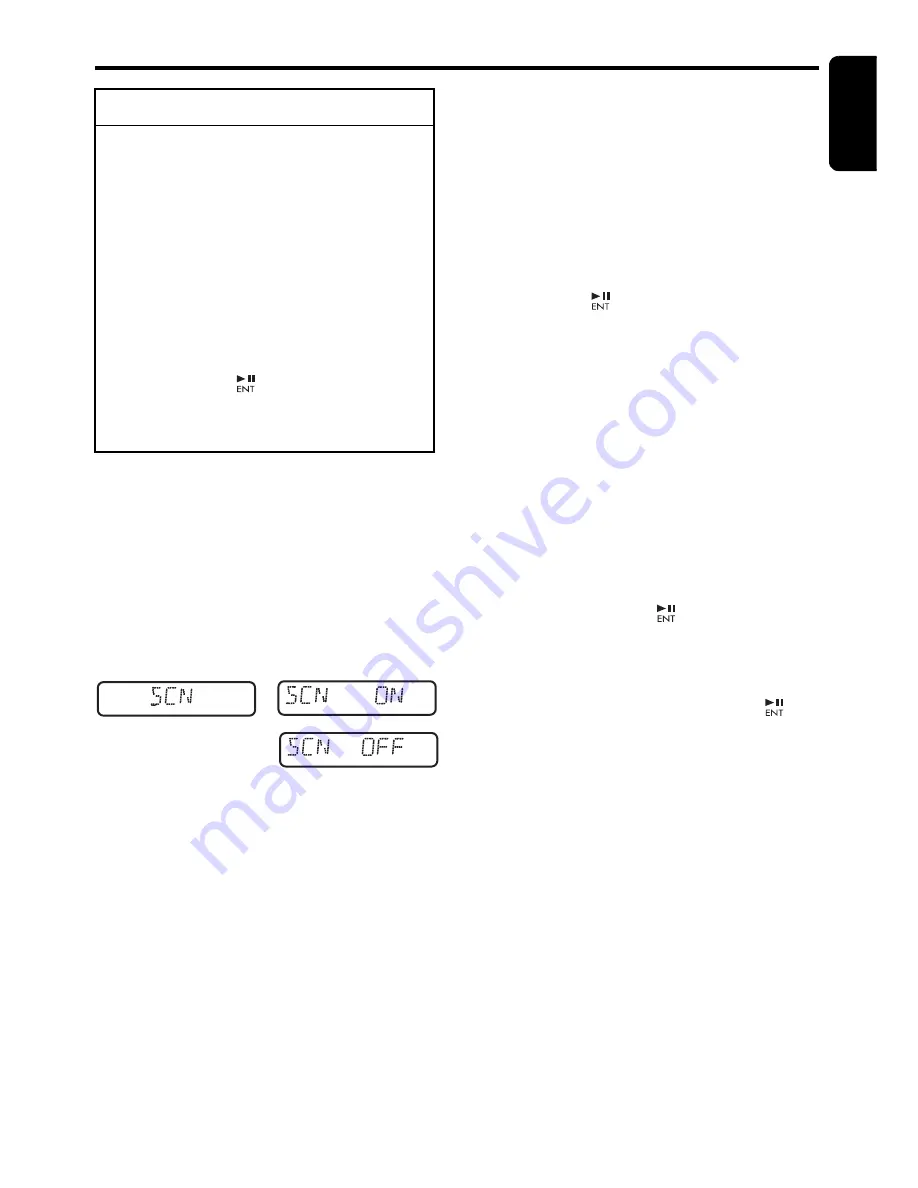
Turning the screen saver function on 
or off

This unit is provided with the screen saver 
function which allows you to show various kinds 
of patterns and characters in the operation 
status indication area of the display in a random 
order. You can turn on or off this function. If the 
button operation is performed with the screen 
saver function on, the operation display 
corresponding to the button operation is shown 
for about 30 seconds and the display returns to 
the screen saver display.

The factory default setting is “

ON

”.

2-1. Select “

SCRN SVR

”.

3-1. Press the [

w

] or [

z

] button to select the 

setting.

Each time you press the [

w

] or [

z

] button, 

the setting changes in the following order:

MESSAGE

” 

 “

ON

” 

 “

OFF

Entering message information

Message up to 30 characters long can be stored 
in memory and displayed as a type of screen 
saver setting.

The factory default setting is “

WELCOME TO 

CLARION

”.

2-1. Select “

MSG INP

”.

3-1. Press the [

] button.

3-2. Press and hold the [

BND

] button for 1 

second or longer to clear the old message.

3-3. Press the [

x

] or [

v

] button to move the 

cursor.

3-4. Press the [

BND

] button to select a 

character type. Each time you press the 
[

BND

] button, the character type changes 

in the following order:

Capital letters 

 Numbers 

 Symbols 


Umlaut 

 Capital letters…

3-5. Press the [

w

] or [

z

] button to select the 

desired character.

3-6. Repeat step 3-3 to 3-5 to enter up to 30 

characters for message.

3-7. Press and hold the [

] button for 2 

seconds or longer to store the message in 
memory.

Press and hold the 

[

BND

] button for 1 

second or longer to cancel the input 
message. Then press and hold the 

[

]


button for 2 seconds or longer to store the 
message and the message return to default 
setting.

Setting the method for title scroll

Set how to scroll in CD-TEXT, MP3/WMA/AAC 
title.

The factory default setting is “

ON

”.

2-1. Select “

SCROLL

”.

3-1. Press the [

w

] or [

z

] button to select “

ON

” 

or “

OFF

”.

• ON:

To scroll automatically.

• OFF:

To scroll just 1 time.

When you want to see the title again, in the 
title mode, press and hold the [

DISP

] button 

for 3 seconds or longer to scroll the title.

To change adjustment setting

1. Press and hold the [

DISP

] button for 1 

second or longer to switch to the 
adjustment selection display.

2. Press the [

x

] or [

v

] button to select 

the “

item name

”.

SETTINGS

” 

 “

SCRN SVR

” 

 “

MSG 

INP

” 

 “

SCROLL

” 

 “

DIMMER

” 

 “

A-

CANCEL

” 

 “

TEL-SEL

” 

 “

TEL-SP

” 


TEL-SW

” 

 “

S-CHECK

3. Press the [

w

] or [

z

] button to select the 

desired setting value

”.

In the case of display blinking “

ENT

”, you 

can press the [

] button to adjust the 

setting value.

After completing settings, press the [

DISP

button to return to the previous mode.

or


For example: 

  after 1 second,

Содержание DXZ388RUSB

Страница 1: ...OLLO CeNET CD USB MP3 WMA AAC RADIO COMBINATIE MET CeNET BEDIENING RECEPTOR CD USB MP3 WMA AAC CON CONTROL CeNET CD USB MP3 WMA AAC RADIO MED CeNET KONTROLL RECEPTOR CD USB MP3 WMA AAC COM CONTROLO Ce...

Страница 2: ...N EXPOSURE ADVARSEL Denne m rking er anbragt udvendigt p apparatet og indikerer at apparatet arbejder med laserstr ler af klasse 1 hvilket betyder at der anvendes laserstr ler af svageste klasse og at...

Страница 3: ...S 4 Handling Compact Discs 5 3 CONTROLS 6 Names of the Buttons and Their Functions 6 Display Items 8 Display Screen 8 4 DCP DETACHABLE CONTROL PANEL 9 5 REMOTE CONTROL 10 Functions of Remote Control U...

Страница 4: ...cial purpose vehicle is not appropriate 2 When the inside of the car is very cold and the player is used soon after switching on the heater moisture may form on the disc or the optical parts of the pl...

Страница 5: ...act disc you may not be able to get it back out of the CD player or it may damage the CD player Do not use compact discs that have large scratches are misshapen cracked etc Use of such discs may cause...

Страница 6: ...MTP iPod devices insertion slot AUX input jack The input jack for connecting an external device SOUND button Use the button to switch to the sound adjust mode Press and hold the button for 1 second or...

Страница 7: ...by turning the knob clockwise or counterclockwise BND button Switch the band or seek tuning or manual tuning while in the radio mode Play a first track while in the CD MP3 WMA AAC mode Press the butto...

Страница 8: ...e MP3 WMA AAC WMA indication AAC indication MP3 indication Enter indication Bluetooth indication Disc No indication Preset channel indication 1 to 6 MANU Manual indication MUTE indication AF Alternati...

Страница 9: ...P Case Hold the DCP in the orientation as shown in the figure below and put it into the supplied DCP case Ensure the DCP is in the correct orientation CAUTION The DCP can easily be damaged by shocks A...

Страница 10: ...es volume MUTE button Turns mute function on and off TA button TA on and off Press to cancel a traffic announcement broadcast during a TA interrupt AF button Press to cancel an emergency broadcast dur...

Страница 11: ...WMA AAC and USB MTP modes press and hold the button for 1 second or longer to perform folder random play CD changer mode BND button Press to switch to next disc in ascending order x v buttons Press to...

Страница 12: ...slides into the compartment 4 Replace the cover and slide in until it clicks into place Notes Misuse may result in rupture of the battery producing leakage of fluid and resulting in personal injury or...

Страница 13: ...e connections are completed it must be checked what equipment is connected When the power is turned on the S CHECK appears in the display The system check starts within the unit Then the unit turn to...

Страница 14: ...revious mode Adjusting the bass This adjustment can be performed only when the Z Enhancer Plus is set to CUSTOM 2 1 Select BASS 3 1 Press the w or z button to select as following order BASS G BASS F B...

Страница 15: ...nd front speakers The factory default setting is CENTER center Adjustment range FRONT12 to REAR12 front 12 to rear 12 Adjusting the subwoofer You can set the low pass filter of subwoofer 2 1 Select S...

Страница 16: ...SOUND button for 1 second or longer to turn on the MAGNA BASS EXTEND effect M B EX appears in the display for 2 seconds 2 Press and hold the SOUND button for 1 second or longer to turn off the MAGNA B...

Страница 17: ...ught DX SEEK Press the x or v button to automatically seek a station When the v button is pressed the station is sought in the direction of higher frequencies if the x button is pressed the station is...

Страница 18: ...r longer to store the current station into preset memory Auto store Auto store is a function for storing up to 6 stations that are automatically tuned in sequentially If 6 receivable stations cannot b...

Страница 19: ...to a different frequency on the same network in order to maintain optimum reception The factory default setting is ON 1 Press and hold the DISP button for 1 second or longer to switch to the Radio Dat...

Страница 20: ...ncelled If TP is not lit pressing the TA button searches for a TP station Searching for a TP station When TP is not lit if you press the TA button TA in the display lights and the unit automatically r...

Страница 21: ...the unit returns to the PTY select mode PTY preset memory 1 Press and hold the DISP button for 1 second or longer to switch to the Radio Data System adjustment selection display 2 Press the x or v bu...

Страница 22: ...isplay The factory default setting is ENGLISH 1 Press and hold the DISP button for 1 second or longer to switch to the adjustment selection display 2 Press the x or v button to select LANGUAGE 3 Press...

Страница 23: ...t your own responsibility What is AAC AAC is an acronym for Advanced Audio Coding and refers to the audio compression method used with video compression standards MPEG 2 and MPEG 4 AAC files composed...

Страница 24: ...software used while recording Set the type of file to be played multi session function When a single disc holds both normal CD type tracks and MP3 WMA AAC type tracks use this command to select which...

Страница 25: ...CD text MP3 WMA AAC disc and user titles input with this unit 1 Each time you press the DISP button to change the title display CD TEXT disc User Track Disc Artist User MP3 WMA AAC disc Track Folder...

Страница 26: ...sc 1 Press and hold the SCN button for 1 second or longer to perform folder scan play ALL SCAN appears in the display for 2 seconds Folder scan play starts from the next folder after the folder curren...

Страница 27: ...r the old message 3 3 Press the x or v button to move the cursor 3 4 Press the BND button to select a character type Each time you press the BND button the character type changes in the following orde...

Страница 28: ...ting the car speaker output for the cellular phone The factory default setting is RIGHT To output the telephone calls set the cellular phone interrupt to ON 2 1 Select TEL SP 3 1 Press the w or z butt...

Страница 29: ...he w or z button to select the desired character 9 Repeat steps 6 to 8 to enter up to 8 characters for the title 10 Press and hold the button for 2 seconds or longer to store the title into memory Cle...

Страница 30: ...B hub device are also not supported When a USB memory device is composed of two or more drives only one of the drives will be detected USB memory devices with security functions cannot be played The o...

Страница 31: ...actual playback order may not be the same as that indicated on your computer s display To listen to tracks on a connected USB memory MTP device 1 Press the SRC button to switch the source When USB mem...

Страница 32: ...P3 WMA AAC Operations page 23 26 for details Other various play functions in Play mode Notes These functions are not supported when in the iPod menu mode The Random function set on the iPod remains th...

Страница 33: ...tween subfolders then use the v button to select the desired subfolder When the track name display is showing pressing the x button will return to the currently playing folder name display 5 Use the w...

Страница 34: ...umbers 5 Press and hold the button for 1 second or longer to call the mobile phone No Press the SOUND button to end the call Call from Phonebook User can search the contact name in the phonebook and m...

Страница 35: ...the same as for PAIRING mode SELECT This is a setting for user to select one of the paired mobile phones 2 1 Select SELECT 3 1 Press the button then the paired mobile phones appears in the display 4...

Страница 36: ...ncoming call notification enabled A CONECT This function allows the Bluetooth BB to be connected automatically with previously connected device Connection can be established at any source mode The fac...

Страница 37: ...t be usable CAUTION CD ROM discs cannot be played from every CD changer it s depended on the model Displaying CD titles This unit can display title data for CD text CDs and user titles input with this...

Страница 38: ...t play After all the tracks on the current disc have been played disc repeat play automatically replays the current disc over from the first track This function continues automatically until it is can...

Страница 39: ...r main unit connectors are dirty Wipe the dirt off with a soft cloth moistened with cleaning alcohol No sound heard The speaker protection circuit is operating 1 Turn down sound volume Function can al...

Страница 40: ...ed Use only properly encoded MP3 WMA AAC files The device isn t recognized The device is damaged Disconnect the device and reconnect If the device is still not recognized try replacing with a differen...

Страница 41: ...load it properly CD changer ERROR 2 A CD inside the CD changer is not loaded This is a failure of CD changer s mechanism and consult your store of purchase ERROR 3 A CD inside the CD changer cannot be...

Страница 42: ...subject to change without notice for further improvement 11 OTHERS WMDRM 10 for devices This product is protected by certain intellectual property rights of Microsoft Use or distribution of such tech...

Страница 43: ...tle and or number and date of issue of the standard s or other normative document s if applicable following the provisions of 2004 108 EC Directive And following the provisions of 2004 104 EC Directiv...

Отзывы: