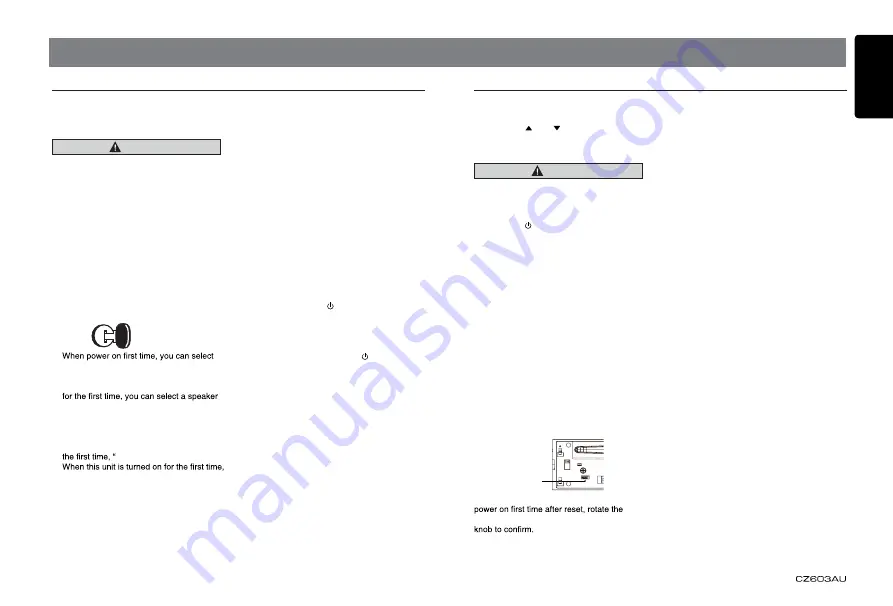
background image

English

7

5. OPERATIONS

Basic Operations

Basic Operations

Note:

•   Refer to the diagrams in “3. CONTROLS” 

when reading this chapter.

CAUTION

When the unit is turned on, starting and 

stopping the engine with its volume raised 

to the maximum level may harm your 

hearing.

Be careful about adjusting the volume.

Power on / off
Notes:

•  Start the engine before using this unit.

•  Be careful about using this unit for a long 

time without running the engine. If you 

drain the car’s battery too far, you may not 

be able to start the engine and this can 

reduce the service life of the battery.

1. Start the engine. The power button / knob 

illumination on the unit will light up.

Engine ON 

position

2. 

initial speaker system. (Refer to “Audio 

Setup”)

  • 

INITIAL

…. When powering on the unit 

system. Check your speaker system, 

choose it on the unit, and then, set your 

desired sound quality referring to “Audio 

Setup”.

  • 

LOAD

…. When powering on the unit for 

LOAD

” is not selected.


it allows you to select a speaker system.

NORMAL

” ….  

FRONT 2ch / REAR / 2ch / SUBWOOFER 2ch

2WAY

” ….  

HIGH 2ch / MID 2ch / REAR 2ch

3WAY

” ….  

HIGH 2ch / MID 2ch / SUBWOOFER 2ch

Volume adjustment

Rotate the [

VOLUME

] knob on the front panel 

or press the [   ] or [  ] button on the remote 

control.

The adjustable range of volume is 0 to 40.

CAUTION

While driving, keep the volume level at 

which external sounds can still be heard.

Playing source selection

Press [

SRC /

] button on the front panel or 

remote control repeatedly to choose desired 

playing source.

Note:

Playing source selection means selecting 

which mode, such as 

DISC

 mode, 

RADIO

mode and 

AUX

 mode.

Display system time

Press the [

DISP

] button on the front panel or 

[

DISP

] button on the remote control to switch 

the display information from clock, station 

information (radio mode), or track information 

(CD mode).

RESET
Note:

* When the [

RESET

] button is pressed, preset 

radio stations, titles, etc. stored in memory 

are cleared.

RESET

To keep the current sound settings, when 

[

VOLUME

] knob to select “

LOAD

”, press the 

Note:

   If you press the 

RESET

 button or 

disconnect the back-up line after 

completing the audio setup, “

INITIAL

 / 

LOAD

” is displayed. In this case, the unit 

functions as follows.

• 

INITIAL

 …. When powering on the 

unit after 

RESET

 or the backup line is 

disconnected, the audio setup in the 

memory is cleared and you will need to 

start from selecting a speaker system. 

Choose your desirable speaker system 

and set your desired sound quality 

referring to “Audio Setup”.

• 

LOAD

 …. When powering on the unit 

after 

RESET

 or the backup line is 

disconnected, the preset speaker system 

and other settings are called.


If you changed the speaker system, reset 

from 

INITIAL

.

3. Press the [

SRC /

] button on the front 

panel or the remote control to turn on 

the power under standby mode. The unit 

goes back to the last status after power 

on.

4. Press and hold the [

SRC /

] button on 

the front panel or the remote control to 

turn off the power.

Mute

Press the [

MUTE

] button on the remote 

control to mute the volume from the unit.

Note

:

Doing the operation above again or adjusting 

volume will release muting.

Содержание CZ603AU

Страница 1: ...CZ603AU Bluetooth CD USB MP3 WMA RECEIVER ...

Страница 2: ...tem Setup 8 Audio Setup 9 Radio Operations 10 10 11 12 CD MP3 WMA Operations 12 USB Operations 13 iPod iPhone Operations 14 Bluetooth Operations AUX Operations 6 TROUBLE SHOOTING 15 7 ERROR DISPLAYS 16 8 SPECIFICATIONS 16 9 INSTALLATION WIRE CONNECTION GUIDE 17 Pandora Operations Warranty Information For detailed information regarding warranty conditions please see the separate warranty card enclo...

Страница 3: ...naturally allowing normal operation 2 Driving on extremely bumpy or rough roads can cause the disc to skip during playback 3 This unit uses precision parts and components for its operation In the event that trouble arises never open the case disassemble the unit or lubricate the rotating parts Contact your Clarion dealer or service center 4 Made for iPod and Made for iPhone mean that an electronic...

Страница 4: ...ACHABLE CONTROL PANEL with you when leaving the car 1 Press the SRC button 1 sec to turn off the power 2 Deeply push in OPEN button to unlock the DCP 3 Hold the side popped out remove the DCP Attach the DCP 1 Hold the DCP and ensure that the panel faces towards you Set the right side of the DCP into the DCP bracket 2 Press the left side of the DCP until it locks INFORMATION FOR USERS Changes or mo...

Страница 5: ...e sensor on the unit 2 Remove the battery from the remote control or insert a battery insulator if the battery has not been used for a month or longer 3 DO NOT store the remote control under direct sunlight or in high temperature environment or it may not function properly 4 Use button shaped lithium battery CR2025 3V only 5 DO NOT subject battery to recharge disassemble heat or dispose in fire or...

Страница 6: ... cellophane tape or other glue on it or with peeling off marks If you try to play such a disc you may not be able to get it back out of the player or it may damage the player Do not use discs that have large scratches are misshapen cracked etc Use of such discs may cause misoperation or damage To remove a disc from its storage case press down on the center of the case and lift the disc out holding...

Страница 7: ... repeatedly to choose desired playing source Note Playing source selection means selecting which mode such as DISC mode RADIO mode and AUX mode Display system time Press the DISP button on the front panel or DISP button on the remote control to switch the display information from clock station information radio mode or track information CD mode RESET Note When the RESET button is pressed preset ra...

Страница 8: ... original ring tone from the speaker System Setup AUTO ANS BT mode To answer incoming calls automatically Rotate the VOLUME knob to choose AUTO ANS ON or OFF AUTO CON ON OFF BT mode Automatically connects the mobile phone was last connected Rotate the VOLUME knob to choose AUTO CON ON or OFF PIN CODE Rotate and press the VOLUME knob to choose a 4 digit password Press the VOLUME knob more than 1 se...

Страница 9: ... 125HZ 160HZ 200HZ 250HZ THROUGH SLOP 6 12DB REAR SPK PHASE NOR PHASE REV SP GAIN HIGH 20 0DB MID 20 0DB REAR 20 0DB 3 When speaker system is 3WAY TIME ALIGNMENT HIGH L R 0 501 4cm MID L R 0 501 4cm SW L R 0 501 4cm 3W XOVER HIGH HPF CUT 25HZ 31 5HZ 40HZ 50HZ 63HZ 80HZ 100HZ 125HZ 160HZ 200HZ 250HZ 315HZ 400HZ 500HZ 630HZ 800HZ 1K 1 25K 1 6K 2K 2 5K 3 15K 4K 5K 6 3K 8K 10 0K 12 5K 16K 20K THROUGH ...

Страница 10: ... will decrease after the local seeking mode is ON File extensions 1 Always to MP3 WMA file by using single byte 2 Files without MP3 WMA data will not play attempt to play files without MP3 WMA data When display may differ the play location W no sound part is caused between tunes Logical format File system 1 When writing MP3 WMA file on a CD R disc or CD RW disc please select ISO9660 level 1 2 or J...

Страница 11: ...to enter FOLD SCH mode Press the VOLUME button to enter the folder list search mode 2 Turn the VOLUME knob to select a folder 3 Press the VOLUME button to enter the file list search mode And then the track list appears in the display 4 Turn the VOLUME knob to select a track 5 Press the VOLUME knob to play When play back MP3 WMA file this function is performed in the current folder Top function The...

Страница 12: ...to select the iPod menu mode 2 Press the VOLUME knob to switch between categories MUSIC PLAYLIST ARTISTS ALBUMS GENRES SONGS COMPOSERS VIDEO MOVIES MUSIC VIDEOS TV SHOWS VIDEO PADCASTS RENTALS 3 Press the VOLUME knob The contents of the category are displayed 4 Press and hold the DISP button 1 sec 5 Rotate the VOLUME knob to select the desired letter to search 6 Press the DISP button again to next...

Страница 13: ...peatedly until RPT OFF appears on the LCD to cancel repeat playback Bluetooth Operations Handsfree Operations Pairing 1 Turn on Bluetooth function of your mobile phone 2 Enter mobile phone s Bluetooth setup menu 3 Search for new Bluetooth devices 4 Select CZ603AU from the pairing list on the mobile phone 5 Enter 0000 as the password The password default setting is 0000 6 After pairing successfully...

Страница 14: ...k 2 Each time the button is pressed playback proceeds to previous track in the reverse direction Note Playing order will depend on Bluetooth audio player When button is pressed some A2DP devices will restart the current track depends on the duration of playback During music streaming playback A2DP and HFP will be shown on the display When A2DP device is disconnected BLUETOOTH DISCONNECT will be sh...

Страница 15: ...e the object inside the unit Sound skips or is noisy Compact disc is dirty Clean the compact disc with a soft cloth Compact disc is heavily scratched or warped Replace with a compact disc with no scratches Sound is bad when on Condensation may form on the internal lens when the car is parked in a humid place Let dry for about 1 hour with power on USB Devices Problem Cause Measure USB device cannot...

Страница 16: ...istortion Less than 0 1 1kHz Channel separation 60dB MP3 WMA mode MP3 sampling rate 8 kHz to 48 kHz MP3 bit rate 8 kbps to 320 kbps VBR WMA bit rate 8 kbps to 320 kbps Logical format ISO9660 level 1 2 USB Playable audio format MP3 mp3 MPEG 1 2 Audio Layer 3 WMA wma Ver 7 8 9 1 9 2 Bluetooth A2DP Advanced Audio Distribution Send Receive Sensitivity Class 2 Maximum power output 200W 50W x 4 Speaker ...

Страница 17: ...nting bracket 1 Screws M5x6 mm 4 L key 2 Wire connector 1 Remote control unit with battery 1 DCP case 1 Owner s manual 1 Special screw Front panel lock 1 Warranty card 1 4 Cautions on Installation 1 Prepare all articles necessary for installing the source unit before starting 2 Install the unit within 30 of the horizontal plane Figure 2 3 If you have to do any work on the car body such as drilling...

Страница 18: ...to dash board choose appropriate mounting tab according to the gap width bending the mounting mounting bracket in place 2 Slide the unit into the bracket until you hear a click sound Dashboard Mounting Bracket Screwdriver Disassemble trim ring 1 Push the trim ring to right and pull out the right part 2 Push the trim ring to left and pull out the left part Disassemble the unit 1 Switch off the powe...

Страница 19: ...Left Right Right Front audio output terminal Mid audio output terminal White White Black Black Red Red Left Left Right Right Rear audio output terminal High audio output terminal Purple Purple Rear audio output Left Rear audio output Right Purple Purple Subwoofer output 1 Monaural output Subwoofer output 2 Monaural output Antenna Antenna Black Black Normal mode 2 Way mode SUB OUT 1 REAR OUT L SUB ...

Страница 20: ...rectly to battery Accessory 12V Front Right Front Right Gray Gray White White Purple Purple Green Green Gray Black Gray Black White Black White Black Purple Black Purple Black Green Black Green Black 4 Speaker system 2 Speaker system or Rear Right Rear Left Not used Insulate each wire Front Left Front Left FUSE 15A Refer to the right MIC SWC Black Black Black Black Steering wheel control terminal ...

Страница 21: ...Clarion Co Ltd All Rights Reserved Copyright 2013 Clarion Co Ltd Printed in China PN 127075005057 ...

Отзывы: