


English
9
FZ502
Notes:
• If you continue to press Fast forward until the
end,the Instand Replay mode is canceled,
and the unit will change to live SiriusXM radio
mode.
• If you change channels while in Replay
mode,the unit will exit Replay mode to live
Satellite Radio mode and clear the Replay
memory.
Using iTunes tagging
iTunes Tagging lets you tag songs you hear on
SiriusXM channels with your new CZ702 and
then preview, buy, and download then later from
your iTunes Tagged playlist the next time you
sync your iPod/iPhone.
Notes:
• For details on the iPod/iPhone modes usable
with this unit,refer to “Connecting an iPod/
iPhone” on page 9.
1. A song may be tagged while listening to a
SiriusXM channel if the display shows the
“Tag” icon.
2. Press and hold Tag for at least 2 seconds
while the desired song is playing.
The “Tag” blinks at the same time the
“TAGGING” is displayed.
3. When completed, “TAG STORED” is
displayed and the “Tag” indicator lights up.
Notes:
• During tagging, the iPod/iPhone takes
priority to save the tag information.If no iPod/
iPhone is connected, the tag information is
saved to this unit.
• When the memory of iPod/iPhone is full,“iPod
FULL” is displayed. The tag informationg will
be stored to the unit.
• If the tagging operation is interrupted by
a source or channel change, the tagging
operation will be canceled and the unit may
not display “CANNOT TAG”.
• This unit can store up to 50 pieces of tag
information. When the memory of the unit is
full, “MEMO FULL” may be displayed.
• When iPod/iPhone that doesn’t support
the tagging function is connected, “NON-
TAGGING IPOD” may be displayed.
• When the iPod/iPhone is disconnected from
the unit during tagging, its tag information will
be stored in the unit.
• If there is stored tag information on the
unit, when an iPod/iPhone supporting
the tag function is connected, the stored
tag information will be transferred to
be iPod/iPhone automatically. When
the iPod/iPhone memery becomes full,
“iPod FULL” will be displayed, and any
remaining tag information on the unit will
not be transferred to the iPod/iPhone.
• If tag information already exists,
“ALREAGY TAGGED” will be displayed
when you try to tag information again.
• Tagging may be canceled by changing
the frequency or station, and the
message “CANNOT TAG” ,etc, may not
be displayed.
• If a song is tagged and the remaining
storage volume of the connected iPod/
iPhone is sufficient to hold the song’s
tag information, it will be saved on the
iPod/iPhone.
• If there is stored tag information on
CZ702, when iPod/iPhone models
s u p p o r t i n g t h e t a g f u n c t i o n a r e
connected, the Tag information will be
transferred to be the iPod/iPhone with
which the USB terminal is activated
automatically. When the iPod/iPhone
memery becomes full, “iPod FULL”
will be displayed,and any remaining
tag information on the unit will not be
transferred to be iPod/iPhone.
Changing the Display
Text information, such as the channel
name, artist name/feature and song/
program title, is available with each
SiriusXM channel. The unit can display this
text information as explained below.
1. In SiriusXM mode, press VIEW.
Each time you press this button, the
display changes as shown below.
Band/channel Number -> Clock ->
Channel Name* -> Artist Name* ->
Song Title* -> Content info.* -> Category
Name* -> Band/Channel Number
* If there is no text information,nothing will
be displayed.
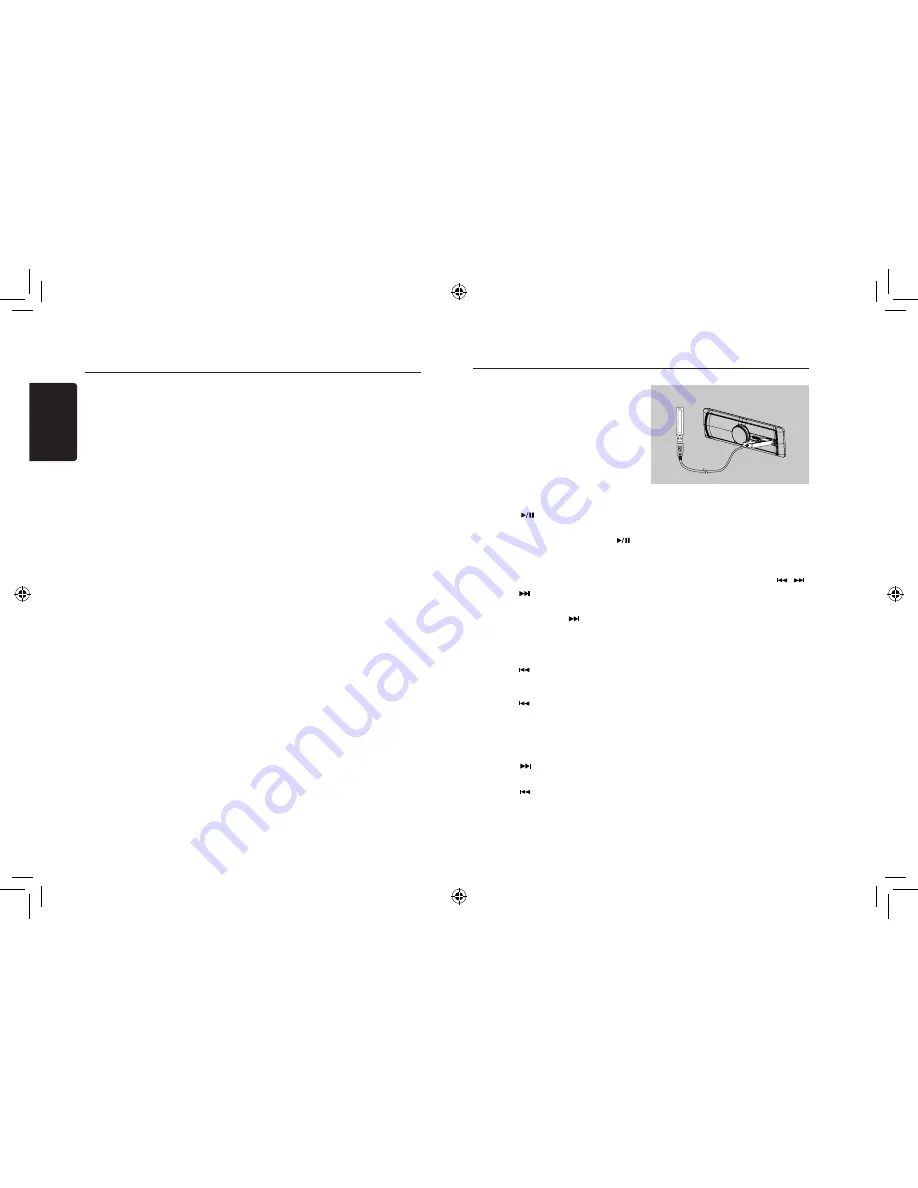
SiriusXM Satallite Radio Operations
1. Move the cover of the USB slot to the left.
Insert a USB cable (CCA-755) into the
USB slot. Insert a USB device into the USB
cable.
When connecting a USB device, the unit
will read the files automatically.
2. To remove the USB device, you should first
select another source or turn off the power,
in order to avoid damaging the USB device.
Then take off the USB device. Move the
cover to the right.
USB Operations
CCA-755
Folder Select
This function allows you to select a folder
containing MP3/WMA files and start playing
from the first track in the folder.
1. Press and hold
[CONTROL]
knob (up) on
the panel.
Press and hold
[CONTROL]
knob (up) on
the panel to move the next folder.
2. To select a track, press the
[CONTROL]
knob (right / left) on the panel or [
,
]
button on the remote control.
Search Function
1. Press the
[CONTROL]
knob (up) to enter
FOLD SCH
mode, and press
[CONTROL]
knob (center) to comfirm, then rotate
[CONTROL]
knob to select the folder list
search mode.
2. Rotate the
[CONTROL]
knob to select a
folder.
3. Press the
[CONTROL]
button (center) to
enter the file list search mode. And then
the track list appears in the display.
4. Turn the
[CONTROL]
knob to select a
track.
5. Press the
[CONTROL]
knob (center) to
play.
* When play back MP3 / WMA file, this
function is performed in the current folder.
Top function
The top function resets the USB player to the
first track of the USB device. Press and hold the
[ CONTROL ]
knob (down) to play the first
track (track No. 1) on the USB device.
* In case of MP3/WMA, the first track of the
current folder will be played.
Pausing play
1. Press the
[
]
button on the remote control
to pause play.
“
PAUSE
” appears in the display.
2. To resume MP3/WMA play, press the
[
]
button on the remote control again.
Selecting a track
Track-up
1. Press the
[CONTROL]
knob (right) on the
panel or
[
]
button on the remote control
to move to the beginning of the next track.
2. Each time you press the
[CONTROL]
knob
(right) on the panel or
[
]
button on the
remote control, the track advances to the
beginning of the next track.
Track-down
1. Press the
[CONTROL]
knob (left) on the
panel or [
] button on the remote control
to move back to the beginning of the current
track.
2. Press the
[CONTROL]
knob (left) on the
panel or [
] button on the remote control
twice to move back to the beginning of the
previous track.
Fast-forward/Fast-reverse
Fast-forward
Press and hold the
[CONTROL]
knob (right) on
the panel or
[ ]
button on the remote control.
Fast-reverse
Press and hold the
[CONTROL]
knob (left) on
the panel or [
] button on the remote control.
* For MP3/WMA USB device, it takes
some time until the start of searching and
between tracks. In addition, some errors
may occur in the play time.
Содержание CZ502
Страница 1: ...CD USB MP3 WMA RECEIVER CZ502...


