Clarinox Koala EVM Скачать руководство пользователя страница 11

Quick Start Manual 


Page 11 


7  Instructions for Using Demo Application Binaries 

The following software required for PC 


STM32 ST-LINK Utility program 


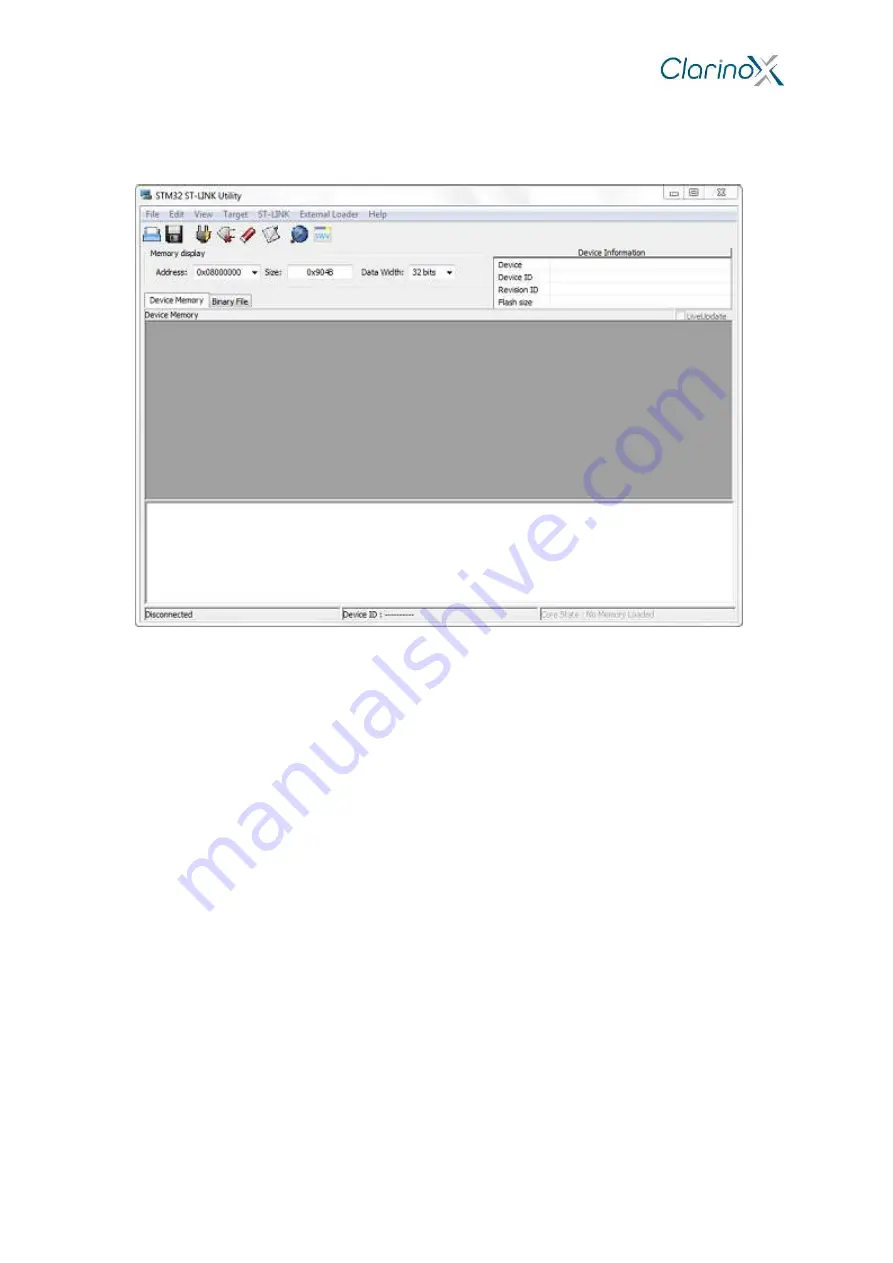
Figure 12: STM32 ST-LINK Utility application 


ST-LINK driver 


Silicon Labs CP120x driver (USB to UART serial bridge) 


Terminal emulation software with support for telnet and serial port connections (Tera Term, Putty, 
HyperTerminal are suitable options) 

7.1  Programming Binaries Using ST-LINK 

1.  Ensure jumpers on Koala EVM are installed. Required jumper installation is illustrated in Figure 6; 

jumpers between CN13 and CN14 pins selects MCU to program/debug. 

2.  Connect CN11 (DEBUG) mini USB port to PC using USB mini cable. Note, the ST-LINK driver must be 

installed for the board to be successfully recognised. 

3.  Open the 

STM32 ST-LINK Utility

 program: 

i. 

connect to the target board (Target menu 

 Connect) 

ii. 

perform a full erase of the Flash memory (Target menu 

 Erase Chip or CTRL+E) 

iii. 

open the binary or hex file for the example project (File menu 

 Open file or CTRL+O) 

iv. 

write the binary or hex file to the Flash memory (Target menu 

 Program and Verify or 

CTRL+P) 

v. 

disconnect the board (Target menu 

 Disconnect or CTRL+D) 

4.  Reset the Koala EVM. The RESET button (SW1) is located near the USB-Serial connector. 

7.2  USB to Serial example (printf) 

Silicon Labs CP120X PC driver may be required for USB-UART peripheral.  

1.  Connect USB-Serial to PC with a second USB mini cable. The Debug cable is required for programming 

the binary with ST-LINK and for power if an external power supply is not in use. 

2.  Program the USB to Serial example binary using STM32 ST-LINK Utility 
3.  Open a serial port console (Tera Term, Putty, HyperTerminal): 


select the USB serial port (COM1, COM2

, …) 

Содержание Koala EVM

Страница 1: ...y Ltd No information contained herein is to be shared copied disclosed or otherwise compromised in any way without the written consent of Clarinox Technologies Pty Ltd The contents of this document ar...

Страница 2: ...T2 FSMC LCD Selection 7 4 ST LINK Configuration Programming Debugging the Koala EVM 7 5 Wireless Module Interfaces 8 5 1 Connecting Modules 8 5 2 Hardware interface 8 6 Brief Description of Key Periph...

Страница 3: ...Quick Start Manual Page 3 List of Figures No table of figures entries found...

Страница 4: ...how to use the Clarinox Koala EVM and WMI Wi Fi and or Bluetooth modules This document will lead the user through required steps for hardware and software setup and the debugging of applications 1 2...

Страница 5: ...tandard COM port of the PC 2 To program the board i connect CN11 mini USB port to a PC ii configure the tool chain to use ST LINK JTAG and iii connect appropriate jumpers from ST LINK to programming t...

Страница 6: ...Quick Start Manual Page 6 Figure 2 Populated Koala EVM Board...

Страница 7: ...accordingly If any of the WMI modules require access to USART2 then CN21 pins 1 2 must be connected Figure 4 Jumpers shorting CN21 pins 1 2 enables USART2 To enable LCD functionality CN21 pins 2 3 mu...

Страница 8: ...he bottom right corner of the connector Clarinox WMI modules may also be connected to the Koala EVM with the dedicated WMI connectors The WMI module is to be inserted in both connectors observing the...

Страница 9: ...ala EVM board provides level translation and slow clock for interfacing to the attached COM8 module Output to ClarinoxDebugger is provided through USART2 of the microcontroller ClarinoxDebugger is a p...

Страница 10: ...ingle frame or continuous capture is supported in an 8 to 12 bit parallel interface Crop and several image formats are also supported by the MCU The DCMI interface is most compatible with OV9655 camer...

Страница 11: ...d 3 Open the STM32 ST LINK Utility program i connect to the target board Target menu Connect ii perform a full erase of the Flash memory Target menu Erase Chip or CTRL E iii open the binary or hex fil...

Страница 12: ...tion Silicon Labs CP120X PC driver may be required for USB UART peripheral 1 Connect USB Serial to PC with a second USB mini cable Debug cable is required for programming the binary with ST LINK and f...

Отзывы: